Collector's Guide
Adjusting Doll Garments for Different Body Shapes: Step-by-Step
Learn to assess fit, adjust seams, add gussets, and alter necklines and hems — all while preserving the integrity of treasured garments.

By Lena Park
· 8 min read
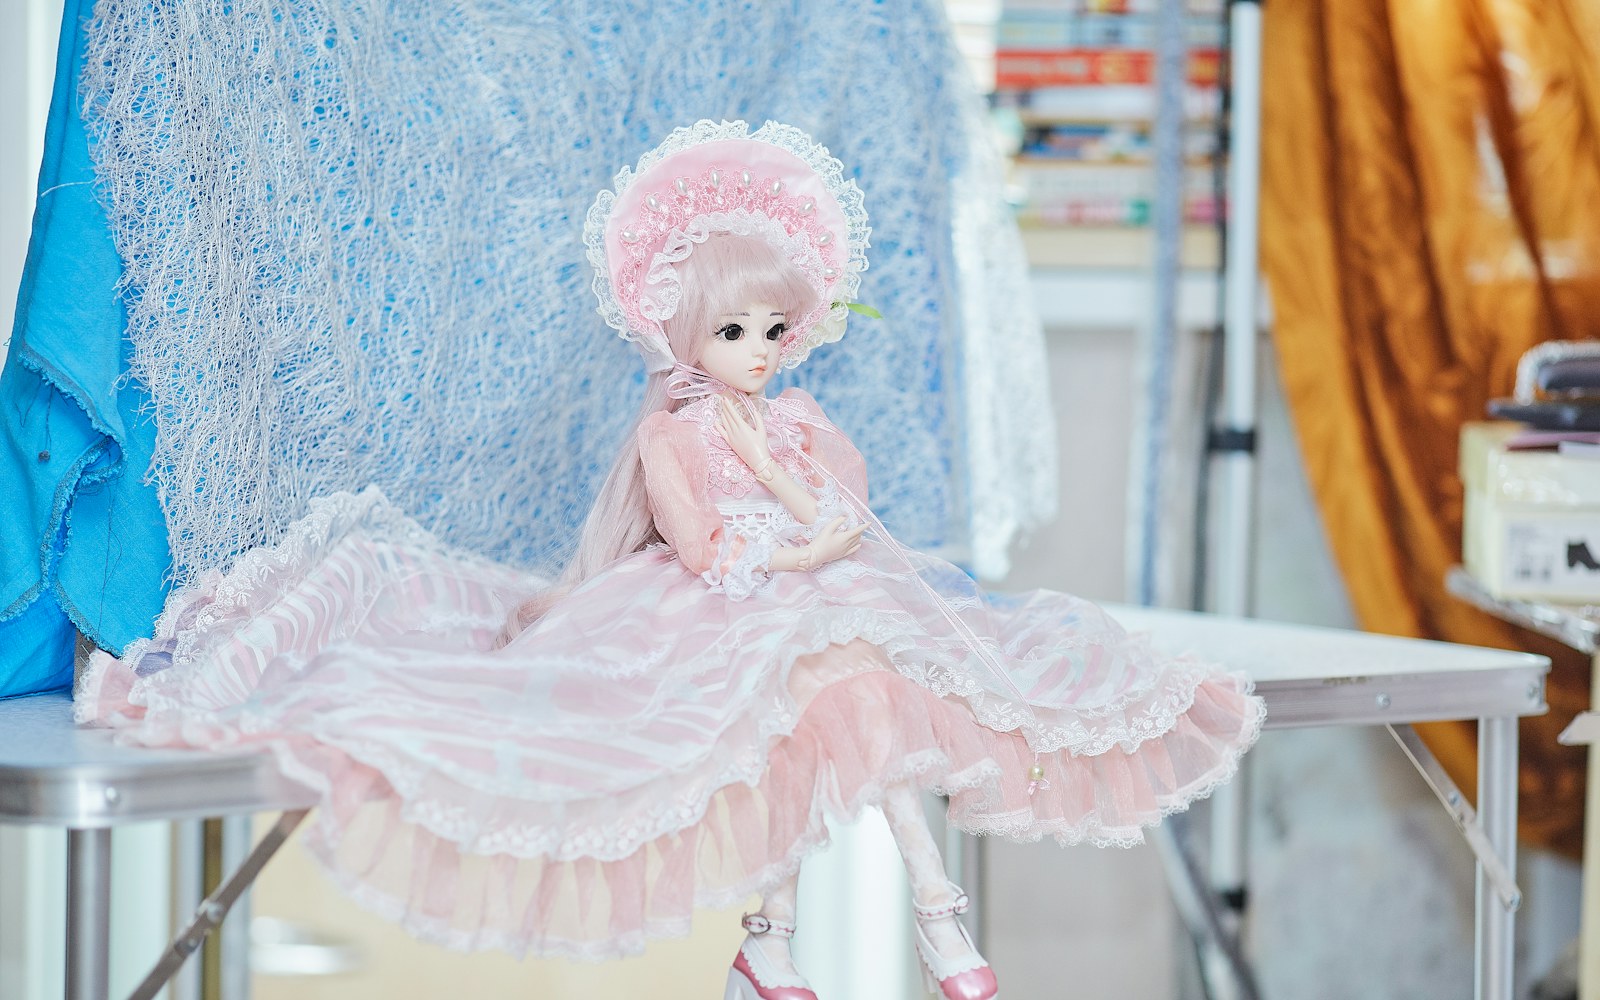
When a beloved doll arrives in a new garment that pulls at the shoulders, gapes at the waist, or strains across the back, it can feel as though the piece was made for a different body entirely. Ready-made and inherited doll clothes rarely match a new doll’s proportions, yet many of these pieces carry sentimental or historical value that makes simply discarding them unthinkable. The good news is that a systematic approach — grounded in careful measurement and conservative alteration techniques — often allows you to achieve a respectful fit without damaging the original piece. This guide focuses on woven fabrics and heirloom-quality construction; knits require different methods and are beyond our scope here.
Tools and Materials for Safe Alteration
Before cutting any thread, assemble a toolkit that respects the garment’s materials. A fine seam ripper reduces the risk of snagging delicate weaves. Hand-sewing needles in sizes 10 to 12 pass through tightly woven fabrics without leaving visible holes. If the garment is antique or valuable, opt for archival-quality thread (cotton or silk, not polyester) and a pH-neutral fabric glue that will not yellow over time. Spare fabric for gussets should be pre-washed to prevent future shrinkage, and should match the original in weight and fibre content as closely as possible. Low heat and a pressing cloth protect the fabric when ironing seams.
Measuring the Doll and the Garment
Taking the Doll’s Key Measurements
Use a flexible tape and measure over the doll’s usual undergarments if applicable. Record the following points:
- Chest (full circumference at underarm level)
- Waist (narrowest point)
- Hip (fullest point, if applicable)
- Shoulder width (from armhole seam to armhole seam across the back)
- Arm length (from shoulder point to wrist)
- Neck circumference (at collar line)
- Back length (from base of neck to waist)
Measuring the Existing Garment
Lay the garment flat and measure the same points — chest, waist, hip, shoulder width, sleeve width at bicep, and centre back length. Compare these flat measurements to the doll’s measurements plus a small amount of ease (typically 1/8–1/4 inch for woven fabrics). The comparison reveals where the garment is too generous or too restrictive.
Common Fit Problems and Quick Diagnosis
| Problem | Likely Cause | Quick Check |
|---|---|---|
| Too short in body | Garment length vs doll torso | Measure centre back length of garment and compare to doll’s back |
| Too tight in chest | Chest circumference insufficient | Compare flat chest measurement to doll chest + 1/4 in ease |
| Sagging shoulders | Neck or shoulder width too wide | Check shoulder seam position relative to doll’s shoulder point |
| Sleeves too tight | Arm circumference too large | Measure bicep area of sleeve and compare to doll’s arm |
| Waist too loose or tight | Waist circumference mismatch | Check if garment has elastic or darts that can be adjusted |
Each mismatch points to a specific alteration. For example, a too-short body often indicates the garment was made for a doll with a shorter torso, while sagging shoulders suggest the neckline or shoulder seam width is too large for the doll.
Step-by-Step Alteration Techniques
1. Enlarging the Garment Uniformly
If the garment is uniformly small — neck, chest, and armholes all need slight enlargement — and you have the original pattern pieces, use the copier method: divide the doll’s measurement by the pattern’s measurement and multiply by 100 to get a percentage. For example, if the pattern chest is 10 inches and you need 11 inches, copy at 110%. This works only when all dimensions require the same relative increase. When working directly on the garment, add fabric strips at side seams or centre back openings.
2. Letting Out Seams
Many doll garments have seam allowances of 1/4 to 3/8 inch. Carefully unpick the stitches, press the seam open, and re‑stitch using a narrower allowance — but only if the original seam allowance is wide enough to do so without weakening the seam. A test stitch on an inconspicuous area (such as an inside facing) helps confirm that the fabric can handle it. If the seam allowance is insufficient, you will need to add a gusset.
3. Adding Gussets (Underarm, Side, or Crotch)
Gussets are triangular or diamond‑shaped fabric inserts that add ease without altering the original garment’s silhouette drastically. Common locations:
- Underarm gusset for sleeve ease: cut a small vertical slit at the underarm seam and insert a diamond-shaped piece.
- Side gusset for chest or waist: open the side seam partway and sew in a triangular gusset.
- Crotch gusset for pants: cut along the crotch curve and insert a diamond-shaped piece to add width.
Choose a gusset fabric that matches the original in weight and fibre; pre-wash it to prevent later shrinkage. Stitch by hand using a fine running stitch, then finish with a neat backstitch. A machine stitch may be used if the fabric allows, but hand‑stitching is gentler on fragile textiles.
4. Adjusting Neckline or Shoulder
- Neckline too wide: Take a small tuck at the shoulder seam, tapering to nothing at the armhole. This reduces the neck opening without cutting the fabric.
- Neckline too narrow: Add a small gusset at the neck edge, or re‑cut the neckline deeper and bind it with bias tape made from a similar fabric.
- Sleeve cap too small: Lower the armhole by cutting the side seam slightly deeper and inserting an underarm gusset.
Always test the adjustment on a scrap or on the inside of the garment first. For antique garments, avoid cutting the original fabric if possible; a tuck or gusset is reversible, whereas a cut neckline is not.
5. Hem Adjustments
- Lengthening: Add a ruffle, contrast band, or fabric strip at the hem. Choose a fabric that complements the original and attach it with a flat felled seam or a fine hand hem.
- Shortening: Turn up the hem by the desired amount. If the fabric is delicate, use a rolled hem by hand rather than cutting the fabric. Lace trim can be sewn over the cut edge to disguise it and add structural support.
6. Dealing with Closures (Buttons, Snaps, Velcro)
If you alter the waistline or centre back, the original closure may no longer align. Move hook‑and‑eye closures or snaps by unpicking and resewing them in the new position. Avoid adhesive Velcro on antique garments; the sticky residue can damage fibres and is difficult to remove. Use sew‑on Velcro instead, and test the adhesion strength on a small hidden area first.
Decision Table: Alter or Seek Professional Help?
| Condition | Action |
|---|---|
| Garment is antique or irreplaceable | Consult a textile conservator – do not attempt DIY |
| Fabric is fragile (shattered silk, brittle lace) | Professional stabilization before any alteration |
| Only minor seam allowance issue | Self‑alter with care, test first |
| Major pattern change needed (e.g., princess seams to A‑line) | Best to commission a new pattern or seek a dressmaker |
| Doll is highly valuable or collectible | Consider custom clothing instead of altering the original |
Each row reflects a risk‑based decision. Antique and fragile garments require conservation expertise; museum textile conservators use adhesive supports and custom mounts to preserve structural integrity, skills beyond the home sewer. If the alteration is simple and the fabric sound, a careful home alteration is reasonable. When the pattern must be fundamentally changed, a replica may be safer than altering the original.
Checklist for a Successful Alteration
- Measured doll and garment in at least three places (chest, waist, length)
- Identified all fit issues before making any cuts
- Selected an alteration method that preserves original construction as much as possible
- Tested seam ripper on an inconspicuous area of the garment
- Used thread that matches in colour and weight
- Pressed seams after alteration (low heat, pressing cloth)
- Documented the original garment with photographs before altering
- If in doubt, stopped and sought professional advice
When to Stop and Call a Professional
Some signs indicate that the garment is best left to a specialist: extremely fragile fabric that crumbles at the touch, complex construction such as pleats, boning, or multiple fabric layers, and sentimental value that outweighs any repair risk. A textile conservator or doll‑costume restorer can be found through professional organizations and museum websites — look for individuals with training in textile conservation, not general crafters. Remember that a custom replica, made from scratch using the original as a reference, may be a better investment of time and money than risking the original piece.
Conclusion: Embrace Fit as Stewardship
Altering a garment is an act of care. By working slowly, measuring twice, and choosing the least invasive method, you honour the object’s history and extend its life. A well‑fitted garment allows the doll to be displayed or handled with confidence, and the skills you develop will serve every future wardrobe challenge. Respect the fabric, respect the maker, and enjoy the process of making each piece truly your doll’s own.