Materials
Air-Dry Clay Art Dolls: How to Build, Seal, and Display Them Without Cracking
Air-dry clay can make expressive display dolls, provided the form, drying schedule, finish, and handling expectations match the material’s limits.
By Mateo Ellis
· 11 min read
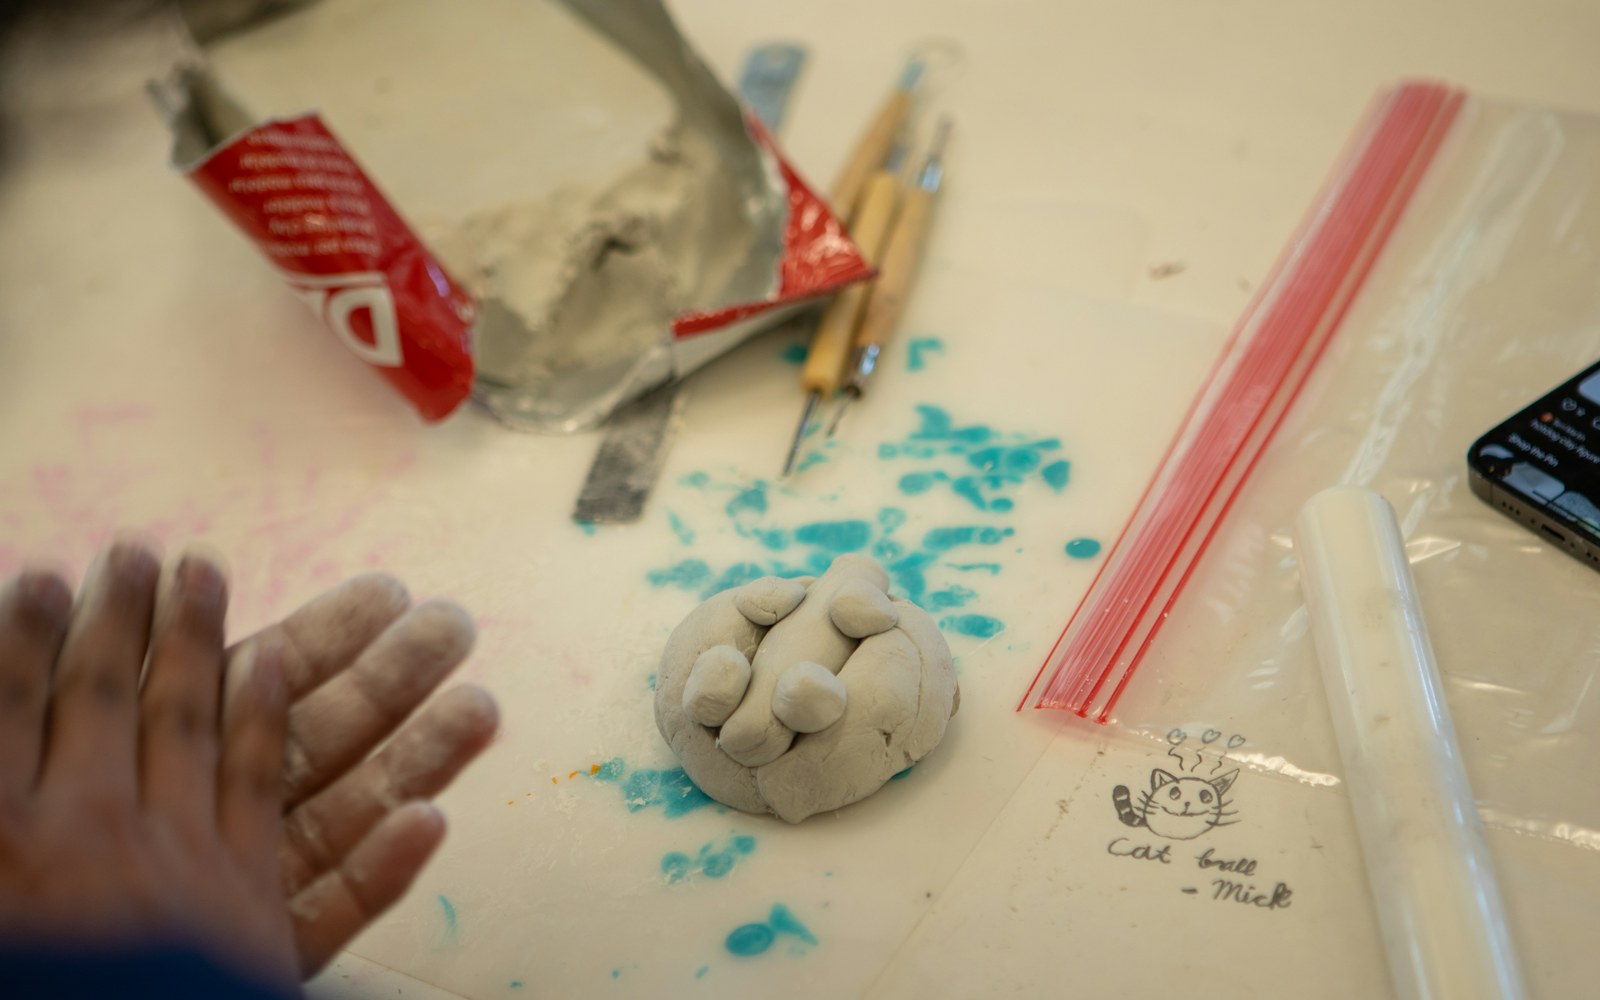
Makers need to know whether air-dry clay is suitable for collectible figures and how to reduce cracking, weak joins, paint damage, and moisture exposure. The short answer is yes, with limits: air dry clay art dolls can work very well as small indoor display objects that receive gentle handling. They are less dependable when the design must withstand regular play, movable joints, heavy components, long unsupported limbs, damp conditions, or repeated shipping.
The material loses water as it dries. That shrinkage can place stress on thick areas, seams, and parts that dry at different speeds. Good planning does not guarantee a crack-free result, because formulas, humidity, thickness, airflow, and construction all matter. It can, however, greatly reduce avoidable problems.
Decide whether air-dry clay suits the doll
Start with the object’s real use rather than the desired surface look.
Air-dry clay is often a sensible choice for a compact shelf figure, ornament, bust, seated character, or small doll with a stable base. It allows direct modelling, accepts many painted finishes, and can be approachable for beginners working without an oven.
It becomes a more demanding choice when the doll has:
- thin fingers, ears, tails, antennae, wings, or weapon-like accessories
- ankles, wrists, or necks carrying substantial weight
- movable or poseable joints
- a very large head on a narrow neck
- heavy hair, fabric, resin, or found-object additions
- an outdoor, bathroom, kitchen, or otherwise damp display location
- an intended life as a frequently handled toy or play object
A sealant may reduce surface scuffing or make cleaning easier, but it does not make the clay waterproof, unbreakable, outdoor-safe, or permanently resistant to moisture. Treat a finished air-dry clay doll as an indoor decorative object unless its specific materials and construction suggest otherwise.
Plan the load path
Before sculpting, sketch the pose and ask where weight will travel. A standing doll transfers weight from head and torso through the legs to the base. A raised arm creates leverage at the shoulder. A large hair mass may pull backward from the neck.
Compact silhouettes are generally easier to manage. A bent arm held close to the body is less vulnerable than a straight arm extended into space. A wing can become shallow relief against the back rather than a thin freestanding sheet. A long tail can touch the base or curve into a supporting third point.
This is not a restriction on expressive design; it is a prompt to build support into the expression.
Choose the clay for the job
Not all air-dry clays behave alike. Smooth mineral-based clays can be useful for refined modelling and facial detail. Lightweight clays may suit hanging ornaments or low-mass forms. Paper-containing clays can offer a different sculpting feel and may be useful in some sculptural builds, though they still require attention to drying, surface strength, and finishing.
Read the manufacturer’s instructions before committing to a design. Check its guidance on recommended thickness, drying conditions, paint compatibility, finish products, and intended use. A test tile or small sample head can reveal much more about your chosen clay than a generic rule can.
Match the material and form deliberately:
| Design priority | Useful planning question |
|---|---|
| Fine facial detail | Does the clay hold crisp marks without crumbling or dragging? |
| Large volume | Can the body be kept reasonably even in thickness or built around a compatible core? |
| Low weight | Would a lightweight formula or a supported hollow form reduce strain? |
| Hanging display | Is the hanger integrated into the internal support rather than merely glued to dry clay? |
| Textured surface | Will sanding, priming, and paint preserve rather than fill the texture? |
Build a stable core: armatures, joins, and thickness
Armatures for clay dolls are useful when a figure has long limbs, an oversized head, a raised pose, or a firm connection to a base. Their job is to support the design and help establish proportion. They do not solve weak clay seams, poor weight distribution, or uneven drying.
A wire armature should sit securely inside the form rather than pressing close to a thin exposed surface. Metal that shifts beneath a thin skin may telegraph through the clay, and a poorly planned internal element can complicate later repairs. Follow the clay maker’s instructions when selecting wire, foil, foam, wood, or other core materials.
Keep the clay thickness reasonably even
Large solid masses are a common source of trouble. Their surface can become dry and tight while the centre remains wet, creating uneven shrinkage and extending drying time.
For larger heads and bodies, consider a hollow construction or a lightweight core that is compatible with the clay. The aim is not simply to use less material. It is to avoid trapping a thick wet mass beneath a quickly drying outer layer.
Be cautious with enclosed cores. A core should not create hidden pockets of wet clay that cannot dry evenly. Build in stages where necessary, and do not seal a damp interior beneath additional material.
Make joins as construction, not decoration
A smooth-looking seam is not automatically a strong seam. At a neck, wrist, ankle, tail, wing root, or base connection:
- Roughen the contact areas where appropriate.
- Use fresh clay or a clay slurry only if it suits the product instructions and stage of dryness.
- Press the parts together firmly enough to create genuine contact.
- Blend a small reinforcing coil or fillet across the seam on high-stress joins.
- Support the part while it dries.
Allow a partially built body to firm up before adding a heavy head, limb, or accessory. Wet clay is easily distorted, and a fresh join should not be expected to carry weight immediately.
Avoid treating dried clay-to-dried clay adhesive joins as a universal structural solution. Adhesive performance depends on the clay, surface preparation, adhesive, load, and surrounding construction. A broken arm that must bear weight may need a redesigned connection, a concealed support, or a remade component rather than glue alone.
Dry slowly to reduce shrinkage stress
Air dry clay cracking often begins before the piece looks finished. Rapid drying, unequal thickness, unsupported projections, and thick-to-thin transitions can all concentrate stress.
Drying checklist
Before painting or sealing, check that the doll has:
- a compact, supported form
- reinforced high-stress joins
- reasonably even clay thickness
- limbs and protrusions supported against sagging
- dried fully through, not only at the surface
- been tested for stable contact with its base or stand
Place the doll on a flat, absorbent, non-stick surface. Reposition or rotate it when appropriate so that one side is not always drying against the work surface. Support heads, limbs, and bases with soft props that will not leave strong impressions in the clay.
Keep the work away from direct sun, heaters, fans, forced air, and abrupt temperature shifts. If the surface is drying much faster than the interior, loosely cover the work early in the process to slow moisture loss. Increase airflow gradually as the form firms. The exact timing depends on the formula, humidity, airflow, thickness, and internal construction, so use the product instructions and the piece itself as the guide.
Do not rush from apparently dry to paint-ready. Wait until the doll is dry throughout before sanding, painting, assembling, sealing, wrapping, or packing it.
Recognise cosmetic versus structural cracks
A fine surface crack in a low-stress area may be mainly cosmetic. Once the piece is fully dry, it may be possible to fill and sand it using a compatible material or filler, following product directions.
A crack at a neck, limb root, ankle, base, or other load-bearing joint is different. It may indicate a construction failure: insufficient reinforcement, movement during drying, a heavy component, or a weak transition in thickness. Filling the visible line alone may hide the symptom without restoring strength.
For structural cracks, reassess the load path. Consider whether the part needs a support, a larger joining area, a different pose, or replacement. Warping also usually begins during drying. Correcting the support and drying setup early is more reliable than trying to force a fully dry doll back into shape.
When sanding, use suitable dust control and follow product safety guidance. Sand only when the clay is thoroughly dry; premature sanding can tear the surface or expose damp material below.
Paint and seal with a compatible system
When painting clay dolls, begin with a fully dry, dust-free surface. Test your paint, primer, and final finish on an offcut or hidden area whenever possible. Different clay formulas and paint layers can absorb, darken, resist, or react to finishes in unexpected ways.
A practical sequence is:
- Complete repairs and sanding.
- Remove sanding dust gently.
- Apply a compatible primer if the surface and paint system call for one.
- Paint in thin, controlled layers.
- Allow each layer adequate drying time.
- Apply a compatible protective finish if desired.
- Let all coatings cure according to their labels before handling or packing.
Acrylic paint is a common accessible option for air-dry clay, but thick wet coats can obscure texture and may re-wet an absorbent surface. Build colour gradually, especially over delicate facial marks, incised texture, or small raised details.
What sealant can and cannot do
Sealing air dry clay figures can reduce surface dirt, lessen scuffing, and adjust the final sheen. It also involves trade-offs. A finish may darken absorbent areas, deepen colour, create uneven patches over different paint layers, soften a matte look, or make future touch-ups more complicated.
Choose matte, satin, or gloss for the intended visual effect, not because one is universally better. Matte can preserve a chalky or textile-like appearance but may show marks differently from gloss. Satin can offer a modest sheen. Gloss can emphasize colour and sculpted highlights but may reveal brush marks and surface irregularities.
Test first, apply sparingly, and allow the coating to cure as directed. No broad category of varnish, acrylic paint, or sealer should be assumed to make an air-dry clay doll waterproof. Keep the finished object away from splashes, condensation, and persistently high humidity.
Display and handle the doll as a fragile object
A careful display setup is part of the construction strategy. Place the doll on a stable surface away from direct sun, radiators, windows with condensation, kitchens, bathrooms, and routes where people or pets may bump it.
For tall or top-heavy figures, use a fitted stand, cradle, or integrated base. Where a painted surface touches a hard stand, place a soft inert barrier between them if needed to reduce abrasion. Check periodically that a stand has not begun pressing into a soft coating or rubbing against a projecting detail.
Lift the doll from its strongest part: usually the base or main body. Do not lift it by an arm, head, antenna, wing, glued accessory, or fabric trim. Even a well-made projection can fail if repeatedly used as a handle.
Storage and packing
Store air-dry clay dolls in a clean, dry, temperature-stable place. Avoid sealed damp containers, pressure from tightly packed objects, and abrasive wrapping directly against painted surfaces.
For shipping or long-term storage, immobilise the figure and its fragile extensions with custom supports. Loose padding alone may allow the doll to shift within the box, transferring impact to a wrist, neck, or other vulnerable point. Separate removable accessories where practical and label their position for reassembly.
Keep a simple maker record
Documentation makes future care easier. Keep a note with:
- clay brand, formula, and batch information if known
- armature and core materials
- adhesives and fillers used
- primer, paint, and sealant products
- completion date
- repair history and any known fragile areas
- display or storage conditions that have affected the surface
This record does not guarantee long-term stability, but it gives you a useful starting point for touch-ups, condition checks, and future decisions about packing or display.
Know when another material is the better choice
Air-dry clay is not a lesser material; it is a material with a particular range of strengths. Choose another approach when the design’s demands exceed that range.
| If the doll needs… | Consider… | Why it may suit the design |
|---|---|---|
| Small, detailed parts with more resilient handling after curing | Polymer clay | A heat-cured process may better fit certain compact details and handled forms. |
| Strong sculptural additions or repairs | Epoxy clay | It can be useful for adhesive, durable additions, though working time, safety instructions, and limited revisability matter. |
| Lower weight and a different modelling feel | Paper clay | It may suit some lightweight sculptural designs, while still requiring careful drying and finishing tests. |
| Poseability, repeated handling, or long unsupported elements | A redesigned mixed-media construction | Mechanical supports, stronger joint systems, or other materials may be more appropriate than relying on air-dry clay alone. |
The most reliable choice is the one that matches the object’s actual life. A decorative display doll can prioritise accessible modelling, surface character, and gentle care. A poseable, heavily handled, frequently transported, or highly protruding figure needs a more robust construction strategy from the first sketch.