Process
Building a Small Animal Sculpture: Wire Armature and Wool Surface Techniques
Learn to build a small animal sculpture from wire and wool, from armature to final surface texturing.

By Sophie Harrow
· 5 min read
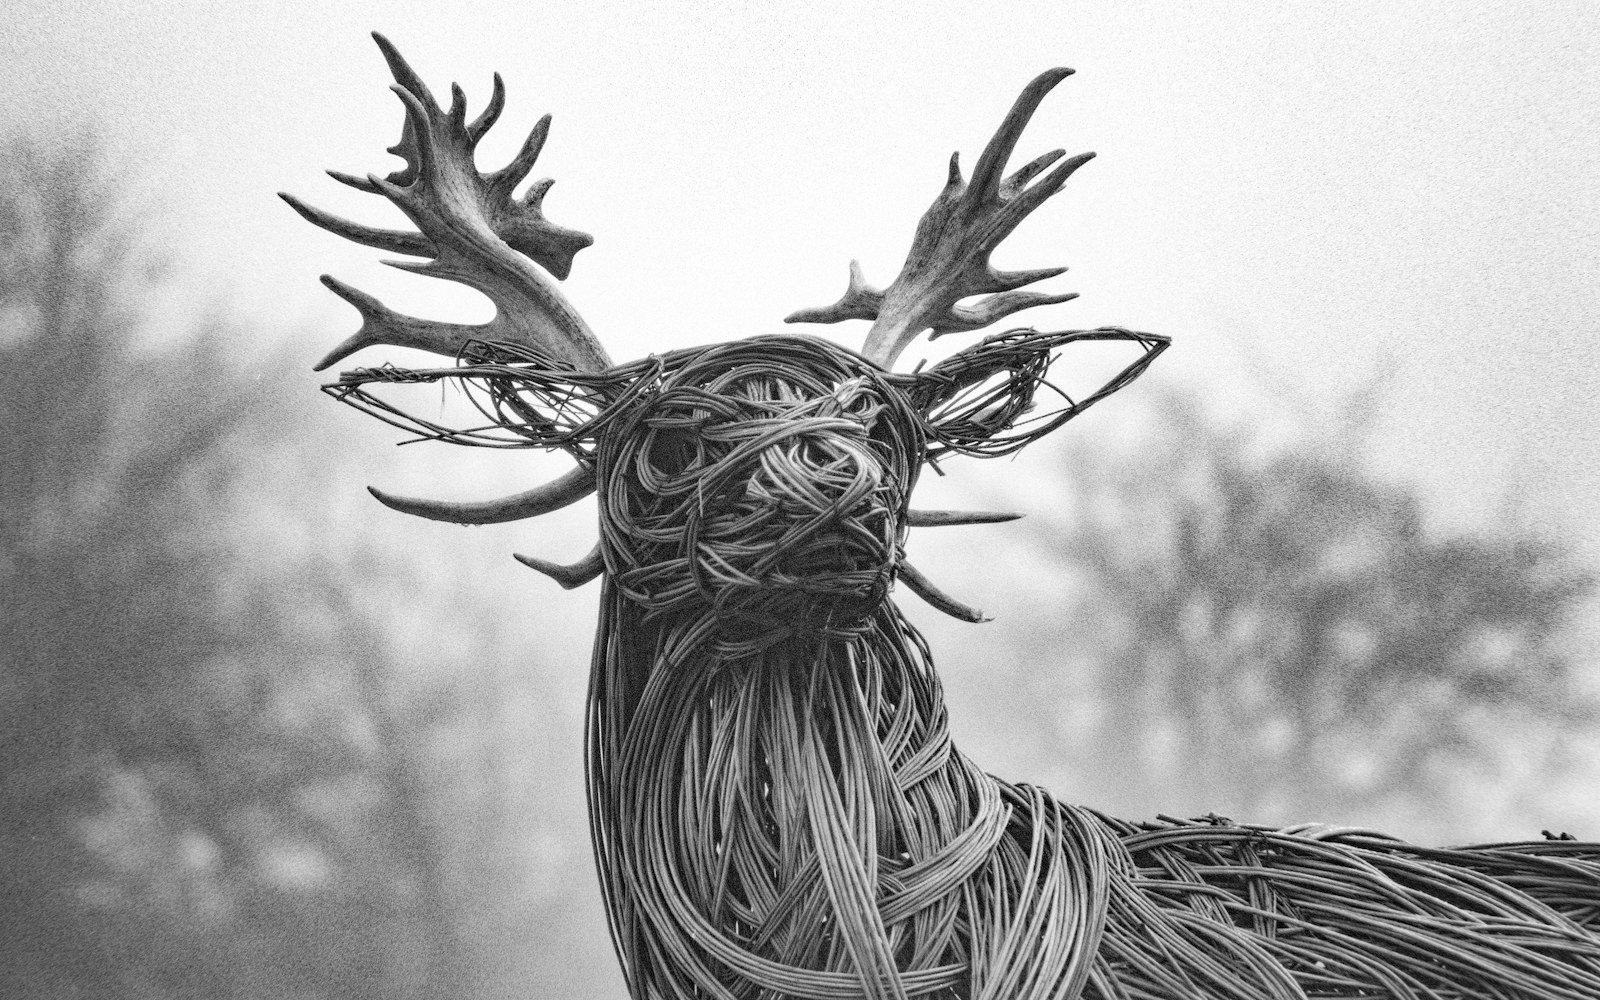
If you want to construct a small animal figure using wire armature and wool roving, and finish it with painted glass eyes and eyelashes, the process is straightforward when approached in stages. This guide covers the essential steps: preparing the wire skeleton, building the core form with raw wool, applying a carded wool surface, setting the eyes, and adding lashes. The techniques apply to small mammals or birds, from a few inches to about ten inches tall.
Materials and Tools
To begin, assemble the following:
- Wire: 16–20 gauge armature wire (aluminum or tinned copper) for the main skeleton; 24–26 gauge wire for small parts such as ears or tail.
- Cutting & shaping tools: Wire cutters, round-nose pliers, needle-nose pliers.
- Core wool: Unbleached, coarse wool roving (for example, Corriedale) for building mass.
- Surface wool: Carded, fine merino or blended wool in the colors you need for the outermost layer.
- Eyes: Pre-made painted glass eyes with wire loops or posts, sized appropriately for your animal.
- Adhesives: Strong craft glue (such as E6000) for eyes, and beeswax or mild adhesive for eyelashes.
- Eyelashes: Thin synthetic or natural hair, or fine wool fibers.
- Needle felting tools: Barbed felting needles (36–38 gauge) for attaching wool and texturing; a finer 40-gauge needle is useful for the final layers.
- Optional: Foam pad, wire stabilizer (wood base or foam block), and reference images of your chosen animal’s anatomy.
Wire gauge by animal size
| Animal height (approx.) | Armature wire gauge |
|---|---|
| 2–3 inches (5–8 cm) | 20–22 gauge |
| 4–6 inches (10–15 cm) | 18–20 gauge |
| 7–10 inches (18–25 cm) | 16–18 gauge |
Bending and Stabilizing the Armature
Cut a length of wire roughly three times the desired body length—this allows for the body plus two legs and a tail. Fold the wire in half and twist the folded end to form a small loop for the head, or attach a separate piece for the neck. Use pliers to shape the torso, spine curve, and four limbs. Keep the joints slightly loose initially; you can adjust posture later.
Secure the armature to a temporary base—push the wire ends into a block of styrofoam or cork, or use a small clamp. This holds the skeleton steady while you wrap wool. A common mistake is making the wire too stiff; leave a little flexibility at the shoulders and hips so you can refine the animal’s stance.
Building Core Form with Raw Wool
Use unbleached core wool torn into thin strips. Start at the torso, wrapping each strip around the armature, then work outward to the limbs and head. Overlap layers slightly and compress the wool with your fingers to create a smooth base. Keep the core about 20–30 percent smaller than the final desired size; the surface wool will add the remaining bulk.
For limbs, wrap the wool tightly around the wire, then needle felt the wrap lightly to cinch it in place before adding the next layer. Core wool alone will not hold fine detail—save that for the surface layer. Avoid over-felting the core wool, as it can become too dense to needle later.
Applying Carded Color Wool for Surface Finish
Tear small tufts of carded surface wool in your chosen color. Place a tuft on the core form and needle felt it with a 36- or 38-gauge barbed needle. Work in thin, overlapping patches to avoid visible seams. Stab at a 90-degree angle to drive fibers into the core; angle the needle slightly to smooth the edges. Build volume gradually. For the last two or three layers, switch to a finer 40-gauge needle to create a smoother, denser surface.
For short fur, stab uniformly all over. For longer fur, leave the surface fibers looser and brush them later with a pet slicker brush or comb. A common mistake is using too much wool per stab, which can cause lumpiness or weak attachment. Thin layers with many stabs yield a firm, even coat.
Setting Painted Glass Eyes and Attaching Eyelashes
Position the eyes after the surface wool is mostly complete but before final detailing. Make a small indentation for the eye socket using a blunt tool. If the glass eyes have wire loops, insert the wire into the head armature or through the wool and curl the end to anchor it, then apply a dab of strong glue to the loop inside the head. For eyes with posts, push the post through the wool into the core and secure with glue on the back side.
For eyelashes, use thin synthetic lashes cut to size or individual wool fibers. Apply a tiny amount of glue or beeswax to the base and press onto the wool above the eye. If using wool fibers, you can needle felt the base of the lash lightly to blend it. Allow the glue to cure fully before further handling.
Tips for Sturdy Joints and Proportional Anatomy
Reinforce joints such as shoulders and hips by wrapping extra wire or adding a second layer of core wool before the surface coat. Check proportions periodically against reference images—compare head length to body length for the animal you are making. For limbs that need to support weight or hold a pose, use a thicker wire (for example, 14 gauge) and anchor it deep into the torso core.
Keep in mind that small sculptures under three inches may not support heavy decoration or thick wool layers. Keep the armature proportionate and avoid adding excessive accessories that could unbalance the figure.
Frequently Asked Questions
Can I use acrylic yarn instead of carded wool? Yes, but yarn is less pliable for fine detail; it works best for bulk core filling.
How do I fix a wobbly armature? Check that the wire is firmly twisted and that core wool is packed tightly around the joints. A drop of glue at the twist can help.
Can I use plastic eyes instead of glass? Yes, but painted glass eyes offer a more realistic gleam; plastic may scratch during felting.
Conclusion
Building a small animal sculpture with wire and wool is a stepwise process that rewards patience. The techniques described—armature bending, core building, layered surface felting, and eye setting—apply to a wide range of small creatures, from birds to mammals. Adjust wire gauge and wool thickness to match your subject’s size and anatomy for the best results.