Materials
Choosing Fabric Marking Tools for Embroidery on Textile Art Dolls
For doll faces, miniature motifs, and dense stitched details, the best marking tool is the one that has passed a full swatch test on the exact materials and finishing process.
By Mateo Ellis
· 11 min read
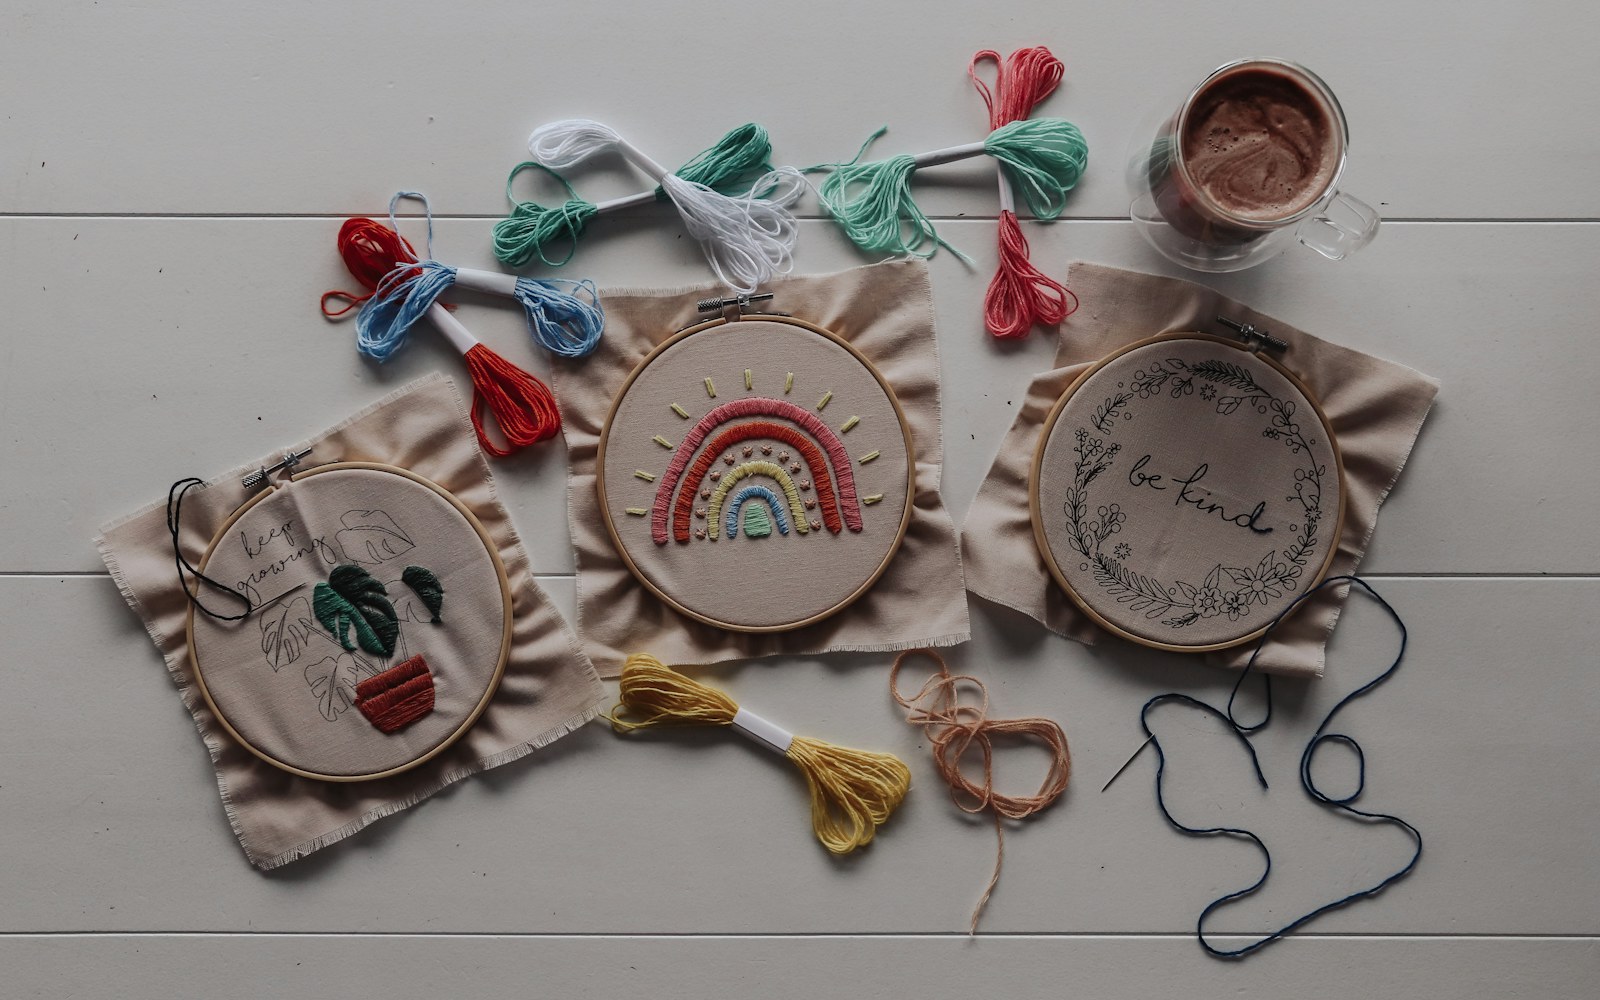
Makers need to transfer faces, costume motifs, and embroidery guides onto fabric but risk visible residue, ghost lines, heat-set marks, or damage to delicate and dark materials. The direct answer is that there is no universally safe pen or chalk for this job: the safest fabric marking tool for embroidery is the one that has passed a swatch test on the exact fabric, thread, support layers, and removal process your doll requires.
A line can disappear while fabric is wet and still leave a pale halo after drying. A washable mark may remain beneath dense stitching if it cannot be fully rinsed. A heat-responsive line may behave differently after pressing than it did on an untreated scrap. For textile art dolls, where faces are small, surfaces are often mixed, and finished forms may not be washable, testing is part of the making process rather than an optional precaution.
Why removable labels are conditional
Terms such as water-soluble, disappearing, washable, and heat-erasable describe an intended removal route, not a promise that every textile will return to its original appearance. Results can vary with tool formulation, fiber content, fabric dye, surface finish, pressure used to make the line, the age of the mark, and exposure to heat, humidity, handling, or light.
It also helps to separate two outcomes:
- No longer visible: the line cannot currently be seen, perhaps because the fabric is wet or the surface has shifted.
- Removed without a trace: after the planned treatment and complete drying, there is no visible residue, halo, color movement, or changed texture.
The second standard matters for exposed facial embroidery, pale costume fabric, and collectible objects intended for long display. It is harder to achieve on piled textiles, densely stitched areas, dark fabrics that need a high-contrast guide, and doll parts containing stuffing, wire, glue, beads, or trims that make thorough washing impractical.
Decision chart: match the tool to the doll surface
| Tool | Best use | Intended removal route | Main risks | Avoid or test especially carefully when |
|---|---|---|---|---|
| Water-soluble pen or wash out fabric pen | Fine visible guides on washable, smooth fabric before assembly | Rinsing according to the tool instructions | Residue under dense stitches, incomplete removal, pale halos | The area cannot be fully rinsed; fabric is pale, textured, dyed, or already assembled |
| Air-erasable pen | Brief placement marks when stitching begins immediately | Time and air exposure | Lines vanish before work is complete; behavior may shift with humidity and elapsed time | Building a complex face over several sessions or relying on the line as a lasting map |
| Heat-erasable pen fabric | Temporary guides on fabric that tolerates the planned pressing process | The manufacturer’s stated heat route, sometimes followed by another tested step | Heat may alter visibility or leave residue on some materials; lines can be difficult to assess before drying | Light fabric, delicate fibers, coated surfaces, unknown scraps, or any area where heating is risky |
| Tailor’s chalk | Broad placement, seam-level guides, and large dark embroidery fields | Brushing, gentle handling, or later removal appropriate to the fabric | Powder can brush away, skip across texture, or settle into nap | Tiny facial details, loose weave, velvet, deep pile, or marks that must stay precise |
| Soap sliver or tailor’s soap | Larger pale guides on fabric that can be rinsed | Rinsing as tested | Variable visibility and variable removal; may not suit delicate surfaces | Non-washable, dark, coated, or highly textured fabrics |
| Graphite pencil | Very faint guides that will be fully buried beneath dense stitching | Usually not treated as removable | Pigment can persist, smudge, or remain visible through sparse embroidery | Light grounds, exposed face lines, sheer fabric, or embroidery with open spacing |
| Thread tracing or basting | Delicate, dark, textured, valuable, non-washable, or high-stakes surfaces | Physical removal of the temporary thread | Takes time and can snag if removed carelessly after dense stitching | Very tiny marks where the basting itself would distort the fabric; test scale and tension |
Choose by five practical questions
What is the fiber and finish?
Washable cotton and linen often offer a relatively straightforward testing ground, but they still require a test. Silk, wool, rayon, synthetics, coated fabric, velvet, pile, and unknown scraps deserve a more conservative starting point. Their fibers, finishes, dyes, and surface structure may react differently to moisture, heat, friction, or pigment.
Unknown fabric should be treated as a high-risk surface. Begin with thread tracing, a removable overlay, or a mark that will be completely covered. If you do test a pen or soap, make the test larger than a single dot so it reflects the amount of marking needed for the project.
What is the ground color and print?
Pale solid fabric reveals faint color residue and grey shadows particularly clearly. Dark grounds may require a pale or bright guide, but a line that is visible enough to use may also be difficult to clear from texture or pile. Prints can disguise both a guide and a failed removal test, so inspect more than one area of the sample.
For an embroidered face, consider whether the mark falls outside the final stitch coverage. A tiny outline around an eye or mouth can remain conspicuous even when it is much fainter than the embroidery thread.
Is the surface smooth, textured, or piled?
Fine pen lines are easiest to control on stable, smooth weaves. Napped, fuzzy, heavily textured, loosely woven, or piled surfaces can interrupt a pen line, hold chalk particles, or make a removed line difficult to evaluate.
On velvet, velour, brushed cotton, mohair-like textiles, and similar surfaces, a basted guide or overlay is often easier to reverse than a liquid mark. The priority is not only whether a mark can be removed, but whether the removal process disturbs the pile or changes its direction.
Can the finished area be fully rinsed?
This is often the decisive question for an art doll. Before assembly, a flat embroidered panel may be rinsed and dried as a sample. Once a face has stuffing, wire armature, adhesives, beads, trims, painted elements, or mixed-media additions, full rinsing may no longer be realistic.
If complete rinsing is unavailable, do not depend on a water-soluble mark merely because it is called washable. Use thread tracing, an overlay, measured reference points, or minimal marks that will be entirely concealed by stitching.
Will every mark be covered?
Construction marks can sometimes sit safely within a dense embroidered field. Exposed guides are another category. A centerline that remains beneath packed satin stitch may be acceptable after a successful test; an exposed nose placement line on light skin fabric usually needs a more reversible approach.
Graphite belongs firmly in the covered-mark category unless a test proves otherwise. Treat it as potentially persistent rather than as a removable substitute for a fabric marker.
The swatch test to do before the final doll
A useful fabric marking test repeats the actual project rather than testing a single line on a spare corner.
- Prepare a representative sample. Cut the same fabric used for the doll and include the same interfacing, stabilizer, backing, batting, or adhesive support where possible.
- Mark separate areas. Apply each candidate tool in its intended color, pressure, and line density. Label the sample so you can identify the tool later.
- Stitch over part of every mark. Use the actual thread colors, stitch density, and direction planned for the doll. Leave another section exposed.
- Let the marks sit. Keep the sample for the realistic period between drawing and removal. A face completed over several sessions needs a longer test than a quickly stitched costume motif.
- Repeat the intended workflow. Rinse, air-dry, press, brush, or otherwise remove the guide exactly as planned. Follow the individual tool manufacturer’s directions, but let the swatch decide whether that route works for your material.
- Inspect only when fully dry. Check in daylight and in angled light. Look for colored residue, pale halos, dye movement, trapped marks under stitches, shine changes, compressed pile, and differences between marked and unmarked areas.
A pass is not simply a line that vanishes while wet. A pass means the fully dry, handled sample looks acceptable for the role it will play in the finished doll.
Factbox: Swatch-Test Record
Keep a small record with the successful sample or in your project notebook:
- Fabric fiber and finish
- Ground color or print
- Stabilizer, backing, or batting
- Marker type and color
- Date marked and time left before removal
- Stitching coverage and thread colors
- Removal method used
- Heat or moisture exposure
- Result after full drying and angled-light inspection
This record will not guarantee that another batch of fabric behaves identically, but it creates a reliable reference for your own materials and workflow.
What commonly creates ghost lines
The most frustrating failures usually come from process mismatches rather than from choosing the wrong tool category outright.
Applying heat too early
Do not iron a supposedly erasable line simply because another project used heat successfully. Some heat-responsive marks may become harder to remove or leave visible residue on particular fabrics. Heat should be part of the plan only after it has been tested on the same fabric and after you have checked the tool instructions.
Leaving a mark longer than the project allows
Water-soluble and air-erasable marks are not ideal for every slow project. Time, humidity, repeated handling, and storage conditions may affect visibility and removal. Make only the marks needed for the current stage when possible.
Drawing too heavily
Repeated retracing, strong pressure, and saturated lines deposit more material in the fabric. A very bold guide may be easier to see while stitching but harder to remove, especially under dense thread painting. Use the lightest line that remains workable.
Removing only at the surface
Spot-dabbing may not reach residue held below dense stitches, in pile, or within a textured weave. If a tool requires thorough rinsing to clear, a finished stuffed form may not be the right place to use it. Plan removal before final assembly when that is the only viable route.
Checking while fabric is damp
Moisture can temporarily conceal a faint mark, shift the appearance of fibers, or flatten a surface. Let the test dry fully before deciding it has passed. Examine both straight-on and under angled light, which can reveal sheen changes and faint outlines around embroidery.
Low-risk alternatives for faces and high-stakes embroidery
When an exposed face or delicate textile cannot tolerate uncertainty, move the map off the final fabric whenever possible.
Use a temporary overlay
A paper pattern, tracing paper, or appropriate stabilizer overlay can hold the full facial map while the cloth beneath stays unmarked. Transfer only the information necessary to begin: centerline, eye level, a few anchor points, or stitch direction.
Baste the geometry
A contrasting thread can establish a face centerline, eye line, mouth level, motif boundary, or simple grid. This method is slower than drawing, but it is highly visible on dark or textured surfaces and does not introduce liquid ink or pigment. Keep basting tension light enough that it does not distort the fabric.
Work from fixed reference points
Seam intersections, a center seam, a dart, or a lightly basted grid can locate features without requiring a fully drawn face. For a symmetrical doll, measure outward from the centerline and compare both sides before securing the first eye or mouth stitch.
Transfer less of the motif
For thread-painted motifs, mark anchor points and broad directional lines rather than outlining every petal, feather, or facial contour. Build the rest through observation and stitch placement. Fewer marks mean fewer opportunities for residue to remain visible.
Pins can assist with broad alignment on robust fabrics, but they are not a substitute for a precise miniature guide. Remove them progressively and avoid using them where they may permanently disturb pile or snag delicate fibers.
A practical recommendation by task
Fine facial placement on light fabric: Start with thread tracing, a temporary overlay, or tiny tested marks that will be covered. Avoid relying on graphite or a broad pen outline where the final stitches leave any edge exposed.
Thread-painted motifs on washable smooth fabric: A tested water-soluble pen can be practical when removal is planned before the panel becomes a finished doll part. Test beneath the same dense stitching used in the motif.
Dark costume fabric with broad embroidery areas: Tested tailor’s chalk can work well for placement and directional guides, provided the texture does not shed the chalk or trap it in the surface. A contrasting tool may also be suitable if it passes the full test.
Velvet, pile, delicate fabric, or unknown scraps: Begin with basting or an overlay. Do not assume a liquid mark will rinse from a surface simply because it disappears from a smooth cotton sample.
Fully assembled or non-washable doll parts: Favor non-marking methods, physical guides, and stitch-covered reference points. Avoid any method whose removal depends on soaking, rinsing, or heat that the completed object cannot safely receive.
The useful rule: test the whole sequence
A marking tool is not chosen in isolation. It is chosen alongside the fabric, dye, support layers, thread coverage, time schedule, removal route, and eventual construction of the doll.
For a quick costume seam on washable cotton, a tested wash out fabric pen may be efficient. For a pale embroidered face on a stuffed, mixed-media figure, basting may be the safer choice even though it takes longer. The right decision is the one that gives you a clear guide now without leaving an uncertain record on the finished surface later.