Materials
Choosing Paint Markers for Custom Art Dolls: Adhesion, Sealing, and Wear Tests
Crisp painted details depend on a compatible surface-and-finish system, not on a marker’s promise of permanence.
By Mateo Ellis
· 11 min read
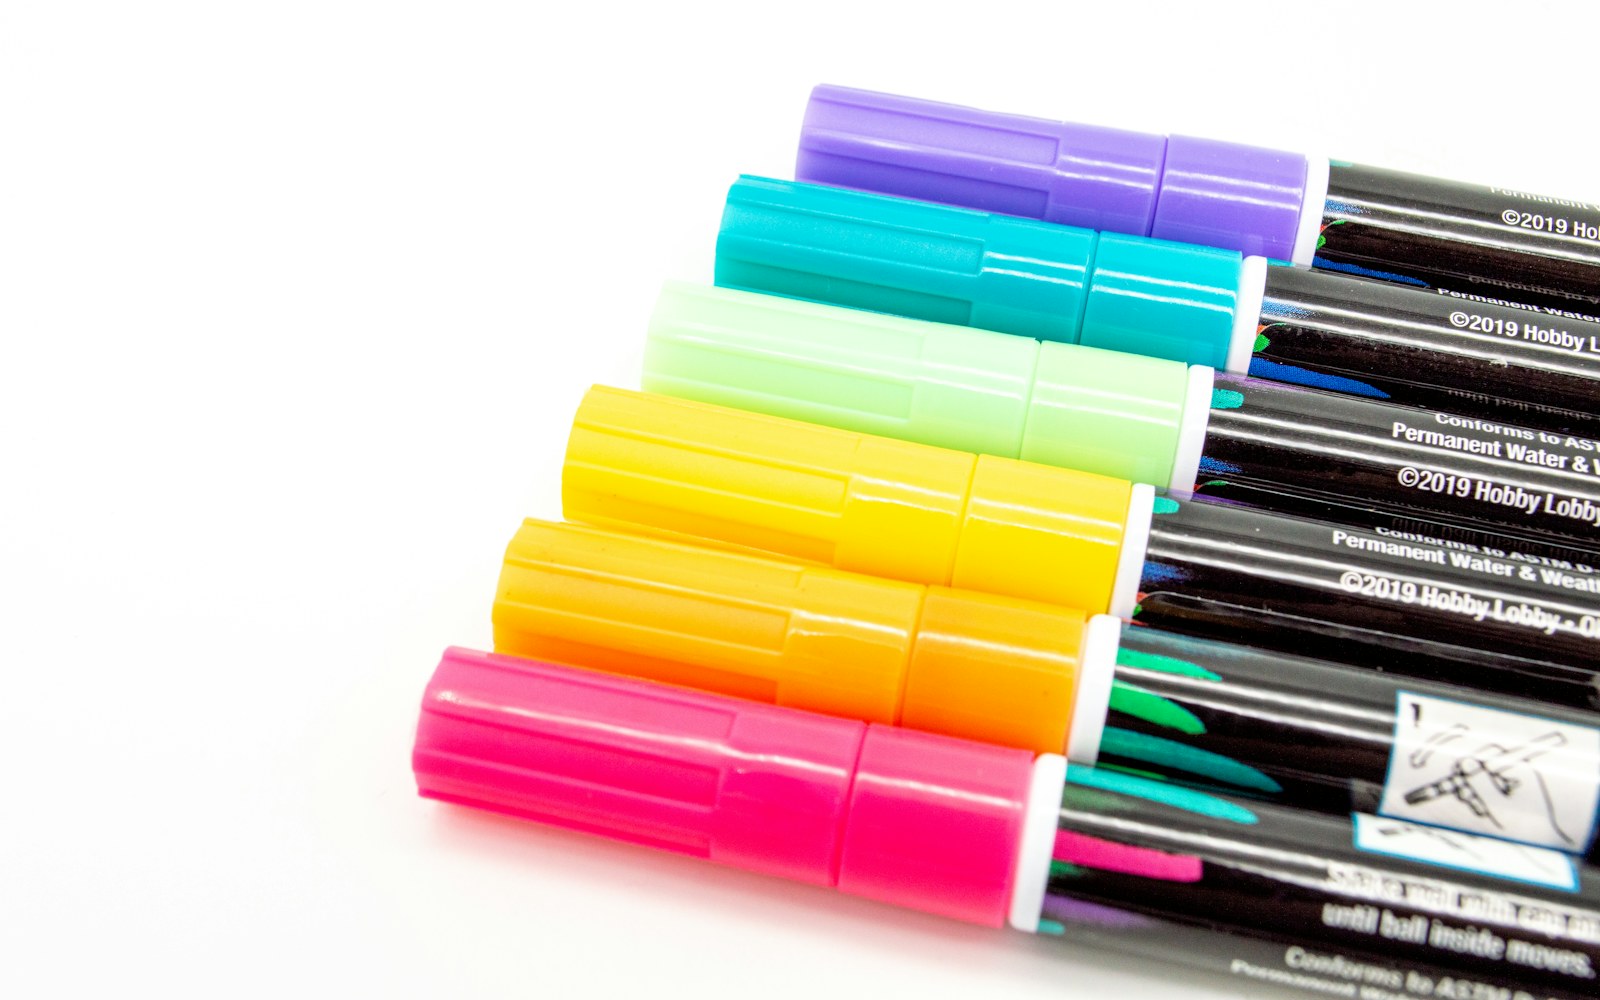
Collectors and makers want to add crisp graphic details to wood, resin, polymer clay, or sealed surfaces, but marker paint can bead, scratch, fade, or react badly with an incompatible topcoat. The short answer is that paint markers can work beautifully on art dolls, but success depends less on a marker brand than on a clean, compatible substrate, adequate cure time, and a test of the complete finish system before the doll itself is painted.
Paint markers for art dolls are especially useful for graphic linework, symbols, tiny color blocks, and controlled opaque accents. They are not a universal solution for every surface or every wear condition. A detail that holds up on a display-only cheek may fail quickly at a joint, beneath fitted clothing, or where a stand grips the figure.
Start with the doll surface and its handling demands
Before choosing a tool, identify the actual surface receiving paint. “Wood,” “resin,” and “clay” describe broad material families, not identical painting conditions. A figure may also have layers that complicate the picture: primer, factory paint, varnish, wax, soft-touch coating, release-agent residue, or an earlier repair.
Ask four practical questions:
- Is the substrate known, clean, dry, and fully cured?
- Is the painted area primarily decorative or regularly touched?
- Will it flex, move, rub against clothing, contact a stand, or meet another part at a joint?
- Is the surface porous, matte, glossy, slick, oily, textured, or already sealed?
Glossy, very smooth, flexible, oily, and unknown surfaces are generally higher-risk for marker adhesion. The paint may bead rather than wet the surface, or it may form a film that looks sound until it is rubbed or scratched.
Set the target honestly. Durable display detail is not the same as an abrasion-proof finish. A doll intended for gentle display can tolerate a different paint system from a toy-like object that is frequently posed, dressed, packed, or handled.
Substrate notes for common art-doll materials
Unfinished wood can be absorbent and uneven. Marker paint may feather along grain, sink in unpredictably, or show variations in opacity. A compatible preparatory layer may make linework more even, but it also changes the wood’s appearance and tactile character. Test on the same species, cut, and finish condition when possible.
Previously sealed or painted wood may be easier to draw on, but the existing finish becomes the adhesion layer that matters. A slick varnish or unknown coating can prevent a marker from bonding well. Any attempt to create tooth should be light, localized, and tested first; aggressive abrasion can haze a finish or flatten sculptural detail.
Cured polymer clay varies substantially by formulation, cure history, surface texture, and any added coating. Acrylic paint marker on polymer clay may appear to adhere initially yet lift under fingernail contact or soften when paired with an incompatible clear coat. Test the exact clay surface and planned finish stack rather than assuming all cured clay behaves alike.
Resin can retain traces of mold-release material, workshop dust, skin oils, or a prior coating. For a seal paint marker on resin doll workflow, the clear coat must be tested over the specific marker, base layer, and resin preparation. A clear finish may improve scuff resistance, but it cannot repair paint that never bonded to the resin or prior coating.
Vinyl deserves added caution because some vinyl surfaces are flexible, plasticized, or treated with finishes that affect paint adhesion. A rigid paint film may crack, shed, or feel noticeably stiff as the material moves. Test on an unobtrusive area or matching sample, including flexing and repeated contact.
Fabric is often the most difficult place to achieve crisp, durable marker detail. Fibers can wick paint, textures can interrupt lines, and flexible cloth can crack a rigid film. If the area will bend, drape, or rub, test movement before committing to a finished doll.
Acrylic paint markers, paint pens, or brush-applied acrylic?
The useful comparison is not simply marker versus brush. It is about the binder, the delivery method, the shape of the surface, and how much correction the detail may need.
| Tool | Strengths | Limitations | Best use |
|---|---|---|---|
| Acrylic paint marker | Fast opaque marks, repeatable graphic lines, convenient small-area use | Nib can drag on relief, paint flow can flood texture, limited correction while wet | Flat or gently curved areas with bold graphic detail |
| Other paint pen | May offer strong color or fine line options | Binder and solvent chemistry vary widely; clear-coat compatibility is not predictable by appearance | Only after the product type and full finish stack are tested |
| Brush-applied acrylic | Adjustable dilution, edge cleanup, layering control, access to recesses | Slower setup and requires brush handling | Fine corrections, sculpted texture, small recesses, mixed effects |
Acrylic paint markers usually suit graphic marks where the nib can touch the surface without scraping across raised details. They can make clean bands, dots, lettering-like marks, and color blocking quickly. Yet a nib is not automatically more precise than a brush. On a highly sculpted face, carved wood grain, or a tiny recessed seam, the marker can deposit paint on high points while skipping the intended area.
Other paint pens should not be treated as interchangeable with acrylic paint markers. “Paint pen” can describe products with different binders, solvents, pigments, and drying behavior. Before layering or sealing, establish what the product is intended to be used on and follow its relevant instructions. A clear coat that behaves well over one type of pen can smear, wrinkle, or alter another.
Brush-applied acrylic is often the quieter, more adaptable choice for miniature work. It permits thinner passes, sharper cleanup, and a better response to texture. A fine brush can also correct a marker line that is too broad, uneven, or poorly placed without repeatedly forcing the marker nib through the area.
Prepare the surface without flattening the sculpture
Preparation is mostly about removing barriers between paint and substrate. Loose dust, fingerprints, workshop residue, and uncured prior layers can all interfere with adhesion.
Use a substrate-appropriate, low-risk cleaning approach and let the surface dry completely. Follow the maker’s instructions for the doll material and existing finish where those are known. Avoid treating a strong cleaner or solvent as a universal answer: an approach that is tolerated by one resin, vinyl, or coating may damage another.
On slick sealed wood, resin, or cured polymer clay, a small test may show that a very light tooth-creating step improves paint hold. This is not a blanket instruction to sand every doll. Abrasion can remove detail, change sheen, leave haze, and create a visible patch. Test only in a discreet area or on a prepared offcut.
If you plan to customize a wooden figure with paint pens, account for grain before drawing on the final object. Test whether the pen feathers, skips, or sinks into the wood. If a preparatory layer is used, include that layer in the same test grid as the final finish.
Do not add marker paint over uncured paint, oily residue, unknown soft-touch coatings, or surfaces suspected of retaining release agents. More layers of paint or varnish rarely solve contamination underneath.
Run a small adhesion and wear test first
A discreet test grid is more useful than a broad promise of durability. Make it on a hidden part of the doll only if that is safe and acceptable; otherwise use an offcut or sample prepared exactly like the doll.
Factbox: Before You Paint — a test-grid recipe
Create rows for each surface condition you are considering:
- Bare substrate.
- Cleaned substrate.
- Any lightly abraded test area, if appropriate.
- Any planned base coat or preparatory layer.
Create columns that record:
| Surface/prep | Marker and color | Number of passes | Drying intervals | Cure date | Clear-coat result | Rub result | Keep or reject |
|---|---|---|---|---|---|---|---|
Apply the marker in the same number of passes planned for the finished doll. Record what happened rather than relying on memory: did the paint bead, skip, pool, feather, or cover evenly? Did a second color disturb the first?
Let the sample cure according to the relevant product guidance. Surface-dry paint is not necessarily fully cured paint. A line may feel dry to a light touch while its film is still vulnerable to rubbing, solvent exposure, pressure, or a topcoat.
Apply the intended clear coat to only part of each sample. If the coating system calls for a light initial pass, test that approach too. Then compare sealed and unsealed areas after full cure.
Practical comparative checks can include gentle dry rubbing, cautious use of low-tack tape, fingernail contact at an edge, repeated normal handling, and contact with likely friction points. These are not laboratory certification tests. They are a way to reject weak combinations before they are used on an irreplaceable finished object.
Look for:
- beading or uneven coverage;
- lifting at an edge;
- smearing or color transfer;
- softening, wrinkling, or dissolution under clear coat;
- unexpected gloss or color shift;
- cracking after movement;
- wear where clothing, stands, joints, or fingers contact the surface.
If the result fails, reject the combination rather than attempting to bury it under more clear coat.
Apply details with cure time and rework in mind
Shake and prime markers as directed, then test their flow on scrap before approaching the doll. An over-primed nib can release too much paint, while a poorly primed nib can skip and encourage hard pressing.
Build opacity in measured passes. Repeatedly scrubbing a wet area with the nib can disturb the layer beneath, push paint into unwanted texture, and create a raised, fragile deposit. Allow each layer enough drying time before adding an adjacent color or correction.
Work from less-handled areas to more-handled areas where possible, and protect completed portions from fingerprints while finishing the object. For details that are smaller than the nib, or for corrections in sculpted recesses, use a fine brush with a compatible acrylic paint rather than forcing the marker into the texture.
Common mistakes include:
- pressing the nib hard enough to drag across raised sculpture;
- applying onto contamination or an incompletely cured layer;
- assuming an opaque line is also a well-bonded line;
- sealing as soon as paint feels dry;
- treating joints and clothing-contact points like low-wear display areas.
Decide whether sealing is worth it
A compatible clear coat can reduce scuffing and make sheen more consistent. It can also change the object: color may deepen or dull, matte areas may gain a chalky cast, and tactile qualities can become more plastic-like. On a carefully finished doll, that change may not be desirable.
Clear coat has a firm limitation: it cannot reliably fix poor adhesion underneath. If paint is weakly attached to a slick surface, the clear layer may lift with it, or it may lock in a problem that becomes difficult to repair.
Some coatings can make marker color run, smear, dissolve, wrinkle, yellow over time, or change sheen. The risk depends on the exact paint, substrate, prior layers, application method, cure state, and environment. Test the exact stack, not merely the marker and sealer in isolation.
For a successfully cured detail in a low-contact display area, leaving it unsealed may sometimes be preferable to using an incompatible topcoat. For higher-contact locations, consider whether the design can avoid the friction zone instead. Moving joints, stand contact points, fitted clothing edges, and flexible areas remain likely wear zones even when sealed.
If a compatible sealer is chosen, use the product’s directions and allow the completed system to cure before routine handling. Revisit the sample after it has had time to settle; a finish that initially looks clear may later reveal softness, tack, or transfer.
Record the finish system and care instructions
A materials log is part of making a repairable, responsibly documented object. Record the substrate, cleaning method, preparatory layers, marker type and colors, brush paints, clear coat, application dates, and test outcomes. Photograph the test grid and the finished work under consistent lighting so later changes can be compared.
For collectors or future caretakers, include realistic care notes:
- Handle gently and avoid prolonged rubbing.
- Keep painted areas clear of tight stands, rough packaging, and persistent clothing friction where possible.
- Avoid unnecessary heat, strong direct light, moisture exposure where unsuitable, and close contact with other objects that may mark the surface.
- Note painted joints, flexible sections, and other areas expected to show wear first.
- Retain product information for future touch-ups; unknown compatibility is better documented than promised away.
Practical decision checklist
Before adding graphic detail, confirm the following:
- The substrate and prior finish are known, clean, dry, and fully cured.
- The chosen marker suits the area’s texture, curvature, flexibility, and expected handling.
- A brush-applied acrylic has been considered for recessed, highly textured, or correction-prone details.
- The complete system—surface, base layer if any, marker, and clear coat if any—has passed a small sample test.
- The sample had enough cure time to reveal smearing, lifting, softness, and adhesion problems.
- Joints, stand contact points, and clothing-friction zones are left unpainted, protected differently, or treated as likely wear areas.
- Materials, layers, dates, test results, and care guidance are recorded.
The strongest result is not necessarily the most heavily sealed one. It is the finish system that gives the intended visual effect while matching the doll’s material, construction, and realistic handling life.