Materials
Clear Coats on Polymer Clay Figures: Choosing, Testing, and Caring for a Varnished Finish
A clear coat can refine a painted polymer-clay figure and make gentle cleaning easier, but its protection is limited—and compatibility must be tested as a complete material system.

By Mateo Ellis
· 11 min read
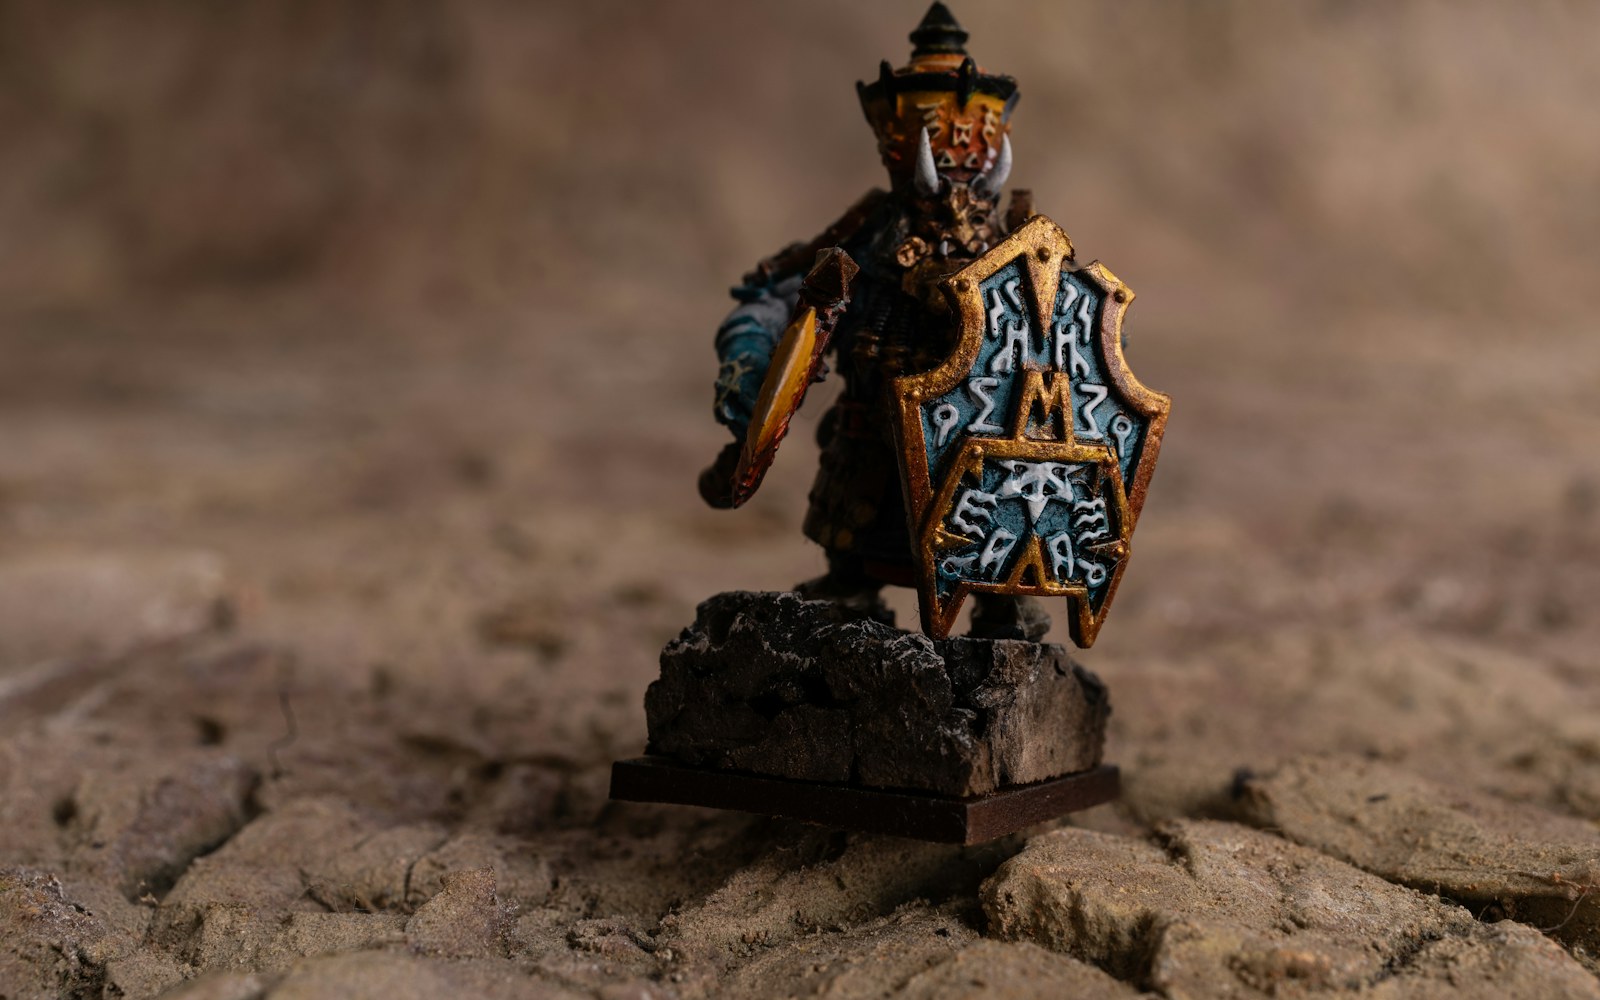
Collectors and makers want painted polymer-clay figures to look finished and remain easy to clean, but need to understand what a clear coat can and cannot protect against. The direct answer is that a polymer clay figure varnish can set a chosen sheen, reduce direct contact with painted areas, and provide a limited sacrificial surface for gentle care. It cannot make a figure damage-proof against scratching, pressure, solvents, heat, prolonged light exposure, or an incompatible material layer.
The best choice is therefore not a universal “safe” finish. It is a finish category selected for the figure’s visual purpose, expected handling, construction, and display environment—then tested on the exact clay, paint, adhesive, and cure sequence used for the final work.
What a clear coat does—and what it cannot do
The language around finishes can be confusing because products sometimes perform more than one role.
A sealer is generally intended to isolate or stabilize a surface. A varnish is a clear surface film intended to provide a selected appearance and a degree of wear resistance. A decorative topcoat or appearance-enhancing treatment may alter sheen, deepen color, or create a particular tactile effect without forming a durable protective film. A single product may overlap these categories, but its intended function still matters.
On a painted collectible, a suitable clear coat may:
- unify the surface sheen across paint layers;
- make painted details look more resolved or visually saturated;
- reduce routine direct contact with vulnerable paint;
- make careful dry dusting more practical; and
- offer a surface that may be easier to renew than an exposed painted layer, depending on the complete material system.
Those benefits have limits. Clear films can scratch, cloud, yellow, crack, remain soft or tacky, lose adhesion, or react with layers below or beside them. Their behavior depends on the clay formulation, paint type, colorants, film thickness, application technique, drying and curing conditions, later handling, and display environment.
A protected display collectible and a frequently handled miniature should also be approached differently. A finish that looks excellent in a cabinet may show wear quickly on a piece repeatedly held, carried, posed, or packed. Clear coating is best understood as surface management, not as an all-purpose shield.
Compare finish categories by use, not by brand
No finish category is automatically compatible with every polymer clay or painted surface. Water-based does not automatically mean non-reactive, and a finish that works well over one paint system may fail over another. The comparison below is a starting framework for choosing what to test.
| Finish category | Appearance | Typical strengths | Likely drawbacks | Handling suitability | Test priorities |
|---|---|---|---|---|---|
| Water-based polyurethane or wood varnish | Available in a range of sheens; can create a clear, finished film | Often considered for durable clear coating; may be practical for display figures when properly applied | Brush marks, uneven leveling, pooled recesses, altered surface feel, or incompatibility remain possible | Often better suited to low-to-moderate handling after successful testing | Leveling, brush marks, tackiness, paint adhesion, detail retention |
| Acrylic-art varnish | Usually formulated for painted surfaces and available in gloss, satin, and matte | A possible clear-coat category for acrylic-painted details; offers broad sheen choices | Must not be assumed interchangeable across clay and paint systems; matte versions may show wear differently | Often best evaluated for display or light handling | Adhesion at painted edges, cloudiness, color shift, scuffing, recoat behavior |
| Gloss topcoat | Reflective, color-intensifying, visibly coated | Can create a polished surface and make color appear richer | Shows fingerprints, dust, brush marks, pooling, and surface irregularities readily | Best where the visual effect outweighs frequent-touch concerns | Evenness, reflection quality, fingerprint visibility, cure hardness |
| Satin topcoat | Soft intermediate sheen | Can reduce the stark reflectivity of gloss while retaining a finished surface reading | May still reveal irregular application; sheen can vary across textures | A useful candidate for display figures and lightly handled miniatures | Sheen consistency on smooth and textured areas, touch marks, detail clarity |
| Matte topcoat | Low-shine or shine-free finish | Can support a velvety, natural, painted, or cloth-like visual effect | In some systems, may be more prone to visible scuffing or burnishing; can look uneven if applied inconsistently | Often better for low-wear zones unless testing supports broader use | Burnishing, scuffs, chalky haze, texture change, cleaning response |
| Wax-like or appearance-enhancing treatments | Often enrich color or create a soft buffed sheen | Useful for a particular visual or tactile effect on appropriate surfaces | Not equivalent to a durable varnish film; may attract dust, transfer, wear away, or complicate later work | Generally best treated as an appearance decision, not all-purpose protection | Buffing effects, dust retention, contact transfer, future paint or coating adhesion |
Sheen is also a maintenance decision
Gloss, satin, and matte are not merely stylistic choices. They change what the eye notices and how a surface may age.
Gloss can make painted eyes, glazed-looking accessories, wet effects, or jewel-like color feel vivid. It can also make every uneven brush stroke, fingerprint, dust particle, and pooled edge more visible. On a deeply textured sculpt, reflected light may emphasize missed recesses or inconsistent coverage.
Satin provides a middle position. It can soften the plastic-like reflectivity of high gloss while offering more visible depth than a dead matte surface. For many figures, it is worth testing where the work needs a gentle finish but still includes painted miniature detail.
Matte can suppress glare and preserve a soft, powdery, textile-like, or unvarnished visual reading. Yet a low sheen should not be confused with low maintenance. Some matte systems may show rubbing, pale scuffs, or burnished shiny spots, especially at contact points. Test matte finishes on the actual clay and paint stack before using them on a high-touch figure.
Build a compatibility test before finishing the figure
The relevant unit of testing is not the clear coat alone. It is the whole stack: cured polymer clay, paint, pigments or pastels, adhesives, metal elements, mixed-media additions, and any areas close to LEDs or other electrical parts.
Make test pieces before committing to the finished figure. Flat tiles are useful for observing color shift and clarity, but they cannot reveal every application problem. Include at least one small sculpted or textured form with seams, recesses, raised detail, and a curved surface similar to the finished object.
A practical compatibility protocol
- Match the final clay and cure schedule. Use the same polymer clay formulation and follow the same curing approach used for the figure.
- Reproduce every surface layer. Apply the same paints, pigments, pastels, inks, adhesives, and any other color or assembly materials used on the final work.
- Allow each layer its required drying or curing period. A coating test is not meaningful if the paint beneath it has not had the time specified by its maker.
- Apply the candidate clear coat as intended. Use the planned brush, sponge, airbrush, or other approved tool, and work on both smooth and textured samples.
- Compare thin applications with a heavier application only if product instructions permit it. Record whether opacity, leveling, texture, detail sharpness, or sheen changes between approaches.
- Let the complete test cure fully. Follow the product instructions rather than relying on a general time estimate.
- Inspect under normal display light. Check for tackiness, fingerprints, cloudiness, color shift, cracking, softness, adhesion loss, and changes around painted edges.
- Carry out gentle, non-destructive handling checks. Lightly assess whether the finish feels stable and whether ordinary touch leaves marks. Do not scrape, soak, or aggressively flex the sample in an attempt to simulate years of use.
- Keep the test sample. It becomes a reference for later comparisons if the figure’s surface changes or needs repair.
A successful short test is encouraging, but it is not proof of permanent stability. Long-term performance can change with heat, humidity variation, light, pressure, stored contact materials, and ordinary aging.
Apply the finish with details and assembly in mind
Clear coating is easiest to control when it is planned before final assembly. Decide which zones benefit from a coating and which should remain uncoated.
Areas that often need separate decisions include deliberately matte clay, moving joints, friction points, sockets, surfaces intended for later glue, magnetic closures, metal contact areas, and delicate painted facial details. A film that is attractive on a cheek or decorative shoe may interfere with a joint or prevent an adhesive from bonding as expected.
Before application, remove loose dust with a clean, gentle method appropriate to the surface. Work in a low-dust space and support the figure so that wet finish does not run into crevices, facial sculpting, or under attached elements.
Favor controlled, thin, even applications where the product instructions support them. Flooding a miniature can soften fine texture visually, form ridges along raised details, bridge narrow gaps, or collect in recesses. A finish may appear clear while wet yet become more apparent after it levels and cures, especially on dark paint or fine sculptural texture.
Allow adequate drying and full cure before assembling the figure, placing it in an enclosed display, wrapping it, or packing it for transport. Freshly finished surfaces are particularly vulnerable to impressions from foam, tissue, plastic sleeves, packing materials, or adjacent objects. Do not assume that a surface is ready for contact simply because it no longer feels wet.
Mixed media and LED-adjacent construction
Treat every additional material as a separate compatibility zone. Test around metal, fabric, resin, paper, wires, and adhesive joins rather than assuming a clear coat behaves the same on all of them.
Do not let liquid coating enter electrical components, battery compartments, switches, wire connections, or functional LED areas. Do not coat moving joints, glue surfaces, or functional parts unless the material’s compatibility and performance have been tested for that purpose. Masking, selective application, or leaving a zone uncoated may be the safer design choice.
Care for a lacquered or varnished collectible figure
A finished surface remains a vulnerable surface. Good care reduces the demands placed on the clear coat.
Display the figure indoors in a stable location away from prolonged direct light, heat sources, and enclosed locations that can trap heat. Some coatings include ultraviolet-related additives, but that does not remove the need to limit sustained direct light. Light and heat can affect the complete object, including the clay, paint, adhesive, textile, and electronic components.
Handle the figure as little as practical. Use clean, dry hands and support its structural body or base rather than rubbing varnished details, painted faces, extremities, or applied decorations. Avoid rings, bracelets, rough sleeves, and hard display props that can abrade a finished surface.
For routine care, begin with the least invasive option: gentle dust removal using a soft, clean tool suitable for delicate surfaces. Avoid scrubbing. A clear coat may make dry dusting easier, but it does not make a painted miniature suitable for household cleaning methods.
Do not use solvent cleaners, household sprays, alcohol-based products, wipes, polishes, or other cleaning agents unless their safety for the exact finish and material stack has been tested and confirmed. A product that cleans one coated surface can cloud, soften, discolor, or weaken another.
When storing or transporting a figure, make sure it is fully cured first. Keep packing materials from pressing directly against the surface, especially on gloss finishes, soft-touch coatings, or freshly completed work. If a contact material must be used, test it against a reference tile before relying on it for long-term enclosure or transit.
Plan for repair before choosing the finish
Repairability is part of finish selection. Before coating, ask what may need to happen later: paint touch-up, local repair, revarnishing, replacement of an accessory, or correction of a damaged area.
Do not assume a new clear coat will adhere to an older one, dissolve into it evenly, or cover it without visible boundaries. A repair layer can create a different sheen, lift paint, bead up, remain soft, or reveal an edge. Test any proposed repair sequence on saved sample material first.
A selectively coated figure may be easier to revise than one covered uniformly, but selective coating also requires careful visual planning. It can be useful to reserve uncoated glue zones, joints, and hidden assembly points from the beginning rather than trying to remove a film later.
Factbox: compatibility test card
Keep a simple record with the test tile and the finished figure’s provenance notes.
- Clay: formulation, color, and cure schedule
- Color layers: paints, pigments, pastels, inks, and any primers or sealers
- Assembly materials: adhesives, metals, fabrics, resins, magnets, and LED-adjacent components where relevant
- Clear coat: category, sheen, product name if known, and application tool
- Application record: number of coats, areas coated, drying intervals, and application date
- Test observations: leveling, tackiness, cloudiness, color shift, scuffing, adhesion, and surface feel after full cure
- Object care instructions: approved display conditions, handling limits, dusting method, and cleaning prohibitions
For sold, gifted, or long-term collected figures, these notes help future caretakers understand that the surface is a specific material system, not a generic “sealed” object.
Quick decision checklist
Before applying a polymer clay figure varnish, ask:
- Is the main goal sheen control, paint isolation, easier dusting, or a combination of these?
- Will the piece be frequently handled, openly displayed, enclosed, transported, or stored?
- Has the exact clay-paint-finish sequence been tested and fully cured?
- Does the selected sheen support the sculpt while keeping fingerprints, irregularities, scuffs, or burnishing within acceptable limits?
- Have fine details, recesses, joints, contact points, glue zones, and mixed-media areas been considered separately?
- Has the figure been given sufficient drying and curing time before assembly, display, or packing?
- Is there a realistic plan for touch-up or repair if the finish is damaged?
- Have the materials, method, date, and care limits been recorded?
A clear coat is most successful when it is treated as one deliberate layer in the figure’s construction. Choose it for the surface you want, test it for the materials you actually used, and care for the completed collectible as an object that remains sensitive to friction, pressure, heat, light, and incompatible cleaners.