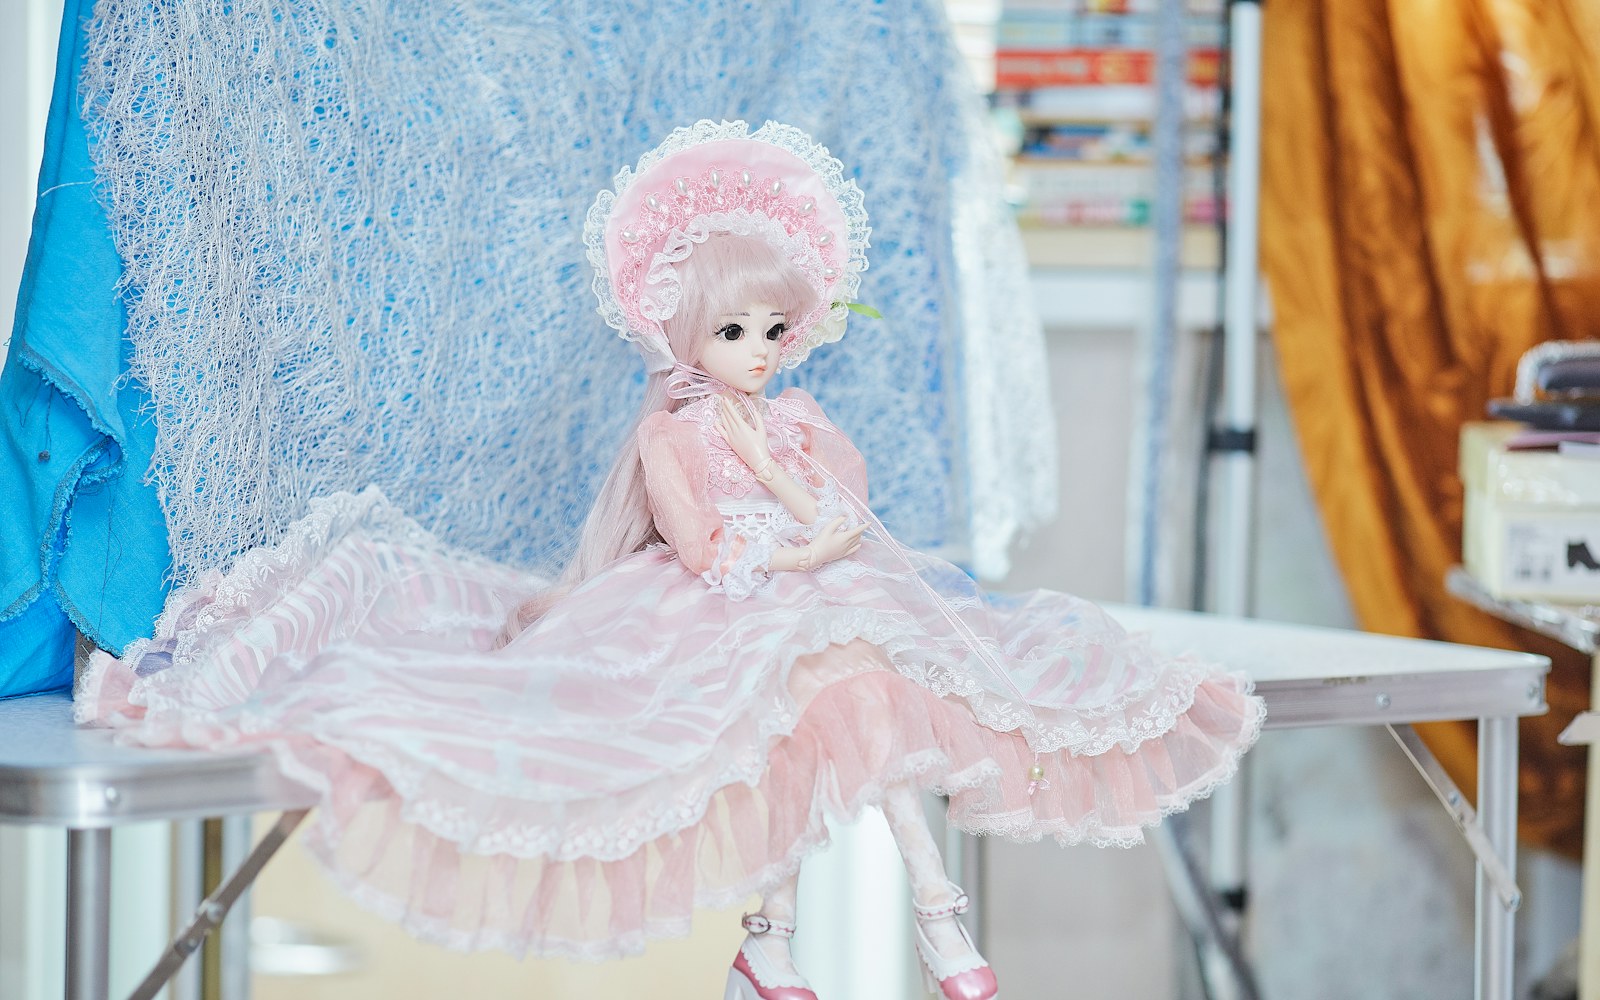
Materials
How to Attach Beads, Sequins and Thread Embellishment to Art Dolls
Choose stitched, couched, wired, or adhesive attachment by reading the doll’s surface, structure, weight load, and movement first.
By Mateo Ellis
· 15 min read
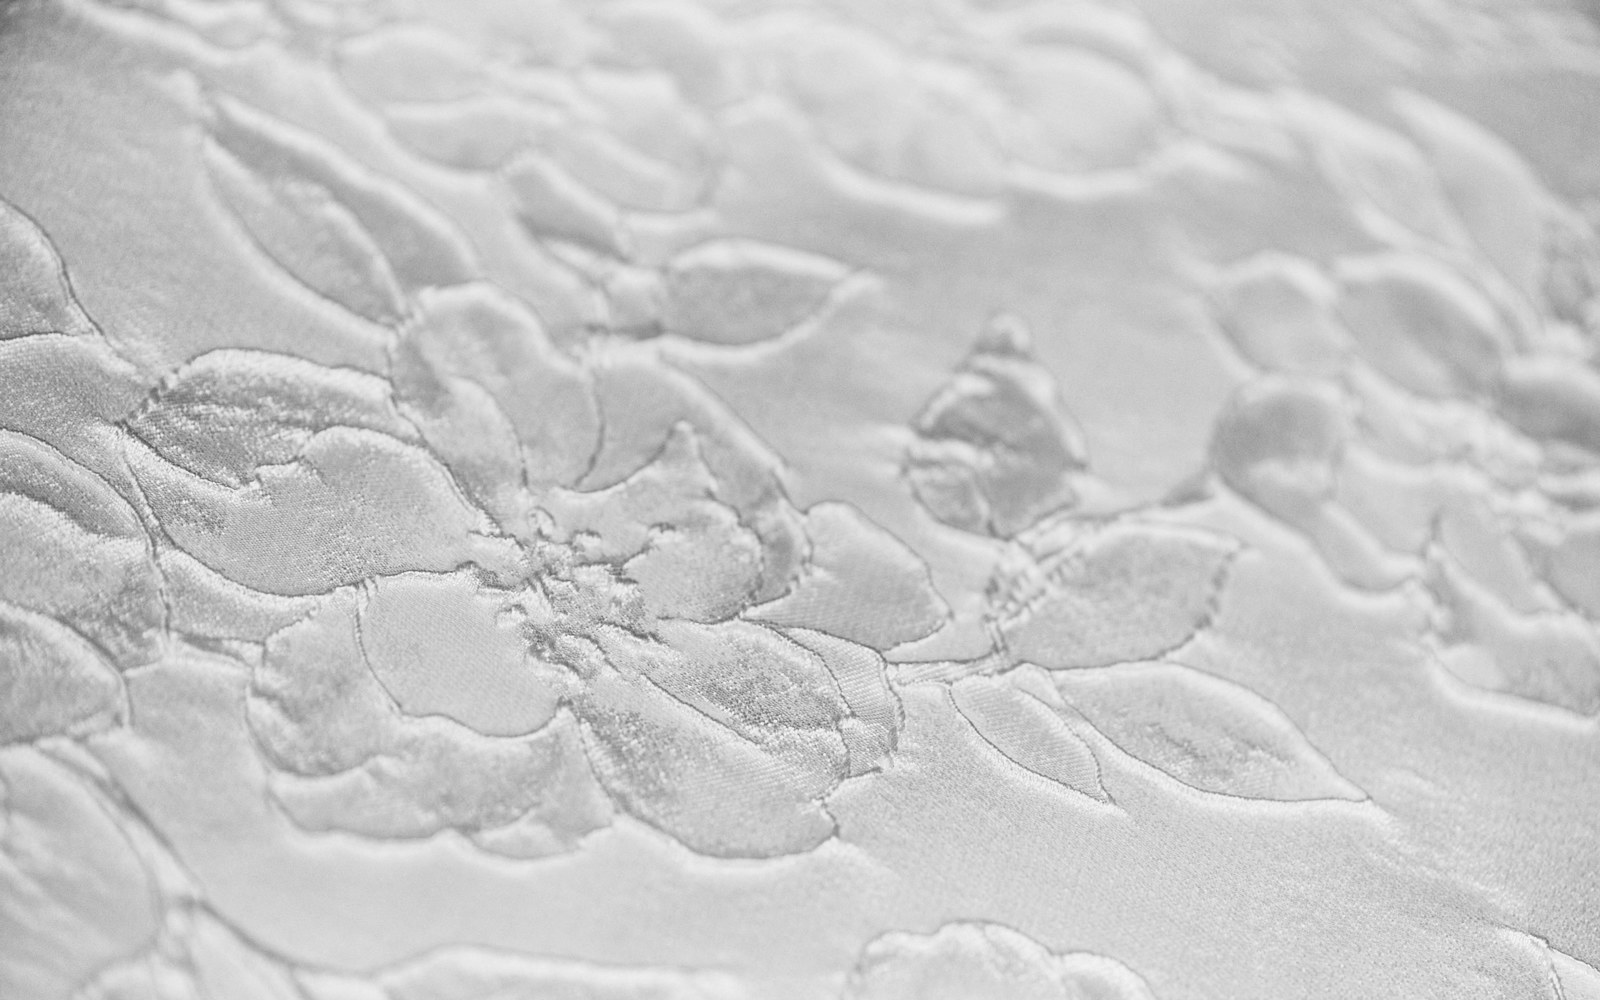
Collectors and makers need decorative beadwork and stitched details to remain attached without distorting delicate doll fabrics, costumes, or sculpted surfaces. The safest answer to how to attach beads to art dolls depends less on the bead itself than on four conditions: the substrate, access to the reverse side, the total weight of the embellishment, and how much the area moves.
Where sound cloth can be reached from behind, stitching is usually the first choice. Couching can spread the load of long strands, cords, and thread lines. Wire needs a stable internal or mechanical anchor rather than a thin surface layer. Adhesive is best kept for very light details on rigid, non-moving surfaces that cannot safely be stitched.
These distinctions matter especially when working with long-kept threads and beads. A material may be visually right for a doll yet mechanically unsuitable for a cuff, knee, shoulder, or other area that flexes or catches during handling.
For an existing loose decoration, take a more conservative approach. Do not pull it tight, add glue over failing stitches, remove old adhesive, or open seams simply to reach the reverse side. First limit handling, document what is loose, and assess the construction.
Assess the doll before choosing an attachment method
Start with the object, not the decoration. An identical bead cluster may be safely sewn to one doll costume and unsuitable for another doll’s painted torso.
Identify the substrate
Consider what the needle, wire, or adhesive would actually enter.
- Woven or knitted cloth may accept stitching, but fine, open-weave, brittle, stretched, or aging fabric may need a concealed backing or support layer first.
- Polymer clay varies in thickness, flexibility, finish, and surface condition. A bead may be mechanically anchored only if the doll was constructed with an appropriate opening or internal support; forcing a new hole can risk cracking or surface damage.
- Papier-mâché can be thin, layered, painted, friable, or vulnerable to pressure and moisture. Treat it as a variable surface, not a dependable anchor by default.
- Wood may be structurally sound while its paint, varnish, stain, or aged finish is fragile. A drilled or wired attachment is a construction decision, not routine maintenance.
- Mixed-media dolls require the most caution because a costume, sculpted body, painted finish, stuffing, and armature can each respond differently to intervention.
Check reverse-side access
A secure stitch needs somewhere to begin and end. If the reverse side is accessible through an open costume panel, removable garment, or existing construction opening, stitching or couching may be practical. If reaching it requires stressing a glued joint, pulling a tight sleeve inside out, removing historic layers, or reopening seams, stop and reconsider.
Access also determines whether the attachment can be distributed. A dense beaded doll costume is more stable when its load is held by multiple small attachment points rather than one tightly pulled thread path.
Map movement and contact points
Mark the areas that bend, compress, rub, or catch:
- necks, shoulders, elbows, hips, knees, and wrists
- cuffs, hems, skirt edges, closures, and underarm seams
- hands and hair ornaments touched during repositioning
- surfaces that meet a stand, shelf, box, or neighboring object
A decorative line that lies safely across a chest may snag or split thread when carried across a joint. Plan the composition around movement rather than trying to restrain the movement with embellishment.
Calculate total load
One small glass bead may seem negligible; dozens of beads, a fringe, and a pendant can create a concentrated pull. Consider the combined load, its distance from the attachment point, and the support beneath it. A dangling ornament has more leverage than a flat motif of similar weight.
Before beginning, inspect an unobtrusive area for weakened cloth, loose paint, cracking, powdering, staining, old adhesive, or unstable seams. If the surface condition is uncertain, avoid a test that creates a new hole or residue.
Choose the attachment method for the doll’s structure
Stitching through cloth: the secure first option when access is safe
Stitching is generally the most controlled method for individual beads, sequins, small appliquéd motifs, and embroidery thread doll embellishment on sound textile surfaces. It allows the attachment to move with the cloth, provided the stitches are not pulled too tight.
Use stitching when:
- the textile is sound enough to hold a needle hole
- the reverse is safely accessible
- the decoration is light to moderately weighted
- the area does not undergo strong flexing or friction
For new work, begin with a discreet anchor in a seam allowance, lining, backing patch, or otherwise concealed stable area where possible. Bring the needle to the front, add the bead or sequin, and return through the fabric with only enough tension for the element to sit on the surface. Check the front every few stitches. If the cloth begins to dimple or the bead tilts, reduce tension or change the support plan.
Dense art doll beadwork should not rely on a single long run of thread. Divide it into short, controllable sections and distribute anchors across the motif. On delicate, open-weave, stretchy, or aging cloth, a concealed support patch or lining layer may spread the load more effectively than tighter stitching.
Avoid ending all thread paths in one bulky knot. Several discreet, distributed anchors are less likely to make a pressure point, show through the fabric, or distort a small costume panel.
Couching: support strands without stitching through every element
Couching holds a surface strand in place with small stitches laid over it at intervals. It is useful for cord, long bead strings, thread outlines, narrow trims, and embroidery that would become heavy or bulky if every component were pierced repeatedly.
For couching, position the strand in its natural curve and secure it with small, evenly spaced holding stitches. Add more holding points at turns, ends, direction changes, and locations where a loop could lift and catch. On a doll, these intervals may need to be closer near hands, skirts, or other high-contact areas.
Couching is often a better solution than stringing a long bead line under tension. It can keep the strand visually continuous while allowing the load to be shared across the fabric. It is not, however, a substitute for structural support when a trim is too heavy for the costume beneath it.
Wiring and mechanical anchoring: reserve it for stable support
Wire can support dimensional ornaments, heavier clusters, or components that must stand away from the doll. It should transfer load to a stable armature, deliberately drilled opening, or internal support—not merely pierce a thin sculpted shell or pull against a delicate textile surface.
For a new construction, plan the wire route before surface finishing. Turn, cover, or otherwise contain wire ends so they cannot scratch fabric, chip a painted surface, or snag during handling. Keep heavy ornaments away from joints and from positions where the wire repeatedly flexes.
Do not assume that a rigid-looking body can carry a dangling element. Thin papier-mâché, hollow polymer clay, split wood, and layered mixed-media forms may all fail at a small stress point. If a secure anchor cannot be created without substantial alteration, reduce the weight, move the detail, or redesign it as a supported costume element.
Adhesive: limited use on light, rigid, non-moving details
Adhesive may be considered for a very light embellishment on a rigid, non-flexing surface when stitching and mechanical anchoring are impossible. It is not a universal answer for beads, sequins, or loose threadwork.
Use the smallest practical amount and keep it away from joints, fabric folds, porous surfaces, and painted areas of uncertain condition. The long-term behavior of an adhesive depends on the materials, surface finish, age, curing history, display environment, and previous repairs. A method that appears neat at first may later discolor, release, become tacky, or make future treatment more difficult.
Do not use glue as a shortcut for a loose sewn element. If stitches are failing, the fabric may be weakened, the thread may be cut by bead holes, or the decoration may be too heavy for the area. Covering the symptom with adhesive can conceal the problem while adding another material interaction.
Match beads, sequins, thread, and needles as a system
Durability comes from the relationship among all components, not from choosing the strongest-looking thread.
Bead weight and hole quality
Match the bead’s size and weight to the support beneath it. A heavy bead can be workable on a reinforced, accessible garment panel but inappropriate on fine net, old silk, or an unsupported sleeve edge.
Examine bead holes before using them. Rough, narrow, or sharp-edged holes can abrade thread, especially when the bead shifts during handling. Avoid forcing a thick thread through an undersized opening: the pressure can damage the thread, crack a fragile bead, or enlarge a needle hole in the costume.
Where abrasive findings would sit directly against vulnerable fabric, introduce a textile layer, change the placement, use a smoother component, or select a lighter treatment.
Thread choice
Choose thread that passes cleanly through the bead and needle while still being appropriate for the decoration’s weight and expected handling. A very fine thread may disappear visually but can be vulnerable under a heavy fringe. A bulky thread may be strong enough yet create visible holes, crowd bead openings, or pull the textile out of shape.
For embroidery, separate strands or use a finer working thread when a dense line starts to ridge, pucker, or stiffen the fabric. The aim is for the thread drawing to sit on the surface, not to cinch the cloth into a new shape.
Needle choice
Use the finest needle that can carry the selected thread through the bead opening without force. This limits hole size in delicate cloth while preserving control. If the needle must be pushed hard, if the thread frays during passage, or if the fabric visibly spreads around each entry point, reassess the material combination rather than continuing.
Sequins need more than a center stitch in active areas
A center stitch may be sufficient for a flat, protected sequin, but a sequin at a cuff, hem, sleeve, or other catch point can flip, spin, and lift. Depending on the design, additional securing stitches or an overlapping layout may reduce movement. Keep the sequin flat against the surface without crushing the surrounding cloth.
Build stitched and couched embellishment without distortion
Set up the doll in its natural position
Support the doll or removable costume so the work lies as it will sit in display. Do not bead a stretched sleeve, a sharply bent knee, or a skirt pulled across a support and then expect the decoration to behave the same when relaxed.
Keep limbs supported and avoid using the beadwork itself as a handle. If a garment can be worked separately without stressing construction, that may offer better control; if removing it risks damage, work in place with minimal movement.
Work in short sections
Long, tensioned runs are vulnerable to snagging and difficult to adjust. Build bead strands and thread lines in short sections. Check each section from the front and, where possible, the reverse before progressing.
For a beaded doll costume, distribute a heavy cluster across several sewn points or assemble it first as a small supported motif, then attach that motif at multiple locations. This reduces the chance that one point will sag or tear through the base fabric.
Keep tension even
Even tension is more useful than high tension. Beads and sequins should rest against the surface without drawing the textile into puckers. If the fabric dimples, seams shift, the decoration causes a joint to resist, or beads begin to sit at angles, pause immediately.
A useful check is to let the costume relax after a few stitches. If the line becomes wavy, the surface pulls inward, or the motif changes shape when the limb moves, the support is not yet adequate.
Prevent common failures before they begin
Sagging
Sagging usually signals too much weight, too few anchors, an unsupported base, or a trim placed where gravity acts on it continuously. Reduce the load, increase attachment points, move the detail to a reinforced area, or replace a dangling feature with a flatter construction.
Puckering and stretched fabric
Puckering comes from over-tight stitching, excessive density, or working on unsupported fabric. Use shorter sections, lighter materials, more distributed anchors, and a backing layer where appropriate. Do not try to flatten puckers by pulling the thread tighter.
Thread cuts and abrasion
Rough bead holes, sharp findings, and repeated movement can wear thread over time. Avoid tight paths through abrasive components. A bead strand that continually rubs a limb, stand, closure, or neighboring trim may need to be relocated or restrained by additional couching points.
Snagging
Lifted sequins, long loops, exposed wire ends, and loose fringe catch easily on fingers and clothing. Keep dangling trims clear of moving limbs and display supports. Inspect the object after fitting it to its stand, since a detail that appears safe in the hand may rub once the doll is displayed.
Adhesive problems
Tacky residue, staining, lifted paint, cracking around an attachment, and an element that shifts despite adhesive are stop-work signs. Do not add successive layers of adhesive or scrape old residue from an uncertain surface. These situations may require assessment by a specialist familiar with fragile or mixed-media objects.
New embellishment is not the same as repair
A new doll gives the maker opportunities to plan reinforcement, choose access points, and route thread or wire before finishing layers are added. Repairing existing decoration is different: its original materials, construction sequence, previous interventions, and condition may be unknown.
When a bead, sequin, or thread line is already loose:
- Photograph the front, reverse where visible, and surrounding construction before touching it.
- Record the location, the direction of any sagging strand, and whether fragments are present.
- Limit handling and avoid repeatedly testing how loose it is.
- Store any detached component in a labeled container near the doll, without taping it to the object.
- Assess whether the problem is confined to one accessible stitch or reflects broader fabric, adhesive, paint, or structural failure.
A straightforward new stitch may be reasonable only when the materials are known, the textile is sound, the original thread path is clear, and access does not require disruptive disassembly. If those conditions are absent, stabilization and documentation are often safer than an improvised repair.
Method-selection matrix
| Doll surface | Safest first option | Reverse-side access | Weight and movement considerations | Stop a home repair when |
|---|---|---|---|---|
| Sound woven or knitted cloth | Stitching or couching | Usually helpful and often essential for secure ends | Keep details light at joints; spread dense beadwork across several points | Fabric is brittle, thinning, stretched, stained, or tears around stitches |
| Polymer clay | Existing mechanical anchor or carefully planned new construction | Often unavailable after finishing | Avoid heavy dangling ornaments and repeated flexing at a single point | The surface cracks, paint lifts, the body is hollow or uncertain, or a new hole is required in a finished fragile area |
| Papier-mâché | Minimal intervention; use an existing stable anchor if present | Usually limited | Treat painted layers and thin shells as potentially fragile; avoid concentrated loads | The surface powders, cracks, dents, flakes, or shows prior adhesive damage |
| Wood | Existing mechanical construction or supported costume attachment | Depends on construction | Consider finish condition and leverage from dangling pieces | The finish is lifting, wood is split, drilling would alter a finished collectible object, or the anchor point is uncertain |
| Mixed media | Assess each layer separately | Often obstructed by glued or layered construction | A stable costume layer may not mean the underlying sculpture is stable | Materials, prior repairs, or the cause of failure cannot be identified |
Collector care: inspect, handle, document, and know when to stop
Collectors can prevent further loss without attempting a repair. Inspect embellishment under good light for rotating beads, sagging strands, lifted sequins, frayed thread, loose knots, cracks at attachment points, tacky adhesive, and staining or discoloration around decorations.
Handle the doll by structurally sound areas. Do not lift it by beadwork, embroidery, hair ornaments, fringe, or costume trims. During display and storage, make sure ornaments do not bear weight against a stand, rub against a case, or catch on nearby objects.
If a loose detail remains attached, preserve its current position as much as possible. Documentation is useful even for a contemporary doll: photograph the placement before and after any work, note detached pieces, and record the date and materials used for a newly made addition. This creates a clearer history for later care.
Stop-work signs
Pause and seek qualified assessment when you see any of the following:
- cracking, flaking paint, powdering papier-mâché, split wood, or a fragile polymer surface
- brittle, thinning, stained, or visibly weakened textile
- old adhesive that is tacky, discolored, extensive, or difficult to identify
- a decoration that has loosened in several places rather than at one clear stitch
- a repair that would require opening seams, removing costume layers, drilling, pulling old thread tight, or cleaning residue from a sensitive surface
- a valuable, historically significant, structurally fragile, or uncertain-material doll
Quick method-selection checklist
Before attaching or stabilizing any detail, ask:
- Can the reverse side be reached safely without dismantling the doll?
- Is the substrate flexible cloth, rigid sculpture, or a combination of both?
- What is the total load of the decoration, including fringe and pendants?
- Will the area bend, rub, catch, or rest against a display support?
- Can the thread pass through the bead smoothly without abrasion or force?
- Does the fabric remain flat and relaxed after a few test stitches on appropriate new material?
- Is this new construction, or an existing detail whose original method and condition are uncertain?
If reverse access is safe and the textile is sound, stitching or couching will usually offer the most controllable attachment. If the detail is dimensional or weight-bearing, build a mechanical support into the construction or reduce the load. If the surface is rigid, finished, and inaccessible, reserve adhesive for a very light, non-moving detail only after considering the uncertainty of the materials involved. And if the existing decoration is failing on a fragile or collectible doll, document it, reduce handling, and stop before a small repair becomes a larger loss.