Care & Display
How to Light an Art Doll Diorama Safely: LEDs, Batteries, Heat and Hidden Wiring
Plan miniature lighting as a removable, inspectable display layer: low-heat LEDs, reachable power components, protected wires and no trapped surprises.
By Lena Park
· 11 min read
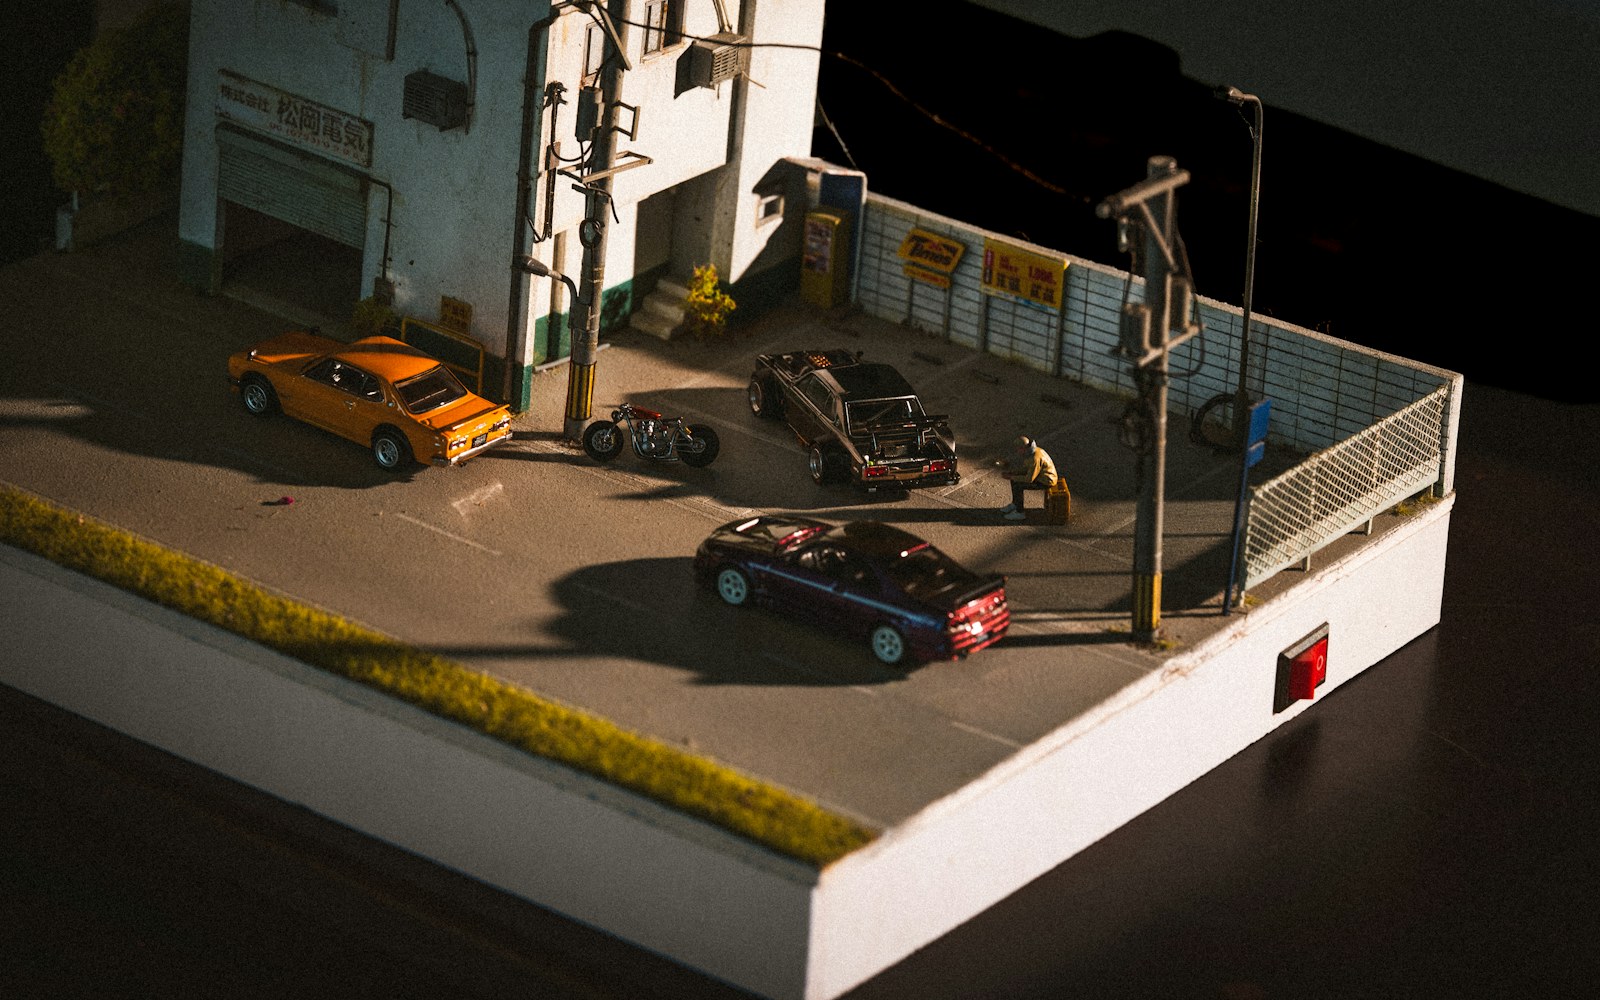
Collectors want illuminated miniature scenes and doll displays without exposing handmade figures, textiles, paper, paint, or adhesives to excess heat, ultraviolet light, leaking batteries, or difficult-to-access wiring. The safest approach is to treat lighting as a removable, accessible display layer: choose a suitable low-voltage LED system, keep it separated from vulnerable materials, and make every power source, switch, connector and wire route reachable for inspection.
LEDs are generally the preferred decorative option because many systems run cooler than older lamp types and can be compact enough for miniature scenes. That does not make every LED setup risk-free. Heat, light intensity, enclosure design, run time, component quality and distance from the artwork all matter. A light trapped inside a glued cloud, beneath fabric, or behind a fixed wall may become difficult to check even if it initially appears harmless.
Start with the doll and diorama materials
Before choosing a light effect, inventory what will sit near it. Look beyond the doll itself: a small scene can contain several materials with very different responses to warmth, bright light and handling.
Flag nearby painted surfaces, paper, dyed fabrics, natural fibres, foam, resin, clay, wood, clear plastics and adhesive joins. Pay particular attention to thin paper props, glued trims, delicate costumes, heat-sensitive plastics, varnished surfaces and details that would be difficult to clean or repair. Their sensitivity depends on the specific materials and their condition, so use a conservative plan where uncertainty is high.
Then decide what the light actually needs to do. The safest and most convincing answer is often modest illumination rather than a bright source inside the scene.
- Whole-scene viewing light can often come from an overhead valance, a shelf edge or the outside of a display case.
- A window glow may need only a concealed LED behind a translucent backing rather than a bright exposed point.
- A cloud effect can be created with light behind or outside the cloud material, avoiding a permanently enclosed emitter.
- Stars, miniature lamps and sparkle details may suit tiny wired LED modules, provided the wire route and connection remain serviceable.
A useful rule is simple: the more fragile or irreplaceable the object, the farther the light source should be from it and the easier it should be to remove.
Choose the lowest-risk format for the effect
The right lighting format is the one that produces the intended atmosphere without forcing power components or wiring into inaccessible spaces. Check the manufacturer instructions for the specific product and use only components intended to work together.
| Lighting format | Best suited to | Advantages | Limits to plan for |
|---|---|---|---|
| Low-voltage LED strips | Ceiling washes, perimeter light, broad window or room glow | Can create even light and can often be hidden behind a valance or channel | Need secure mounting, diffusion, cable routing and an appropriate power arrangement |
| Micro LEDs or wired LED modules | Stars, miniature lamps, windows, tiny accents and cloud effects | Small points of light can be placed precisely | Fine wires are easy to snag, conceal poorly or make difficult to service |
| Battery fairy lights | Temporary scenes, simple decorative accents and small removable displays | Convenient and widely available | Light can be uneven; packs may be bulky; batteries require routine checks and accessible replacement |
Choose LEDs marketed for low-voltage decorative use, but do not assume that all LED strips, modules or fairy lights behave the same way. Some are brighter than needed for a miniature scale. Some cannot be dimmed with a given control. Some housings, connectors or power units may become warm in use, especially when crowded into a small cavity.
For accurate viewing of paint, textiles and surface finishes, warm or neutral-looking white light is usually easier to live with than strongly coloured light. Coloured LEDs can be a deliberate theatrical choice, but they can obscure the doll’s actual finish and complicate condition checks.
Avoid any system whose lamp housing, connector, battery pack or nearby surface becomes noticeably warm during a supervised test. Switch it off and revise the layout rather than trying to conceal the problem more thoroughly.
Design the physical layout before installation
A diorama is easiest to light safely when the route is planned before final scenery, trims and props are fixed in place. Draw a simple map of the intended emitters, wire channels, switch, battery pack or adapter connection, and the opening that will allow future access.
Keep emitters away from fragile surfaces
Do not place LEDs in direct contact with dolls, textiles, paper, painted scenery or adhesive joins. Even a small component can create a local problem if it rests against a vulnerable material, shifts over time, or is enclosed with no room for air circulation.
Instead, use indirect light where possible. Bounce light from a ceiling, side wall, false beam, concealed channel or shallow valance. Indirect lighting softens harsh points, reduces glare on varnish and clear plastic, and can make a miniature room feel more naturally illuminated.
When a direct effect is essential, test it at the intended viewing angle. A tiny bright point may cause blown-out windows, severe facial shadows, distracting reflections in glossy eyes or visible wiring that the maker cannot unsee once the display is complete.
Use diffusion carefully
Diffusion can help spread a strip’s individual points of light or soften a bright window. A removable diffuser is preferable to material permanently glued over a light source. It should be easy to clean, inspect and replace.
Test diffusion for three things:
- Harsh dots or visible strip patterns.
- Unwanted colour shifts on the doll and scenery.
- Glare, reflections or dense shadows that flatten the scene.
Do not use diffusion as a reason to pack lighting into a sealed space. It still needs clearance and access.
Give cloud scenes a way out
Light-up cloud dioramas are especially tempting to seal once the soft material is shaped. Resist making the lighting component part of the cloud permanently. If possible, position LEDs behind or outside the cloud layer, with a removable backing, false ceiling or access panel between the light and the decorative material.
This preserves the effect while allowing you to inspect the wires, change a failed component or remove the lighting without pulling apart fibres, paint or glue.
Build ventilation and service access into the structure
Avoid sealed cavities around emitters, battery packs, connectors and power components. “Access” means more than being able to reach a wire with tweezers. You should be able to inspect the components, switch the system off, replace batteries, disconnect removable parts and remove the lighting element without disturbing the doll or fragile scenery.
Useful access solutions include:
- a lift-off roof;
- a removable back panel;
- a false floor over a cable channel;
- a detachable base;
- a discreet side panel held by non-destructive fasteners;
- a shallow valance that lifts away from ceiling lighting.
If a component will eventually fail, need cleaning or require battery replacement, it should not be buried behind glued scenery.
Plan power and hidden wiring as maintainable components
Hidden wiring should be protected, documented and recoverable—not merely invisible. Arrange the system so its practical controls sit outside the delicate visual world of the diorama.
Put the battery pack, switch, dimmer, adapter connection and connectors where they can be reached without moving the doll or dismantling scenery. A battery pack hidden under a removable base is usually more workable than one concealed beneath permanently attached flooring. Likewise, a switch at the back of the display is preferable to one that requires reaching past fragile costume elements.
Route cables defensively
Run wires through protected channels, behind structural elements or beneath removable base pieces. Keep them away from doors, hinges, sharp edges and tight bends that could pinch or abrade the insulation. Secure loose runs so they cannot snag a costume, catch during dusting or pull on a miniature fixture when the display is handled.
Do not improvise combinations of adapters, connectors or battery packs. Match components according to their own instructions. If compatibility is unclear, do not force a connection or alter a component to make it fit.
Keep mains-powered adapters, extension leads and wall connections outside the miniature display. Simple plug-in low-voltage decorative systems are different from fixed mains wiring, altered electrical products or uncertain component combinations. Seek qualified electrical advice for the latter rather than treating a diorama build as electrical repair or installation work.
Be realistic about battery lights in miniature scenes
Battery lights can be useful, particularly for temporary decoration, portable displays or an effect that needs no nearby outlet. They are not automatically safer than a plug-in low-voltage system. Their practical risks are different: a hidden pack can be forgotten, batteries can be hard to replace, and leakage or corrosion may go unnoticed in a sealed base.
Before committing to battery-powered lighting, ask:
- Can the battery pack be opened without touching the doll or scenery?
- Can you inspect the compartment before each new display period?
- Is the switch reachable?
- Will the pack’s size and weight strain a miniature wall, roof or base?
- Can you remove the batteries for storage or for periods when the display will not be checked regularly?
Make battery replacement a planned maintenance task, not an excavation through glued scenery. Remove batteries during extended storage or whenever the display cannot be monitored routinely. Before reuse, inspect the compartment for corrosion, leakage, residue, damaged contacts or a distorted casing. Do not continue using a compromised battery component.
Test the whole display before final assembly
A lighting plan is only a proposal until it has been tested with the diorama assembled in its intended form but still fully accessible. Conduct the first run under supervision.
Check the lights after they have been operating long enough to reveal whether any part becomes noticeably warm. Touch only components where it is safe to do so, and inspect LEDs, connectors, battery packs, adapters, diffusers and nearby surfaces. If there is warmth, odour, flicker, discolouration, a damaged casing or an unstable connection, switch off and revise the setup.
Then assess the scene visually in both darkness and normal room light.
- Does the doll remain readable, or are facial features lost in dramatic shadow?
- Are miniature windows glowing softly rather than appearing as bright blank holes?
- Do glossy finishes, eyes or acrylic panes produce distracting reflections?
- Are any wires visible from normal viewing angles?
- Are fixtures firmly mounted and clear of costumes, paper and textured scenery?
- Can the doll be removed safely?
- Can every switch, battery pack and connection be reached without touching fragile details?
Do not treat a tidy final photograph as proof that a layout is serviceable. A safe display is one you can inspect and shut down without damage.
Before You Hide the Wires
Use this checklist before closing the final panel or fixing the last piece of scenery.
- Sensitive materials and irreplaceable details have been identified.
- The lighting format suits the intended effect without excessive brightness.
- LEDs and fixtures are separated from dolls, textiles, paper, paint and adhesive joins.
- Indirect light or removable diffusion has been tested for glare and harsh dots.
- No emitter, connector or power component is trapped in a sealed cavity.
- A removable panel, roof, back or base provides inspection access.
- The switch, battery pack, adapter connection and connectors are reachable.
- Cable routes are protected from pinching, sharp edges, doors and handling strain.
- Battery replacement does not require dismantling the scene.
- The complete setup has had a supervised heat, glare and access test.
- The cable route, component type, power source and shutdown procedure have been documented.
Inspect, shut down and document the display
Lighting needs routine care because a diorama changes over time. A move, a new prop, a shifting textile, warmer seasonal room conditions or a replacement component can alter clearances and performance.
Before each longer display period, inspect cables, connectors, mounts and battery compartments. Confirm that no fixture has shifted toward the doll or scenery. Check that wire runs remain secure and that the access opening still works without resistance.
During use, do not leave a new or recently modified setup operating unattended until it has been thoroughly tested. Turn it off at the first sign of heat, unusual odour, flicker, loose wiring, discolouration or damaged casing.
After use or before storage, switch off the system, unplug removable adapters as appropriate and remove batteries when the display will not be checked regularly. Protect loose connectors from dust and strain. Keep a short record with the diorama: component type, power source, switch location, cable route, date of the last test and the procedure for replacing batteries or a removable lighting module.
That record is particularly valuable if the object is moved, displayed by someone else or stored for a long period. It also helps prevent a future caretaker from pulling apart carefully made scenery simply to find a hidden switch.
The practical limit of decorative lighting
Decorative miniature lighting can create remarkable atmosphere, from a gentle room glow to a luminous cloud ceiling. It cannot make a handmade display maintenance-free, and it does not eliminate light-related ageing risks for sensitive materials.
For highly valuable, unusually fragile or condition-sensitive works, decorative LEDs should not be treated as a substitute for conservation-grade display planning. In every case, manufacturer instructions for the chosen lighting system and any artist-provided care guidance should take priority. The best result is not the most hidden lighting setup; it is the one that remains cool enough in use, visually controlled, easy to inspect and simple to remove when the scene needs care.