Collector's Guide
How to Photograph and Document a One-of-a-Kind Art Doll for Provenance
Build a neutral photo baseline and a dated object record that can follow a handmade figure through display, care, repair, and transfer.
By Lena Park
· 12 min read
Owners of one-of-a-kind handmade figures often have attractive snapshots but lack the images and records needed to identify the object, track condition, support insurance, or pass it on responsibly. The practical answer is to make a neutral, full-object photo baseline and pair it with one dated provenance record for each doll.
This file is not intended to make a claim about market value, prove authenticity on its own, or guarantee insurance cover. It is a clear working record: a future owner, insurer, conservator, or maker can see what the object is, what accompanied it, and how it appeared at particular dates.
Start with a repeatable documentation session
Document a doll before display, transport, cleaning, repair, sale, or a major move whenever that is feasible. A consistent session is more useful than a highly styled shoot because it gives you images that can be compared later.
Choose a clean, uncluttered, neutral background. Use even, diffuse light and a stable camera position. Avoid dramatic side-lighting, heavy filters, coloured backdrops, or poses that conceal edges and surface detail. Attractive editorial photographs can be kept separately; they are not a substitute for identification photographs.
Handle the work as little as possible. Clean, dry hands may be appropriate for some objects, while fragile, powdery, repaired, or awkwardly balanced works may need a prepared support surface and minimal contact. Follow artist guidance where it exists. Do not force a limb, joint, garment, accessory, or wire armature into a new position for the camera. Do not disassemble, clean, retouch, or repair a doll merely to improve documentation.
Give the doll a permanent object ID before you begin. A simple format might be:
MakerSurname_TitleOrIdentifier_001
If the title or maker is unknown, use a neutral owner ID rather than guessing, such as:
Collection_001_UnknownMaker
Add the documentation date to every file name. Keep original image files, including their embedded capture information where present, alongside any cropped, resized, or colour-corrected working copies.
Make the essential identification photographs
Your photo set should let a person identify the doll without relying on memory. Photograph the entire object first, then its marks, construction, and separate components.
Core views checklist
- Front full-object view
- Back full-object view
- Left side view
- Right side view
- Top view, if safe and meaningful
- Underside or base view, if safely accessible
- Normal resting or display pose
- At least one controlled image with a scale reference
- Close-up of the face and other distinctive features
- Close-ups of signatures, labels, dates, inscriptions, serial numbers, or edition marks
- Views of stand, base, mount, or display support where these belong to the work
- Individual images of removable accessories, clothing, props, or loose components
Photograph a doll in its ordinary resting or display pose. Record other poses only where the construction clearly allows them. A jointed figure may have a range of positions, but that does not mean every position is safe after years of storage, repair, or material change.
Use a ruler, measuring tape, or other clearly legible scale reference in one or more controlled images. Keep the reference beside rather than over the object, and do not let it obscure a signature or vulnerable surface. Record measurements separately, since a scale image is helpful context but not a precise measurement record.
Photograph identifying marks and construction
Not every one-of-a-kind art doll is signed or supplied with edition data. Photograph and record what is actually present without treating absence as evidence of anything.
Look for:
- Maker signature, initials, label, stamp, or handwritten note
- Date, title, edition number, serial number, or inventory code
- Signature location and orientation
- Seams, closures, access points, and armature openings
- Joints, attachment methods, hinges, magnets, ties, hooks, or fasteners
- Bases, stands, wall mounts, or hanging hardware
- Underside details and interior labels, where visible without disassembly
- Distinctive found or recycled components
For a figure made from many parts, photograph it assembled and then record each loose element separately. Count the components. If a set includes clothing, shoes, a stand, a box, a removable headpiece, or several small props, list those items individually rather than relying on a general note such as “complete.”
Record dimensions, pose, and display requirements
Measurements make a file more useful when a work is packed, displayed, compared, or transferred. Measure gently and consistently. Do not compress soft textile forms, pull on hair, straighten limbs, or flatten protruding elements to obtain a number.
Record, where practical:
| Field | What to note |
|---|---|
| Height | Overall height in the normal resting or display pose |
| Width | Widest point, including fixed extensions or base if applicable |
| Depth | Front-to-back depth in the recorded pose |
| Weight | Approximate weight only if it can be safely obtained |
| Component count | Doll, base, stand, clothing, props, and removable parts |
| Normal pose | Standing, seated, reclining, suspended, or other supported position |
| Display needs | Stand, mount, support points, orientation, or handling restrictions |
For delicate ceramic, textile, embroidered, found-material, recycled, or mixed-media dolls, a display note can prevent accidental strain. Examples include “display only with supplied stand,” “do not lift by headpiece,” or “loose accessory stored separately.” State only what you know or observe. If a handling restriction comes from the maker, identify it as maker guidance; if it is your own observation, date it as such.
Make a baseline condition report before there is a problem
A condition report is most useful when it begins with an apparently stable object. It gives you a reference point if the doll is moved, loaned, packed, exposed to an incident, cleaned, or repaired later.
Use plain language. Describe what you can see, where it is, and when you observed it. Separate observation from explanation. Write “small crack visible at left wrist” rather than asserting why it occurred. Write “yellowed adhesive visible near collar attachment” rather than diagnosing adhesive failure.
Photograph vulnerable areas
Take close-ups of areas likely to be difficult to describe later, even if they look intact:
- Fingers, toes, ears, noses, and eyelashes
- Hair attachment, wigs, fibre bundles, and delicate trims
- Painted faces, varnished surfaces, and areas of abrasion
- Ceramic, resin, clay, or plaster joins and edges
- Textile seams, embroidery, beadwork, stuffing, and stitch tension
- Wire, metal findings, magnets, and corroded-looking elements
- Adhesive joins, mixed-media attachments, and found components
- Base edges, stand contact points, and suspension hardware
Maker-intended irregularities deserve a note. Handmade surfaces may include asymmetry, visible tool marks, uneven stitches, intentional cracks, reclaimed material wear, or deliberately distressed paint. A short description and close-up can help prevent such features being mistaken for later damage.
Simple condition-report template
Object ID:
Report date:
Examined by:
Overall condition: Stable / changes observed / needs further assessment
Observed surface condition:
Observed structural condition:
Loose, missing, or detached components:
Signs to monitor:
Odour, staining, insect evidence, corrosion, or residue observed:
Photographs linked:
Notes on maker-intended variation:
Do not overwrite an earlier report when something changes. Add a new dated report and new photographs. This keeps a usable timeline instead of replacing the baseline.
Update the record after a move, loan, accident, water event, pest concern, change in storage environment, cleaning, conservation assessment, or repair. If there is a concern that may require specialist attention, document it without attempting treatment solely to make the object look better in photographs.
Build the core provenance record
A provenance file is an owner-maintained record of the object’s known history and supporting evidence. It should identify what is documented, where that information came from, and what remains uncertain.
Start one record per doll. Keep the wording factual and date your own observations.
Provenance record template
| Field | Record |
|---|---|
| Object ID | Your permanent collection identifier |
| Maker | Full name as stated in reliable accompanying documentation, or “unknown” |
| Title or identifier | Maker-given title where known; otherwise a neutral descriptive identifier |
| Completion date | Maker-stated date, approximate date, or “not documented” |
| Status | One of a kind, unique work, edition, open edition, or status not documented |
| Edition number | Record only if marked or documented |
| Materials | Maker-stated, documented, or visibly observed materials; label uncertainty clearly |
| Dimensions and weight | Measured date, method, and any relevant pose |
| Signature or label | Exact text, location, and linked photograph |
| Components | Count and itemised list |
| Display and handling notes | Support, pose, packing, or access restrictions |
| Acquisition source | Seller, maker, gallery, gift source, or other documented source |
| Acquisition date | Purchase, gift, or transfer date |
| Transaction reference | Invoice, receipt, order, or correspondence reference |
| Previous ownership | Known sequence only where voluntarily supplied or documented |
| Repair and change log | Dated observations, repairs, conservation, and replacement parts |
| Storage and display history | Major moves, display periods, loans, or notable environmental events |
Materials can be particularly difficult to describe in works made from found, recycled, or mixed media. Do not identify an unknown material with certainty from a photograph alone. Use terms such as “maker-stated,” “documented as,” “visibly observed as,” or “material not confirmed.” A note such as “appears to include textile, wire, and unidentified reclaimed components” is more responsible than an unsupported precise identification.
Attach scans or photographs of any relevant supporting paperwork:
- Invoices, receipts, order confirmations, and payment records
- Maker correspondence and care instructions
- Maker-supplied work-in-progress images
- Gallery paperwork and shipping labels
- Exhibition, publication, or loan records when available
- Repair or conservation reports
- Photographs of packing, labels, and original component boxes
Do not add unnecessary personal information to a transfer file. A future owner may need a transaction date and source, but not private contact details that were never intended to travel with the work.
Certificate of authenticity versus provenance file
A certificate of authenticity for an art doll is a document issued or authorized by the maker. It may identify the work, give a title or date, state edition status, describe materials, or bear a signature. Its format varies, and some makers do not issue certificates at all.
An owner-maintained provenance file is different. It is the continuing collection record assembled after acquisition: photographs, condition reports, invoices, correspondence, packing notes, repair history, and known custody information.
Neither document should be overstated. A certificate, receipt, image set, or owner-created file can be valuable supporting documentation, but none alone automatically proves every fact about a work, establishes its value, or guarantees insurance coverage.
Preserve certificates carefully
- Keep an original maker-issued certificate in protective storage.
- Make a working scan or photograph for everyday reference.
- Do not laminate, alter, trim, or write on the original.
- Link the certificate to the doll’s object ID in your paper and digital records.
- Do not present an owner-created summary as though it were maker-issued.
- Note missing documentation plainly rather than recreating it from memory.
A detached certificate is less useful if it cannot be connected to a specific object. Photograph it, record any identifying text exactly, and store it in a labelled protective sleeve or folder linked to the object ID.
Retain packing and labels when they belong to the history
Original packaging can contain useful identifiers, maker labels, packing instructions, and evidence of which accessories travelled with a work. Retain boxes, tags, protective wraps, stands, and component containers when they are part of the work’s history or safe storage system.
Photograph the packaging inside and out. Record which doll it belongs to, especially if several works arrived in similar boxes. Label outer storage carefully without writing directly on a maker’s original label.
Packaging is not always suitable for long-term contact. Some older materials may be dusty, stained, brittle, strongly scented, or otherwise questionable around delicate surfaces. If you change a packing arrangement for safer storage, photograph the original setup first and record what was changed. Keep the original labels and documentation even if an outer shipping box is no longer practical to retain.
Make a digital and paper kit that can travel with the doll
A documentation kit should remain understandable to someone who did not create it. Keep a digital master folder and a concise paper summary in a protective file. The paper summary is useful if files are inaccessible during a move, insurance discussion, or estate administration; the digital folder can retain the fuller image record.
Suggested digital folder structure
ObjectID/
  00_Object_Summary/
  01_Original_Photos/
    2025-03-08_Baseline/
  02_Reference_Copies/
  03_Condition_Reports/
  04_Acquisition_and_Provenance/
  05_Certificates_and_Maker_Documents/
  06_Packing_and_Display/
  07_Repairs_and_Changes/
Use filenames that sort by date and explain what is shown:
ObjectID_YYYY-MM-DD_view-or-detail
For example:
Collection_001_2025-03-08_front-full.jpg
Collection_001_2025-03-08_signature-base.jpg
Collection_001_2026-01-14_left-wrist-condition.jpg
Keep at least one separate backup. A second drive, secure storage service, or another maintained backup location may be appropriate depending on your collection and privacy needs. Test occasionally that files open and folders remain readable.
Transfer packet checklist
Prepare a packet for a future owner, heir, insurer, or conservator containing:
- One-page object summary
- Current condition report
- Baseline image index and current photographs
- Copies of certificates, invoices, and key correspondence
- Itemised component list
- Packing and unpacking instructions
- Display and handling notes
- Repair, conservation, and condition-change log
- Location of original documents and digital backup
Review the file periodically, and always update it when ownership, storage, display, condition, or packing changes.
Common documentation mistakes to avoid
Relying on flattering snapshots
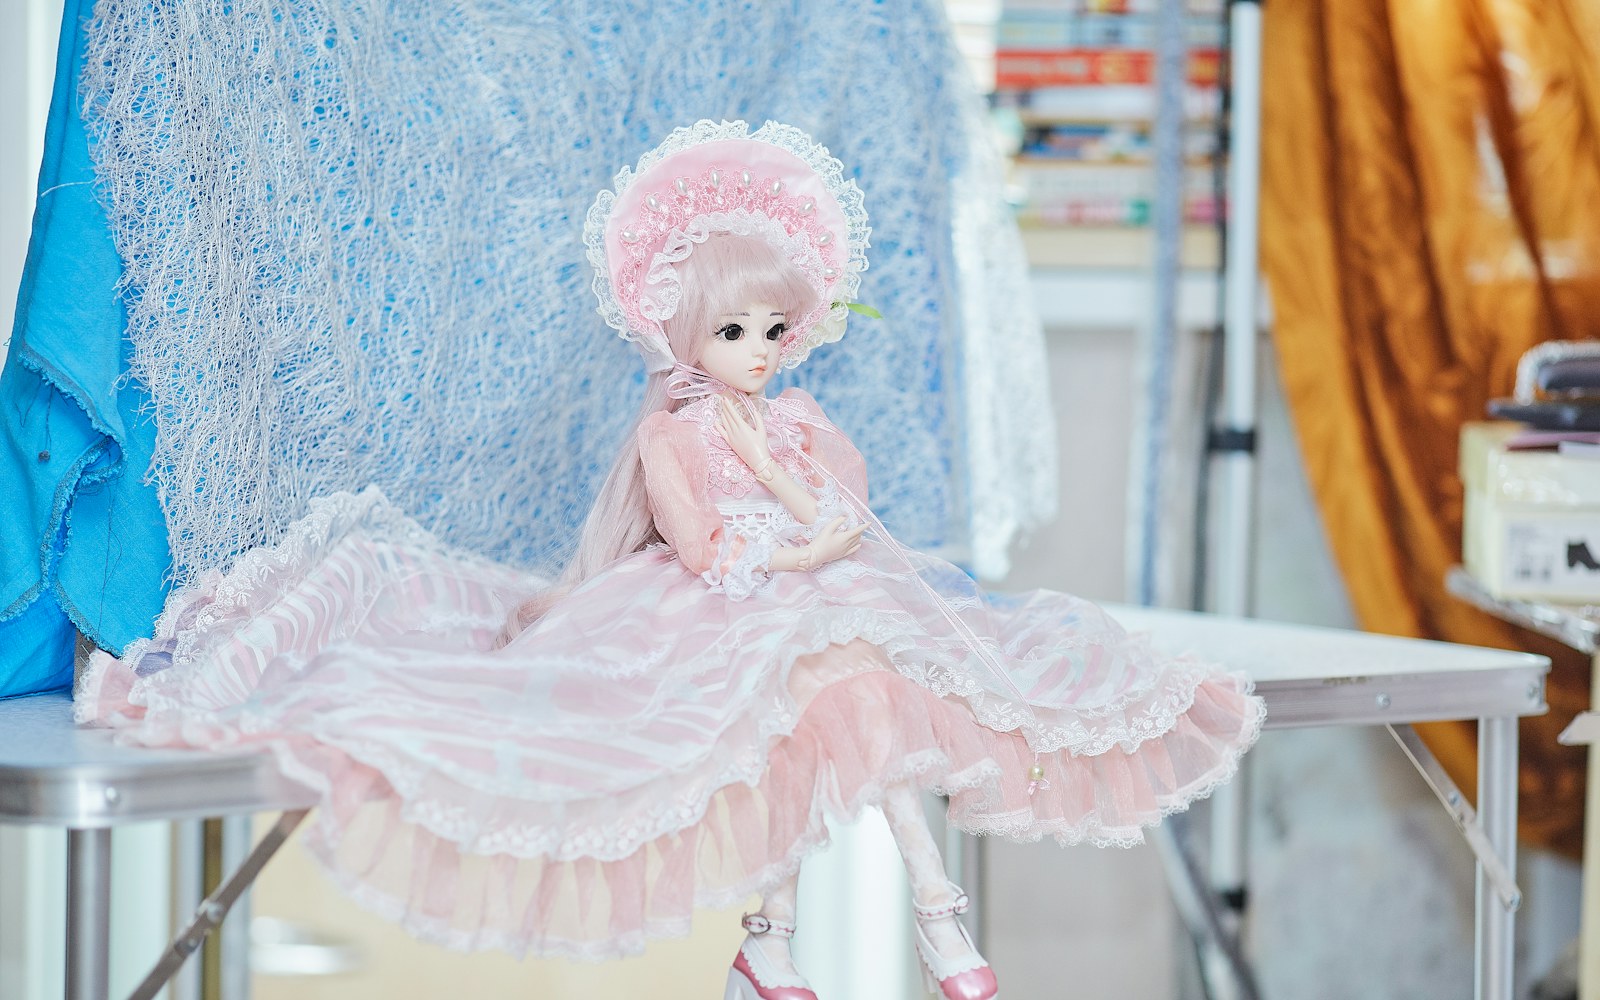
Social-media-style images may show personality and scale in a room, but they often omit the back, base, signature, dimensions, and condition details. Keep them, but make a separate neutral documentation set.
Recording damage only after an incident
Without a baseline, it may be difficult to tell whether a small crack, loose thread, faded area, or missing element was already present. Document stable-looking vulnerable areas now.
Mixing records from different works
A single unlabelled folder containing several dolls, component sets, invoices, or certificates creates avoidable confusion. Use one object ID per work and include it in file names, folders, paper sleeves, and component labels.
Turning uncertainty into fact
An unsigned object, screenshot, informal recollection, or visual resemblance may be useful context, but it is not conclusive proof of maker, date, material, or history. Record uncertainty rather than filling gaps with assumptions.
Altering the object for the camera
Do not clean, force a pose, disassemble, tighten a joint, replace an element, or undertake a repair just to create a better image. Photograph the work as found, then seek suitable advice if condition needs attention.
Replacing history instead of adding to it
Do not delete original files or rewrite prior reports after a change. Add dated photographs and notes so the record shows what was observed over time.
A documentation file is an act of care
A well-kept art doll provenance documentation file does not need to be elaborate. Its value lies in consistency: clear overall views, identifying details, a measured description, a baseline condition report, and retained supporting documents.
For a one-of-a-kind handmade figure, these records help keep its identity, construction, condition, and accompanying history legible beyond the current owner. That makes future care, comparison, packing, transfer, and informed discussion more manageable, while leaving room for facts that may remain unknown.