Materials
How to Seal Air-Dry Clay Figures Without Losing Surface Detail
Fully cure the figure, test the exact paint-and-sealer combination, and build protection in thin coats matched to the surface and desired sheen.
By Mateo Ellis
· 9 min read
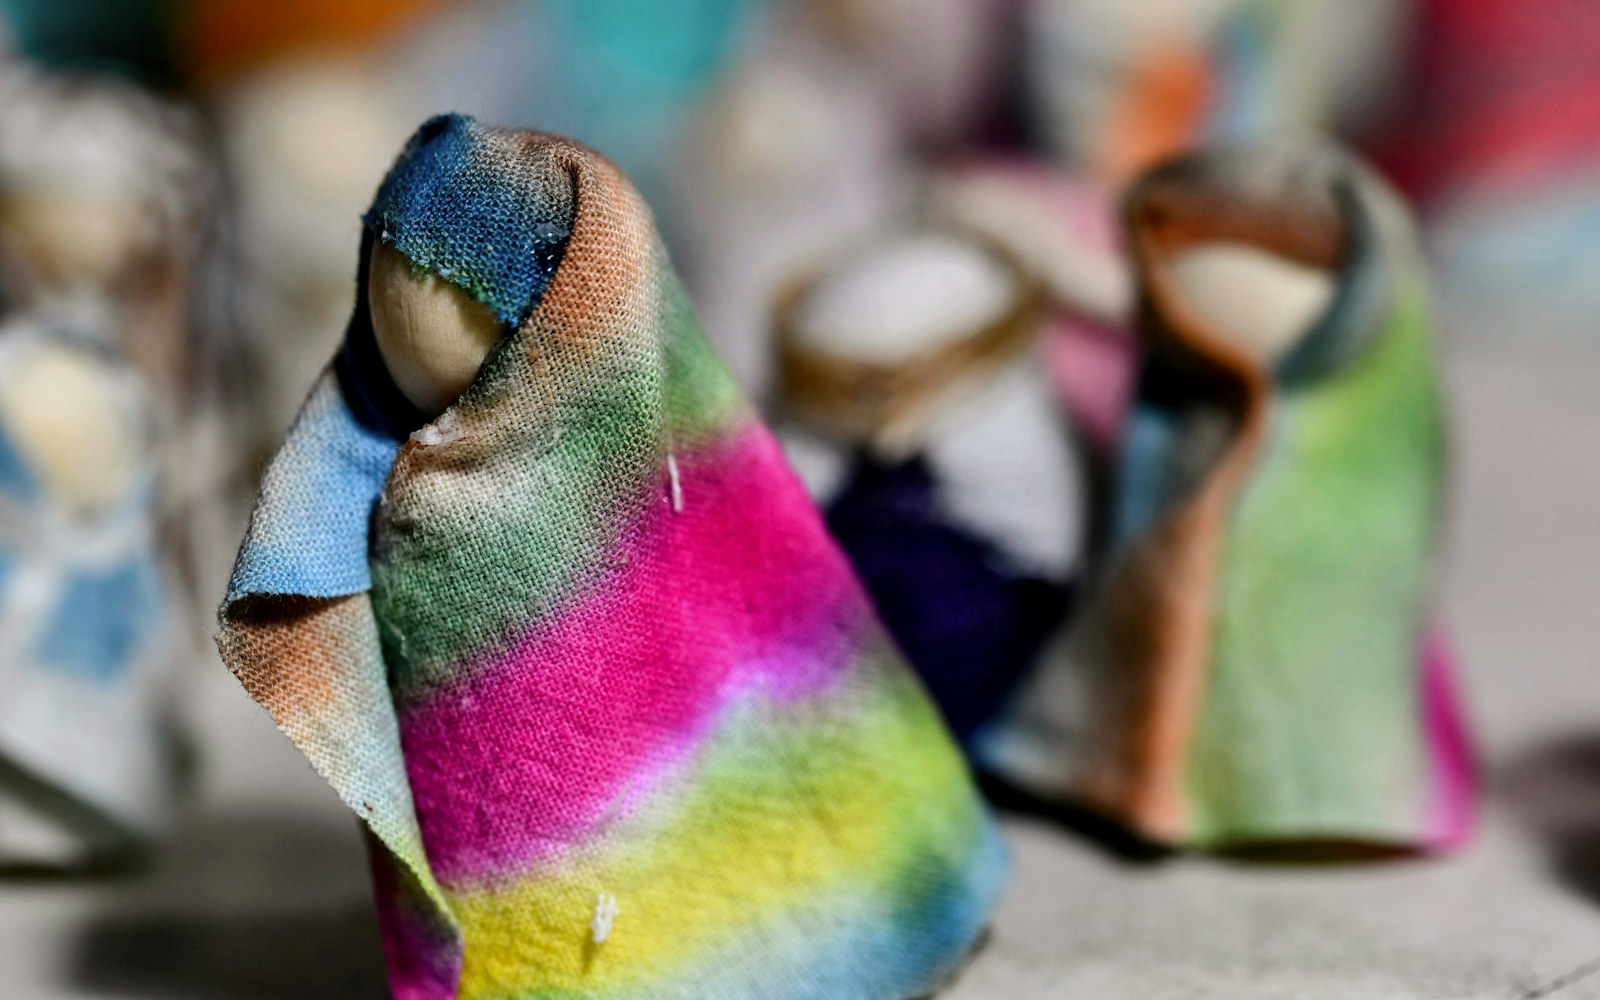
The safest general approach to sealing air-dry clay figures is simple: let the figure dry and cure thoroughly, test the exact paint-and-sealer combination in a discreet place, then apply only the thin coats needed for the desired finish. For most painted air-dry clay dolls and detailed handmade figures, a compatible matte or satin sealer will preserve a subdued surface better than gloss. Gloss is best reserved for pieces where visible shine is part of the design.
There is no universal best sealer for clay. Results depend on the clay body, paint layer, sealer chemistry, coat thickness, humidity, temperature, and how the finished object will be handled. A careful test is more reliable than choosing by finish name alone.
Choose the finish before you seal
The finish changes how a figure is seen and handled. It can also alter the appearance of paint colors, texture, and small imperfections.
| Finish | Appearance and surface effect | Often suits |
|---|---|---|
| Matte | Low reflection and a quiet, powder-like appearance; can reduce glare but may slightly soften color depth | Figures intended to look chalky, softly painted, or understated |
| Satin | A restrained sheen that allows some color and texture to remain visible | General-purpose painted figures where a completely flat surface would look dull |
| Gloss | Strong reflection and a smooth, visibly polished appearance; can emphasize ridges, brush marks, and uneven areas | Glossy eyes, wet-looking details, bright decorative surfaces, or designs where shine is intentional |
Matte finishes do not make texture disappear, but a heavy application can fill shallow marks and recesses. Satin is often a useful compromise for figures that need some protection without looking highly polished. Gloss can make colors appear more saturated or visually deep, but it also draws attention to surface irregularities and fingerprints.
Before selecting a product, decide whether the figure should look soft, natural, polished, or deliberately reflective. Consider its painted colors, the amount of sculpted texture, and the areas likely to be touched. A low-sheen finish may be preferable for a figure with delicate surface detail, while a small glossy accent may be appropriate for eyes or other intentionally reflective areas.
Sealer decision checklist
- Confirm that the figure and paint are fully dry.
- Test the exact paint-and-sealer combination on a hidden area or matching sample.
- Apply thin coats rather than one heavy layer.
- Let each coat dry fully according to the product directions.
- Inspect the surface under ordinary light before adding another coat.
- Stop when the protection and appearance are adequate; more product is not always better.
Let the figure cure and prepare the surface
Sealing should be the final surface step, not a way to hurry an unfinished figure. Air-dry clay may feel firm on the outside while retaining moisture in thick sections, joins, hollow forms, or areas that sit against a work surface. Hidden undersides and the bases of figures also deserve attention.
Allow the piece to dry thoroughly under conditions appropriate to the clay and paint. Follow the clay and sealer maker’s guidance where it is available, and use practical checks rather than relying only on the surface feeling dry. A thick or complex figure generally needs more time than a thin, open form.
Before sealing, check the following:
- The clay is firm and dry in thick areas, joins, undersides, and recesses.
- Any paint layer is dry and stable rather than soft, cool, or easily disturbed.
- Loose dust has been removed gently with a clean, soft brush.
- The surface is free from obvious residue, oil, moisture, and loose particles.
- Cracks, weak joins, and lifting paint have been addressed before coating.
A sealer cannot reliably repair clay figure cracking, poor construction, damp clay, or an unstable layer of paint. Coating over a problem may hide it temporarily while making later assessment more difficult. If a crack is active or a join moves under light handling, solve that structural issue first when possible.
Compare brush-on and spray sealers
Brush-on sealers are accessible for small air-dry clay dolls and detailed forms. They allow targeted application and do not require managing overspray. Their disadvantages are equally practical: the brush can disturb paint, leave marks, drag across raised details, or deposit excess sealer in recesses.
A soft, suitable brush and a light touch can reduce those problems, but no brush technique eliminates the risk. Avoid repeatedly brushing an area as the sealer begins to thicken. That can create streaks or lift an underlying paint layer.
Spray sealers can create a more even film and reduce direct brush contact. They may be useful when a figure has many small raised details or when brush marks would be especially visible. They also require more control. Overspray, distance, air movement, humidity, temperature, and ventilation all affect the result. Follow the product label and use a setting appropriate to the product rather than assuming that any indoor or outdoor arrangement is suitable.
Protect nearby surfaces from overspray, avoid spraying toward people or animals, and do not use a spray product in conditions that conflict with its instructions. A spray is not automatically safer or better than a brush-on product; it simply shifts the main risks from brush contact to application environment and film control.
Test compatibility before coating the whole figure
The most useful test is one that reproduces the intended materials. Apply the same paint and sealer, in approximately the same order and thickness, to a hidden area, the underside, or a separate piece made from the same cured clay. If a separate sample is used, it should be painted in the same way as the figure.
Let the test dry fully before judging it. Look for:
- Tackiness or a surface that remains soft
- Color shift or darkening
- Clouding, whitening, or a frosted appearance
- Cracking, lifting, wrinkling, or softening
- Unexpected gloss or an uneven sheen
- Loss of shallow texture or blocked recesses
Check the test again after the product’s stated drying or curing period, and handle it lightly only when it is appropriate to do so. If the combination behaves badly, stop rather than coating the entire figure. A different finish, a different application method, or guidance from the clay and paint makers may be needed.
Apply thin layers without losing detail
Once the test is acceptable, work in a controlled sequence:
- Clean the surface gently and confirm that the paint is dry.
- Apply a thin first coat to the tested areas and the figure as a whole.
- Keep the application even, avoiding puddles at the base, in eye sockets, between fingers, or inside other recesses.
- Allow the coat to dry fully according to the product directions.
- Inspect the figure under normal light from several angles.
- Add another thin coat only if the surface needs more coverage or protection.
The first coat should not be expected to create the final appearance immediately. A heavy coat is more likely to obscure texture, run into openings, extend drying time, and produce an uneven sheen. Thin layers also make it easier to stop before fine facial features, incised marks, hair texture, or small sculpted edges become visually softened.
With a brush-on product, load the brush modestly and move the sealer around without scrubbing. With a spray, keep the movement consistent and use the distance and number of passes specified by the label. Do not keep returning to a wet area to correct a small uneven patch; allow it to dry before deciding whether another coat is needed.
Troubleshoot common sealing problems
Tackiness
A sticky surface can result from incomplete drying, an incompatible paint-and-sealer combination, excessive product, or unsuitable environmental conditions. It can also occur when a coat has not hardened as expected. Stop adding layers and keep the figure in conditions consistent with the product directions while the cause is assessed.
Do not assume that extra time will always solve tackiness, and do not cover it with another product without testing. If the surface remains sticky, seek guidance from the relevant material makers or consider whether the coating needs to be removed by someone familiar with the materials. Removal can damage paint or clay, so it is not a risk-free correction.
Clouding or whitening
A cloudy or white film may be a visual change in the finish, trapped moisture, or a compatibility problem. Stop further coating and allow the piece to dry as directed before judging it again. If the clouding persists, test the same combination on a sample rather than experimenting repeatedly on the figure. A cloudy finish is not always reversible.
Pooling and lost detail
Pooling usually indicates too much product for the shape of the surface or insufficient control around recesses. Let the coat dry before deciding what to do next. Repeatedly brushing a wet pool can spread the problem or disturb the paint. If texture has already been obscured, adding more sealer will not restore it.
Brush marks
Brush marks may come from a heavy coat, a brush that is too stiff, repeated passes over a setting film, or a surface that is too uneven for the chosen method. A thinner application and fewer deliberate passes may help on the next coat. Test any change first.
Uneven shine
Patchy gloss can result from inconsistent coat thickness, different surface textures, or using a finish that does not suit the paint and clay beneath it. Inspect the figure only after the coat has dried. If the protection is adequate and the variation is minor, leaving the surface alone may be preferable to adding more material and increasing detail loss.
Handle and store the sealed figure
A final coat may feel dry before it has fully hardened. Allow the product the time specified on its label before regular handling, packing, or placing the figure against another object.
After sealing:
- Handle the figure with clean, dry hands.
- Support the body rather than pulling on thin protrusions, ears, horns, limbs, or other delicate details.
- Avoid prolonged pressure and repeated friction against hard or rough surfaces.
- Keep the figure away from damp conditions and excessive heat.
- Store pieces with space between them so painted surfaces do not rub together.
- Use a clean, stable support that does not press against vulnerable areas.
- Remove dust gently rather than scrubbing the sealed surface.
Varnish can reduce everyday scuffs and dust exposure, but a sealed air-dry clay figure is not automatically waterproof, impact-proof, or maintenance-free. Water, humidity, heat, pressure, and falls can still affect the clay, paint, joins, or finish.
A final finish guide
Choose matte when low reflection and a quiet appearance matter most, especially on softly textured or subdued painted surfaces. Choose satin when you want restrained shine with good visibility of color and form. Choose gloss when reflection is intentional or a polished effect is part of the design, and accept that it may emphasize surface irregularities.
Whatever the finish, the essential method remains the same: cure the figure thoroughly, test the complete material combination, apply thin coats, allow full drying between applications, and stop once the surface is adequately protected. Preserving detail depends less on applying a large amount of sealer than on choosing a compatible finish and controlling how little of it the figure actually needs.