Materials
How to Seal Polymer Clay Art Dolls Without Tackiness, Haze, or Lost Detail
A clear coat can protect a painted doll, but only if the complete clay, paint, and varnish system has been tested first.

By Mateo Ellis
· 11 min read
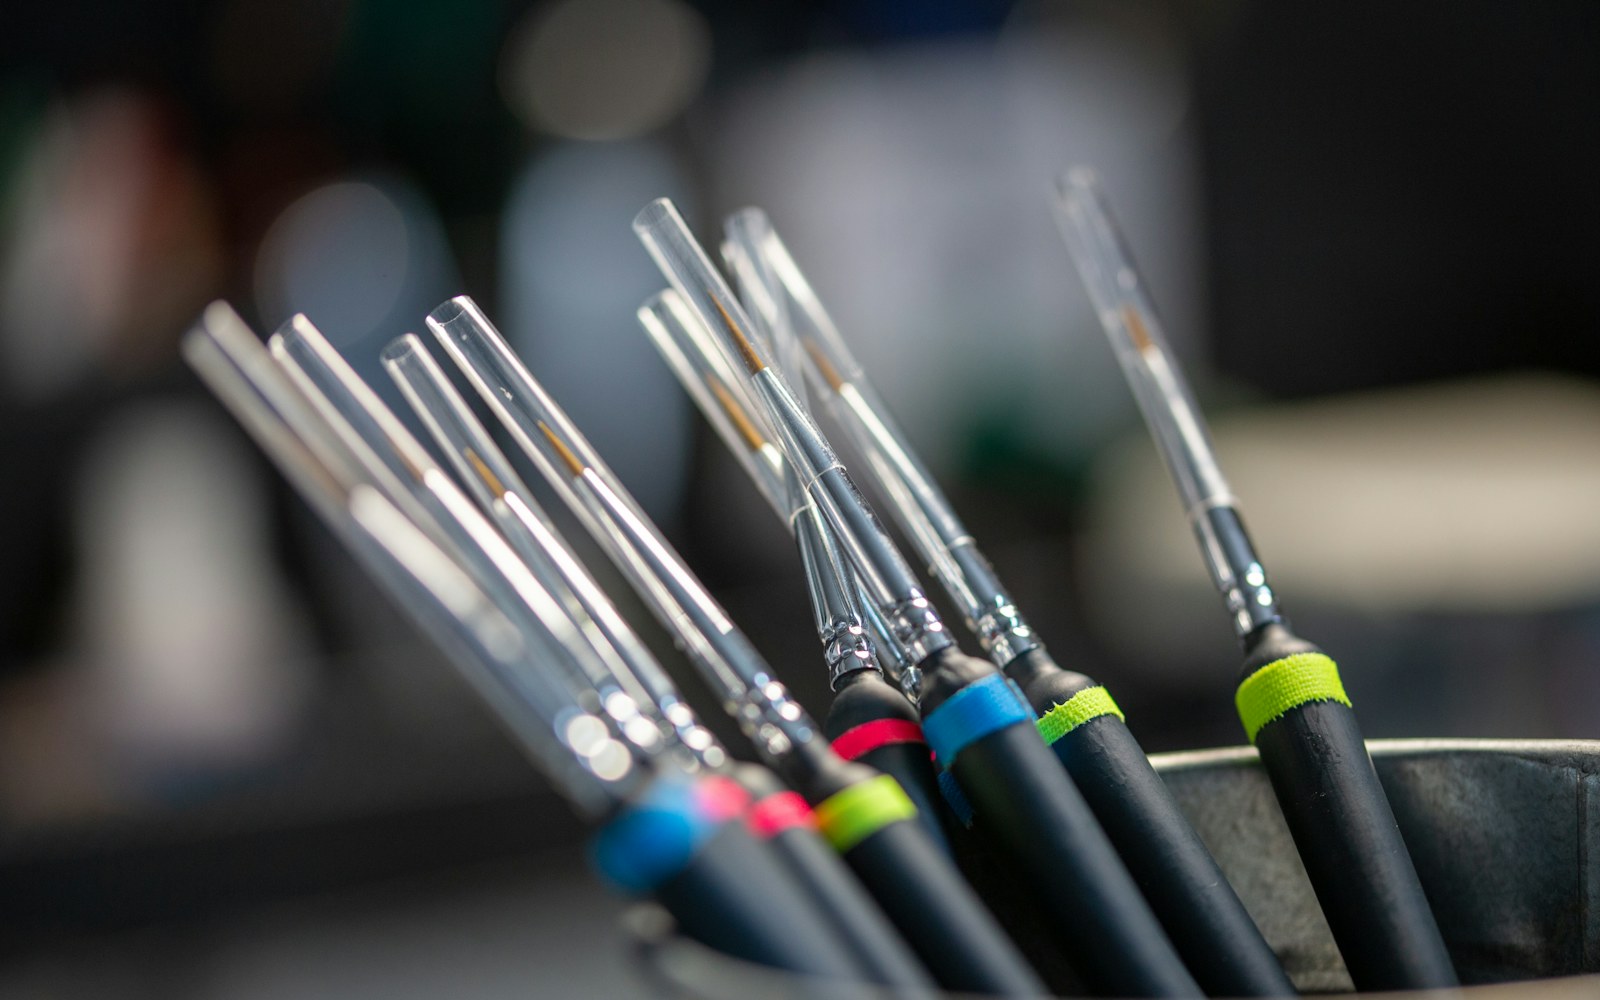
A maker has painted a polymer-clay miniature or art doll and needs a protective clear finish that will not remain sticky, cloud details, react with paint, or compromise handling. The short answer is that you may not need to seal it at all. A clear finish is optional, not an automatic final step.
Use one when the paint layer needs added protection, the doll will be handled often, or a specific matte, satin, or gloss surface is part of the intended appearance. The decisive step is not finding a supposedly universal polymer clay doll varnish. It is testing the complete layer stack—clay, primer, paint, detail media, and proposed clear coat—on a matching sample before it reaches the finished object.
Decide whether a clear coat is necessary
A clear coat does three different jobs that are often conflated:
- It may reduce rubbing and abrasion on a vulnerable paint layer.
- It changes the surface sheen, even when sold as matte.
- It can make colors, texture, and the overall object look more visually unified.
Those are separate decisions. A surface can look finished without varnish, and a varnish can alter the appearance more than the maker intended.
Leaving a well-cured paint layer uncoated can be the lower-risk choice for a display-only piece, especially where the doll has very fine skin texture, powdery-looking color transitions, delicate sculpted hair, or small recesses that could fill with liquid finish. It may also be sensible when a paint manufacturer indicates that its cured paint is durable enough for the object’s expected use.
There is a stronger case for a clear coat where painted details are likely to be rubbed, such as hands, faces, joint edges, accessories, or frequently handled areas. A finish can also be useful when the intended work calls for a consistent satin skin, a deliberately dead-matte textile effect, or a localized gloss on eyes, lips, tears, wet surfaces, or glazed costume elements.
Protection has limits. No clear coat makes a fragile miniature impact-proof, permanently stain-proof, or immune to abrasion, heat, pressure, and unsuitable packaging materials.
Match the finish to the paint layer and intended look
When considering how to seal polymer clay art dolls, treat the object as a system rather than a clay-only question. The relevant stack may include:
- Polymer clay and its bake schedule.
- Primer, if used.
- Base paint and detail paint.
- Pigments, pencils, inks, pastels, metallics, or other additions.
- The proposed clear coat.
The paint layer is often the most important compatibility point. Product guidance from the paint manufacturer, where it is available, is generally more useful than choosing a finish solely because it is commonly associated with a particular clay brand. A clear coat may behave differently over different paints, primers, metallics, and unsealed pigment layers even when the underlying clay is identical.
Brush-on clear coats
Brush-on products offer close control. They can be useful for faces, hands, small accessories, and selective gloss work where overspray would be undesirable. They also allow the maker to avoid coating areas that do not need protection.
Their risks are scale-related: brush strokes can remain visible, liquid can pool in nostrils and eye corners, and repeated brushing can disturb an insufficiently cured paint layer. A brush-on finish needs a light touch and a suitable soft brush that is reserved for finishing work.
Spray clear coats
Spray products can put a thin, relatively even film over broad surfaces and sculpted texture. They may be practical for a fully painted figure when the product has passed a representative test.
They also introduce variables: solvent strength, aerosol behavior, uneven passes, humidity, temperature, settling droplets, and overspray on areas intended to remain uncoated. A spray that appears fine on a flat card may behave differently in deep folds, undercuts, and dense miniature detail.
Matte, satin, and gloss
| Sheen | Visual effect | Practical caution |
|---|---|---|
| Matte | Can preserve a skin-like, chalky, textile-like, or softly sculptural appearance. | Heavy or uneven application may soften contrast, haze recesses, or look cloudy. |
| Satin | Gives a moderate, less reflective finish that can read as polished without looking wet. | The final sheen may vary with coat thickness, surface texture, and the paint beneath it. |
| Gloss | Deepens apparent color and creates strong highlights; useful for deliberately wet or glazed details. | It can reveal brush marks, pool in recesses, and create an unwanted plastic or wet appearance. |
Resin and other thick, self-leveling finishes are a distinct surface treatment, not a default sealer. They can add body, depth, and a domed gloss, but may obscure fine texture, alter proportions, and collect at edges. Test them as an aesthetic material in their own right.
Run a cure-and-compatibility test before coating the doll
A representative test coupon is the most useful troubleshooting tool. It is more informative than a recommendation based on a different paint, a different clay line, or a different application method.
Make a small sample from the same polymer clay used for the doll. Bake it under the same conditions used for the finished piece. If the doll was primed, prime the sample. Apply the same paint, detail layers, pigments, and any other media that will sit beneath the clear coat.
Then follow this sequence:
- Allow the clay, primer, paint, and detail media to cure as fully as their product guidance requires before proceeding to the next layer.
- Apply the proposed clear coat in the same method, sheen, number of coats, and approximate thickness planned for the doll.
- Let the test piece reach the coating maker’s stated full cure stage.
- Recheck it after several days of ordinary indoor handling rather than judging only the first dry surface.
- Record the result before committing to the artwork.
Dry to touch is not the same as cured. A coating can stop feeling wet while remaining vulnerable to pressure, fingerprints, contact with soft materials, or chemical interaction with layers below. A surface that looks acceptable immediately after application may reveal tackiness, dull patches, adhesion loss, or changed sheen later.
Inspect the sample for:
- tackiness or a surface that grips lightly against itself;
- softening or imprinting under gentle contact;
- yellowing, color shift, or changes to metallic and pale paints;
- clouding, frosting, or loss of detail in recesses;
- peeling, flaking, or weak adhesion at edges;
- cracking when gently flexed, where the form itself has relevant movement;
- damage after light rubbing with a clean dry fingertip;
- unwanted shine, flattening of texture, or visible brush marks.
Factbox: Before You Seal
Five-step compatibility test card
- Make a matching clay sample and bake it as you baked the doll.
- Repeat the full primer, paint, and detail-media stack.
- Let each layer cure before applying the next.
- Apply thin test coats of the planned clear finish.
- Inspect after full cure and again after several days of handling; record the successful stack.
A simple materials record can save substantial uncertainty later. Note the clay brand and bake schedule, primer, paint names, detail media, clear coat, sheen, application method, number of coats, and cure dates. This is useful both for repeat work and for future care of the individual doll.
Apply thin, controlled coats without losing miniature detail
Once the tested system has passed, the application goal is restraint. A clear coat should sit on the surface without filling the sculpting that makes a miniature legible.
Prepare a clean, dry, low-dust work area. Support the doll so newly coated surfaces do not touch fingers, stands, fabric, or padding. Remove loose dust gently before coating. Avoid introducing moisture or using aggressive cleaning products immediately before application unless the relevant product guidance specifically supports that preparation.
For brush-on finishes
Use a soft, clean brush suited to the product. Load it lightly, apply a thin coat, and avoid working back over an area as the finish begins to set. Repeated brushing can create ridges, drag partially set material, or disturb paint beneath it.
Watch seams, eye corners, nostrils, finger gaps, undercuts, carved hair, and textile-like texture. Draw away excess before it settles. If a finish begins to pool, adding more material to “even it out” often makes the problem worse.
For spray finishes
First make a test pass away from the doll so the nozzle and spray pattern can be assessed. Use steady movement and several light passes rather than attempting full coverage in one wet application. Rotate the object carefully between passes so deep areas are not left uncoated while exposed raised areas become overbuilt.
Follow the product label for ventilation, protective equipment, temperature, humidity, recoat intervals, and curing. Those requirements are product-specific. Do not judge hardness, final sheen, or compatibility while the coating is still in its curing period.
Diagnose common clear-coat failures
Tacky varnish on polymer clay
A tacky finish can arise from incomplete curing, coats that were too heavy, unsuitable application conditions, or incompatibility within the clay, paint, and coating stack. Similar symptoms can have different causes, so resist the urge to apply another coat as a quick fix.
Stop adding layers. Isolate the failed combination on a test piece if possible and let it sit for the product’s full cure period under suitable conditions. If the tackiness persists, test any proposed corrective action on a scrap rather than on the doll. Recoating, solvent cleaning, stripping, or heating may create further damage depending on the materials involved.
Pooling and obscured sculpting
Pooling occurs when wet finish collects in low areas. It is most visible in facial creases, eye sockets, folds, seams, and textured surfaces. Thick coats and overly wet brush loading are common contributors.
Prevention is more reliable than repair: use thinner coats, control the angle of the object, and remove excess before it begins to set. Test any correction method on a matching sample.
Frosting, haze, and dull patches
Frosting or haze may be associated with unsuitable application conditions, heavy spraying, uneven matte particles, or interactions between the coating and the layers beneath it. Matte finishes are particularly capable of changing the clarity of dark colors and recessed detail when applied too heavily or unevenly.
Do not assume a glossier coat over the top will resolve the issue. First reproduce the situation on a sample and test any remedy there.
Brush marks
Brush marks often come from overworking the surface, using an unsuitable brush, applying too much product, or using a finish that does not level well at miniature scale. A different brush-on product or a spray method may be worth testing, but application format is not a universal cure. It must be evaluated with the same paint stack.
Peeling, cracking, and flaking
Peeling or flaking is an adhesion problem in the layer stack, not simply a sign that the doll needs more varnish. Cracking may likewise reflect movement, thickness, poor adhesion, incomplete curing, or material incompatibility. Adding another layer can conceal the source temporarily while increasing the thickness and stress of the finish.
Pause and test from the substrate upward: clay, primer, paint, and clear coat. A small, documented sample is safer than experimenting on the completed object.
Dust, fingerprints, and contact marks
Dust and fingerprints occur when the piece is handled before full cure or left exposed in an unsuitable work area. Contact marks can appear when a coating is pressed against foam, rubber, soft plastic, adhesive tape, fabric, or unknown display padding.
Do not package or place the doll against another material merely because the surface feels dry. Let the coating reach full cure and test long contact with any proposed support or packing material first.
Cure, handle, and store the finished art doll
Treat the curing stage as part of the finish, not as waiting time after the finish. Use the clear-coat maker’s cure guidance and extend caution if the surface still feels soft, retains a strong odor, marks under light contact, or has not passed the test sample’s handling check.
Handle finished dolls by unpainted or less vulnerable areas when possible. Use clean, dry hands and adequate supports. Avoid dragging fingers over coated faces, painted hands, or gloss accents.
For storage and display, keep the doll in a stable, dry indoor environment away from direct sun, excessive heat, high humidity, and pressure from adjacent objects. Avoid prolonged contact with soft plastics, foam, rubber, adhesive materials, or unidentified display stands until contact has been tested. The material touching a finish can matter as much as the finish itself.
For sale, exhibition, lending, or long-term collection records, document the material stack and the date the work was finished. Include practical care instructions: display indoors, avoid heat and direct sunlight, handle gently, and do not press the surface against unknown materials. Such notes are more responsible than promises of permanence.
Quick decision checklist
- Is the paint layer actually vulnerable enough to justify another material layer?
- Does the chosen sheen serve the doll’s intended surface appearance?
- Has the exact paint-and-clear-coat combination passed a full-cure test on matching clay?
- Can the finish be applied thinly without filling texture, seams, and recesses?
- Is there sufficient time and a safe setup for curing before handling, packing, or display?
If any answer is uncertain, delay the finished doll and test the materials first. In small-scale work, the best clear coat is not the most dramatic one; it is the one that remains compatible, visually appropriate, and nearly invisible where it needs to be.