Materials
How to Add LED Lighting to an Art Doll Diorama Without Creating a Conservation Problem
A glowing miniature scene can remain practical to live with when its lights, power source, and future repairs are planned as accessible parts of the object.
By Mateo Ellis
· 10 min read
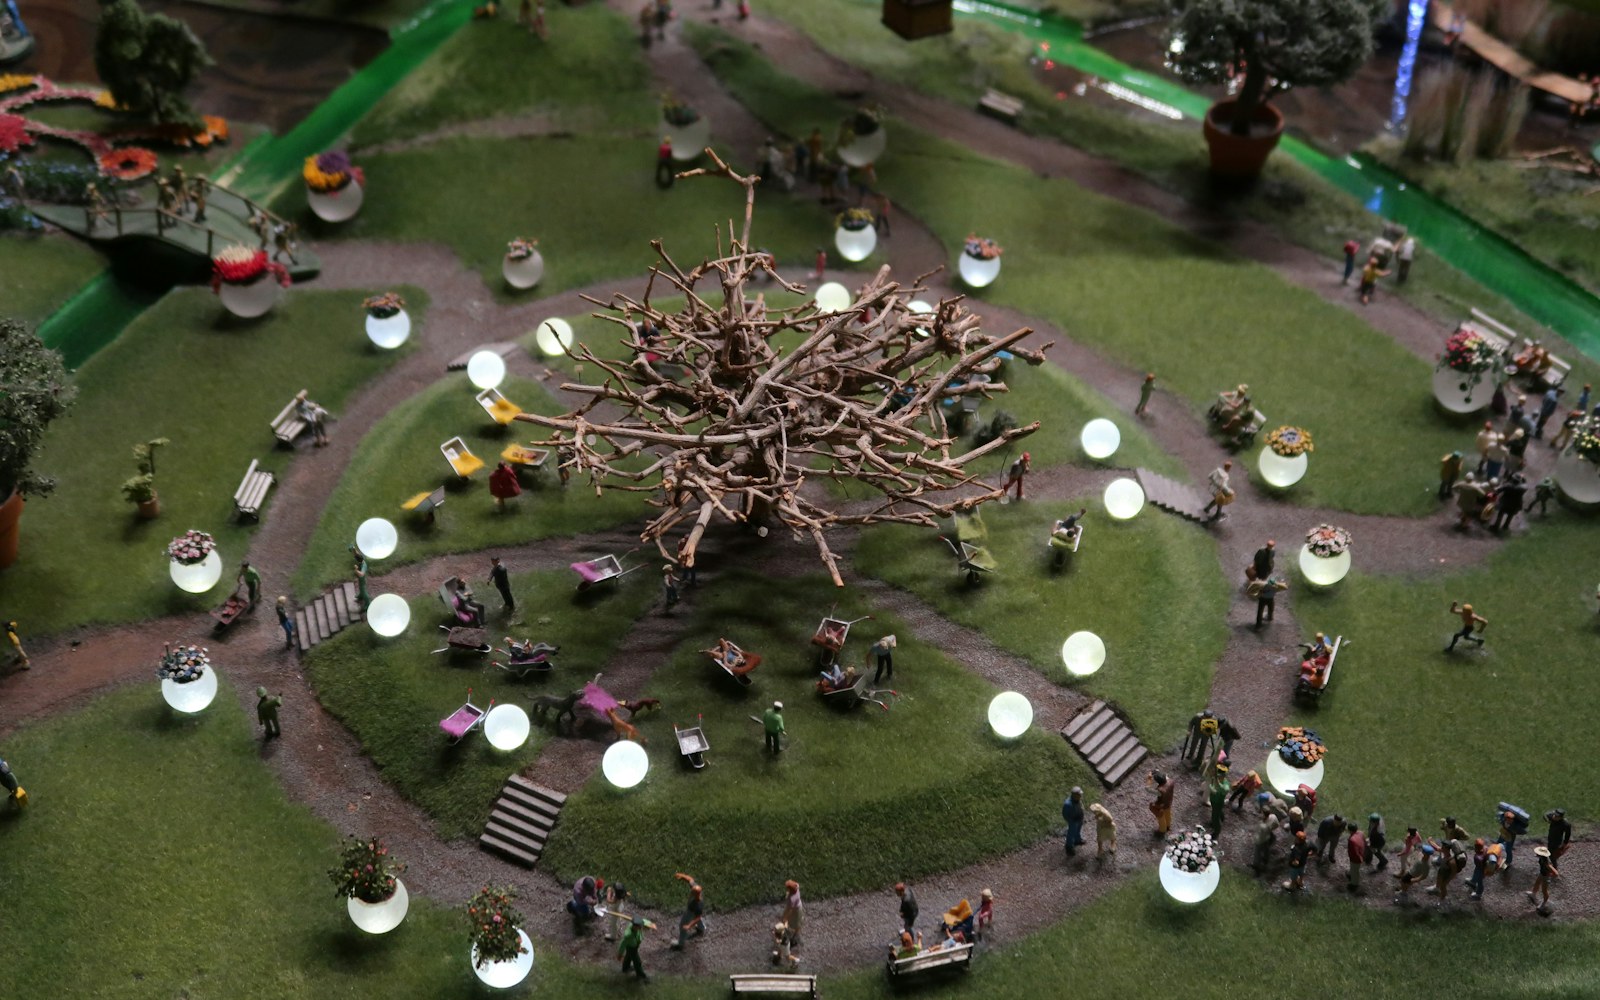
Collectors and makers want glowing clouds, tiny room lights, or illuminated scenes without overheating materials, exposing work to UV, or making batteries impossible to replace. The practical answer is to use low-voltage LED lighting for art doll dioramas only when the power source, wires, switch, and future replacement route are designed as accessible parts of the object.
LEDs can be a lower-heat choice than some older lamp types, but an LED is not automatically a conservation solution. The finished system includes its wiring, power source, switch, connectors, and sometimes a controller. It must be separated from vulnerable materials, tested in the assembled display, and documented for the person who will eventually need to change a battery or replace a failed component.
Define the lighting effect before choosing components
Start with the effect, not the shopping list. A glowing cloud needs a different arrangement from a tiny bedside lamp, a backlit sky, a lit window, or general art doll display lighting.
Ask four questions before construction begins:
- Is the light meant to be seen as a distinct point source, or should it disappear behind a diffuser?
- How bright should it appear in the room or display case where the diorama will actually be shown?
- Will the light be used briefly for viewing, or switched on regularly for long periods?
- Where can the power source, switch, and wire exit live without competing with the composition?
Decide on the lighting position before permanently installing dolls, furniture, textiles, clouds, or scenic layers. Retrofitting miniature diorama lights after the scene is glued together often produces the very problems worth avoiding: inaccessible batteries, crushed wires, and scenery that must be broken to make a routine repair.
More LEDs are not necessarily better. Excessive brightness can flatten miniature detail, reveal construction edges, create hard reflections on glossy paint, and make wire routes more visible. A single well-diffused light may serve an intimate scene better than a dense cluster of exposed points.
Point source or diffusion?
A visible point source can suit a lantern, wall sconce, appliance, or miniature lamp. Place it where the LED itself can be protected and, if possible, removed.
For clouds, windows, skies, or an ambient glow, use a separate diffuser layer or cavity rather than pressing the component directly into decorative material. Translucent paper, fabric, beads, plastics, and painted surfaces can all alter colour and glare in different ways. Test the exact combination rather than assuming an appealing material will diffuse light evenly.
Choose a power system that suits the diorama and its care needs
An LED is only one part of a lighting system. A workable system may include:
- the LED or light strand
- wire and connectors
- a resistor, dimmer, controller, or other supplied control component where applicable
- a battery pack, USB power unit, or rated adapter
- an accessible switch
- a route for future removal or replacement
Choose the system according to the object’s intended use and its capacity for service, not simply according to the smallest component available.
| Power option | Often useful when | Main planning concern |
|---|---|---|
| Coin-cell system | The scene is small, portable, and lit occasionally | The battery holder and switch must remain reachable; do not seal them behind fixed scenery. |
| AA/AAA battery pack | More capacity or a larger self-contained display is needed | The pack requires a concealed but accessible compartment that does not stress the scene when opened. |
| USB-powered unit | The display will sit near a suitable low-voltage power source | Plan a protected cable exit and strain relief so the cord cannot pull on the interior wiring. |
| Mains-powered adapter | A purpose-made display system requires it | Use appropriately rated, ready-made components and seek qualified help when the installation or object is uncertain. Do not improvise mains wiring inside handmade work. |
Battery-powered LEDs for dolls can be convenient for self-contained scenes, but portability is not a reason to make the battery compartment invisible. A battery that cannot be changed without dismantling the work is a built-in future conservation problem.
USB systems can be useful for a display that stays in one location, especially when the cable can leave through the back or base without bending sharply. Select a connector arrangement that allows a failed strand, power unit, or cable to be disconnected rather than forcing replacement of the entire diorama installation.
Mains-powered lighting requires greater caution. Do not modify, splice, or conceal improvised mains wiring in a handmade diorama. If mains power is genuinely necessary, use purpose-made, appropriately rated components and consult qualified electrical help where the system, installation, or object’s value makes uncertainty unacceptable.
Build access into the base, back panel, or scene structure
Serviceability begins with architecture. Before final assembly, assign a route for every practical intervention: switching on, charging or changing batteries where applicable, unplugging, inspecting wires, and replacing a failed light source.
Useful access strategies include:
- a removable panel beneath the base
- a rear door behind a shadow-box scene
- a false floor that lifts out independently of the doll and furniture
- a separate cavity behind a sky, wall, or cloud layer
- a concealed but labelled compartment for the battery pack and switch
Avoid placing service points beneath fragile figures or loose miniature props. A collector should not have to move an art doll, pull on a textile costume, or lift a glued table setting to turn the light on.
Route wires as protected, inspectable paths
Run wire through channels, tubes, shallow grooves, or protected gaps. The aim is to prevent pinching when a panel closes and to keep wire away from sharp edges or rigid scenery that could abrade it over time.
At any point where a cord leaves the diorama, add strain relief through the structure or a purpose-made fitting. Pulling on an external cable should not transfer force to a solder joint, connector, LED, or delicate interior surface.
Mark the access point discreetly but clearly. A small note beneath the base, an unobtrusive symbol on the rear panel, or a care card can spare a future owner from destructive guesswork.
Serviceability checklist
Can the owner reach the switch, replace the battery or power unit, remove a failed light strand, inspect wire routes, and find written instructions without disturbing the doll or breaking scenery?
If the answer is no, reconsider the construction before sealing the scene. A fully sealed illuminated object may be an unsuitable format when its batteries, switch, or light source cannot be replaced without damage.
Keep electronics separate from vulnerable art materials
Do not entomb LEDs, battery packs, connectors, or exposed wire joins in wet glue, stuffing, uncured clay, or tightly packed scenic material. Such choices can make inspection impossible, complicate replacement, and create unwanted contact with materials whose long-term behaviour is uncertain.
Adhesive should not be the only long-term support for a component likely to require removal. Instead, consider a removable bracket, a mounting channel, a separate cavity, or a mechanical support that can be opened with minimal disturbance.
Keep electronics from pressing directly against:
- fragile textiles and fibres that may snag, compress, or discolour
- paper, card, and delicate printed elements
- painted or varnished surfaces
- waxy finishes and soft decorative coatings
- foam and other materials that may deform or be difficult to inspect
- found materials with unknown composition or ageing behaviour
Material compatibility depends on the particular product, its curing state, the display environment, and the length and intensity of use. Where the construction is uncertain, make a removable mock-up or test a hidden sample rather than relying on an assumption about glue, foam, coating, or fabric.
LED heat and UV: use cautious expectations
LEDs are often selected because they may generate less heat than some older lighting choices. That does not mean the complete assembly is heat-free. A power unit, connection point, enclosed cavity, or poorly positioned component can still become warmer during use than expected.
Likewise, do not assume any light source is universally UV-free or harmless to every pigment, textile, paper, coating, or plastic. Assess light exposure in the actual display position, with the intended diffuser, enclosure, ambient light, and operating pattern. If the work includes sensitive, poorly understood, or irreplaceable materials, consult a qualified conservator or other appropriate specialist before committing to an enclosed lighting design.
Test the complete setup before final assembly
A bench test is useful, but it is not enough. Test the lighting system in a mock-up that resembles the finished structure, then test again after the wires are routed and access panels fitted.
Run through the following checks:
- Brightness: View the scene in its likely ambient light. A gentle glow in a dark workroom may disappear in a bright room, while an effective display light may be overpowering inside a shadow box.
- Hotspots and glare: Check for concentrated points of light, unwanted reflections, and overly bright edges behind translucent materials.
- Warmth: Observe the system during use. If any part becomes unexpectedly warm, stop using it and investigate rather than enclosing it further.
- Colour shift: See how fabrics, painted surfaces, clouds, beads, and miniature objects appear under the selected light.
- Wire tension: Confirm that no wire is pulled taut, pinched by a panel, or bent around a sharp edge.
- Switch access: Operate the switch without touching vulnerable doll parts or forcing open a panel.
- Replacement access: Practise changing the battery or disconnecting the replaceable unit with clean hands before the diorama is finalised.
Re-test after every structural change. A wire route that looked clear on the workbench may be compressed by a back panel; a connector may become inaccessible once furniture is installed; a diffuser may create a stronger hotspot than expected.
Use a clear stop rule. Switch the system off and inspect or replace it if a component becomes unexpectedly warm, smells unusual, flickers, leaks, swells, corrodes, or requires force to operate. Do not solve those warning signs by burying the component deeper in the scene.
Finish with a care plan for the maker and future owner
An illuminated diorama needs a care record just as it needs a visual finish. Include a small card or label with enough information for routine use and future repair.
Record:
- power type and the specification shown on the supplied power unit or adapter
- battery size or type, if applicable
- switch location
- access-panel location and opening method
- which parts are removable
- where wires run
- the installation date
- the maker’s preferred operating and handling notes
A simple construction photograph taken before the back or base is closed can be especially valuable. It can show wire routes, connectors, mounting points, and hidden access areas without requiring anyone to excavate the diorama later.
For storage, remove batteries when appropriate for the specific system and inspect battery compartments periodically for leakage or corrosion. Follow the component maker’s guidance where available. Do not assume a battery can safely remain inside indefinitely simply because the lights are small.
When moving the work, carry it by its structural base. Unplug applicable power before relocation, and never use the cord to reposition the object. Keep vents, cable exits, and access points clear of display supports, packing material, and dust-catching scenic additions.
Pre-display checklist
Before lighting the scene, check that:
- the battery compartment or power unit appears clean and intact
- the switch operates normally
- wires and connectors are not strained or trapped
- the cable exit is clear
- the access panel still opens without force
- no component shows leakage, swelling, corrosion, flicker, unusual smell, or unexpected warmth
If the system has not been monitored recently, use it cautiously and observe it rather than leaving it powered continuously.
Common planning mistakes to avoid
The most persistent problems arise from treating illumination as a final decorative addition rather than a serviceable subsystem.
Avoid these choices:
- selecting lights after the scene has been permanently assembled
- hiding a battery pack where replacement means breaking glued scenery
- assuming a tiny LED is harmless without testing the full powered assembly
- trapping wire beneath rigid scenic material or against sharp edges
- using a switch that cannot be reached, encouraging the owner to leave the display powered
- relying solely on glue to hold replaceable electrical components
- placing components directly against paper, textiles, foam, paint, or other sensitive surfaces
- providing no instructions for a collector, repairer, or conservator
The most durable approach is not necessarily the most invisible one. A removable back panel, false floor, modest cable route, or discreet access label may slightly shape the design, but it also keeps the illuminated work inspectable and repairable. For art dolls and miniature scenes made from mixed, delicate, or uncertain materials, that practical access is part of the object’s long-term care.