Care & Display
LED Lights Inside Art Dolls and Miniature Lamps: Heat, Batteries, and Safe Access
The most durable illuminated work treats LEDs as a serviceable low-voltage system—not a permanently sealed effect.

By Lena Park
· 10 min read
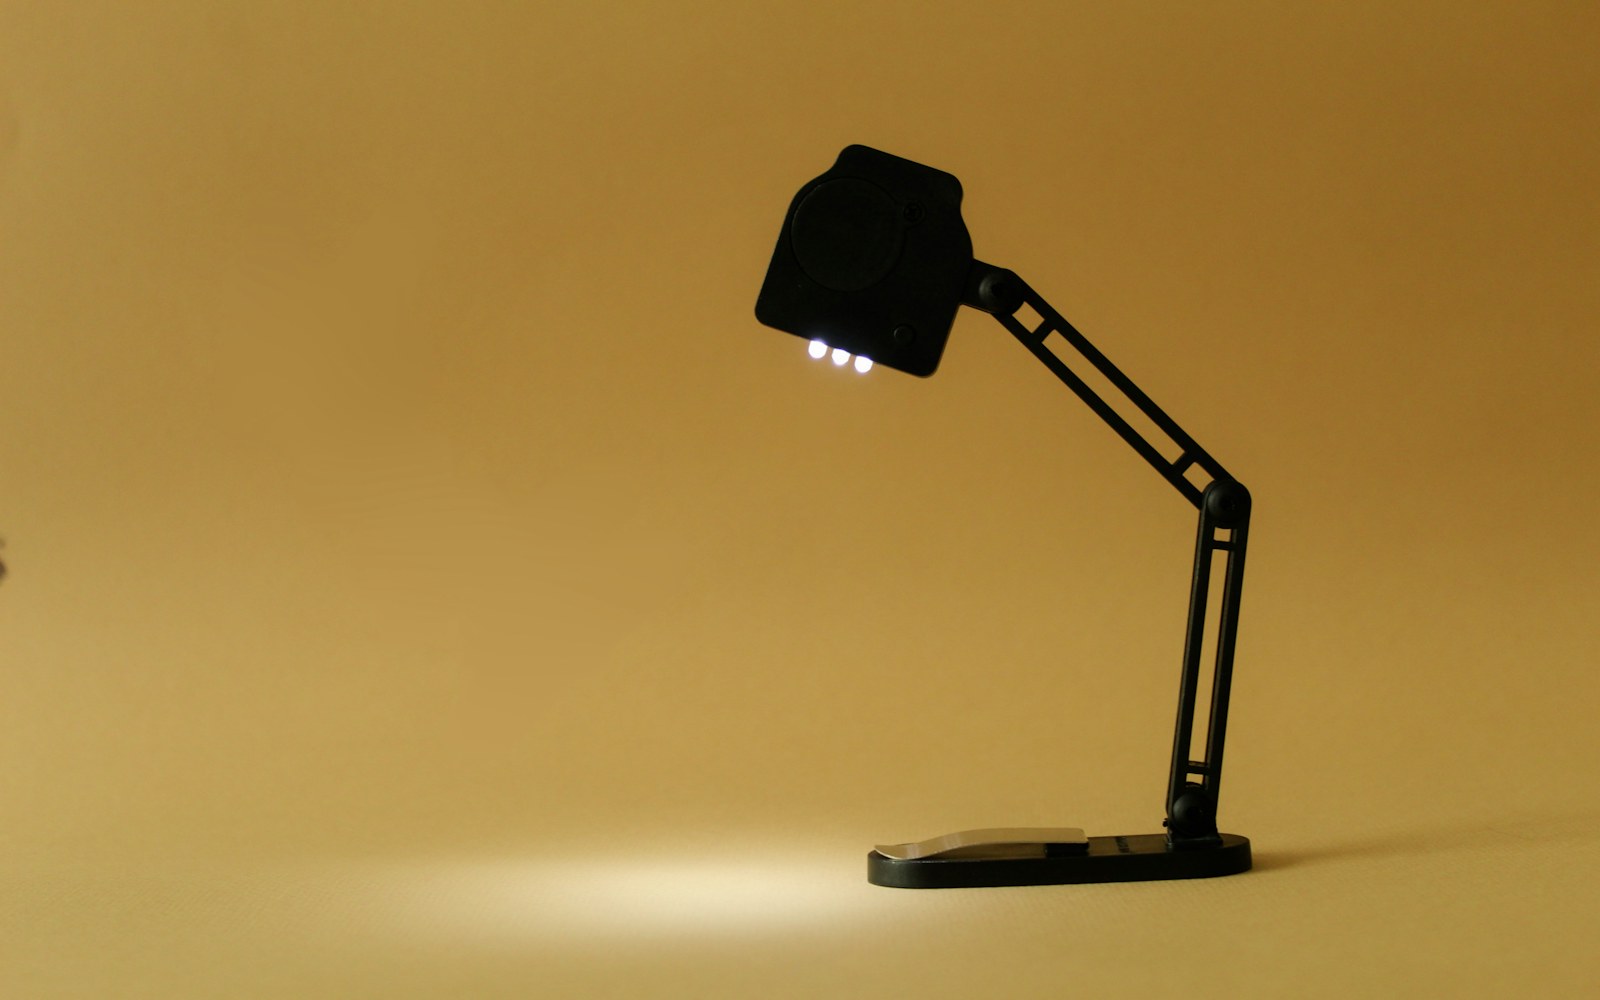
Collectors and makers of illuminated handmade figures need to display internal LEDs attractively without trapping batteries, overheating fragile materials, or making future repairs impossible. The practical answer is to use LEDs as a low-voltage, serviceable system: keep the power source and switch reachable, protect wiring from stress, avoid permanently sealing batteries into fragile work, and test the fully assembled light before long-term display.
Treat illumination as a serviceable display system
LED lights in art dolls can create a localized glow without the bulk and higher operating heat associated with many older miniature light sources. They can fit inside a doll’s torso, a tiny lamp shade, a bottle installation, or an aquarium-like miniature scene. Their compactness is useful, but it can also encourage an unhelpful design decision: closing every component inside the object before considering how it will be maintained.
An LED is not automatically a permanent, maintenance-free solution. Batteries age and can leak or corrode. Switches and connectors can fail. Wires can loosen, especially when an object is moved or its base is repeatedly opened. Some components may become warm in operation, and both light exposure and heat can affect sensitive surfaces over time.
The central rule is simple: a future owner should be able to turn the work off, inspect the power arrangement, replace the battery or reach the low-voltage connection, and diagnose a basic fault without dismantling the artwork.
This principle applies differently to two common arrangements:
- Self-contained battery-powered work: The battery holder, switch, and access opening should be part of the object’s design.
- Work with an external low-voltage power source: The lead, connector, and power supply should be appropriate to the LED assembly and positioned so they are not strained, hidden under unstable display furniture, or mistaken for disposable packaging.
Invisibility is often attractive. Maintainability is more valuable. A carefully integrated rear panel or removable base may be less seamless than a permanently sealed shell, but it allows the lighting effect to survive ordinary care.
Choose power, LED assembly, and switch before building around them
Select the lighting format before final assembly, painting, costume layering, or installation of fragile trim. The available internal space is only one consideration. Also consider where the object will be viewed, how often the light is likely to be used, whether an external lead is acceptable, and whether a person can physically reach the battery holder and switch.
Use purpose-made, low-voltage LED components whose marked voltage requirements match the selected power source. Confirm compatibility from the component markings, packaging, or instructions. Do not assume that a battery that physically fits is the correct one, and do not improvise combinations of lights, batteries, adapters, or connectors.
Common power formats and their trade-offs
| Format | Useful when | Main care consideration |
|---|---|---|
| Replaceable battery pack | A base, plinth, or rear compartment offers enough room | Usually easier to change than tiny cells, but still needs a reachable opening |
| Button-cell holder | The object is extremely small and use will be occasional | Compact, but often difficult to access and easy to seal in too tightly |
| Concealed external battery pack | A seamless miniature body matters more than an entirely self-contained object | Less visually integrated, but usually easier to inspect and replace |
| Low-voltage plug-in system | The work will remain in one display location | Requires compatible components, protected lead routing, and careful display placement |
A very small power format may preserve the scale of a doll or miniature lamp, but convenience during construction is not the same as serviceability. If a battery needs tweezers, force, or removal of glued decoration, the access design is not yet finished.
Place the switch where it is discreet but genuinely usable: beneath a stable base, behind a removable rear panel, within an accessible compartment, or along an external lead where that arrangement suits the work. A switch that cannot be comfortably reached tends to leave a piece operating longer than intended.
Before attaching a diffuser, lamp shade, painted faceplate, delicate costume layer, or final trim, run a complete functional test. Check the exact arrangement that will be displayed, not only the loose LED on the workbench.
Build hidden access without creating a sealed battery trap
Design the opening first. Then decide where the LED, wires, switch, and power source can sit around it. This reverses a common mistake: building a beautiful enclosed form and only afterward discovering that the battery can be inserted but not replaced.
Suitable access methods may include a removable base, fitted rear panel, mechanically secured cover, or another non-destructive opening designed for the object’s construction. A magnetic cover can be useful where it is secure and appropriate, but it should not be assumed suitable for every material, weight, or display environment.
The compartment needs enough clearance for ordinary battery replacement. It should be large enough for fingers, a holder to move as intended, and a battery to be removed without scraping painted edges, bending wires, or levering against fragile materials.
Include or document:
- battery designation and correct orientation;
- visible polarity markings where possible;
- connector orientation, if a connector is used;
- switch location and operating direction;
- the intended access-opening method; and
- a note of whether batteries should be removed before extended storage.
The opening should not require a collector to flex a limb, pull a fabric costume aside, detach glued ornaments, or handle a vulnerable painted surface. If the piece contains a miniature glass vessel, recycled bottle, or aquarium-like enclosure, do not treat the glass opening as an automatic service route. Repeated handling of glass or a tightly built interior can create risks that were not evident during initial assembly.
For an existing piece with unknown construction, stop if access requires force. A sealed work cannot safely be assumed to open without damage merely because a battery must be somewhere inside.
Route, protect, and diffuse light around vulnerable materials
Wires should follow supported paths with gentle bends. Avoid sharp edges, tightly pinched seams, moving joints, narrow hinge points, and areas routinely grasped during handling. A wire that looks hidden but is pressed between a base and a hard edge may eventually abrade or disconnect.
Provide strain relief wherever a wire enters a base, battery compartment, lamp body, or external lead. The aim is to prevent an accidental pull from transferring force directly to a solder joint, LED lead, or internal connection.
Keep electrical parts protected from loose fibers, abrasive filler, shifting beads, moisture-prone materials, and decorative elements that may migrate inside an enclosed form. This is especially relevant for textile dolls, soft sculptures, bottle scenes, and works with loose miniature components.
Low heat is not no heat
LEDs generally offer lower heat output than many older light sources, but the finished assembly still needs observation. Heat behavior depends on the specific component, power arrangement, operating duration, enclosure, and surrounding materials. Do not assume that any LED can be pressed against paper, fabric, foam, plastic, adhesive, painted surfaces, or other sensitive material.
Instead, give the emitter a little space. A small internal chamber, a protected mounting point, or a suitable diffuser can soften the visible point of light while reducing direct contact with vulnerable surfaces. Diffusion can be as important aesthetically as brightness: an exposed diode may read as a harsh pinprick, while reflected or filtered light can produce a more convincing miniature glow.
Test the effect in a darkened room and in normal display light. Consider color temperature, reflections on glass, and whether the light reveals wires, filler, adhesive marks, or interior construction that should remain visually quiet.
Confined forms deserve extra caution. Decorative bottles, enclosed lamps, and miniature glass aquariums should not be presumed ventilated, waterproof, or easy to inspect. Keep service access available and avoid burying the LED assembly beneath materials that would need to be destroyed for inspection.
Set routines for display, cleaning, and battery replacement
Before regular display, conduct a supervised test of the complete work. Look for unexpected warmth, flickering, odor, intermittent switching, unstable connections, or movement and stress in the surrounding structure. If any of these appear, turn the system off and do not continue operating it while hoping the issue will settle.
Use the light only for periods that are reasonable for the documented components and the object’s particular construction. Avoid leaving a battery-powered work running unattended for extended periods. Switch the work off before moving it, cleaning around it, opening the access point, or adjusting internal details.
Battery care is part of battery powered sculpture maintenance:
- Replace depleted batteries promptly using the documented type and orientation.
- Check the compartment during replacement for corrosion, residue, deformation, or loose contacts.
- Consider removing batteries before long storage, following the battery maker’s guidance and the object’s documented design.
- Do not force a swollen, stuck, or corroded battery out of an unfamiliar construction.
- Keep loose replacement batteries away from children and pets, and store them according to their instructions.
Place illuminated work away from water, condensation, high humidity, direct sun, and external heat sources unless the maker specifically designed and documented the piece for those conditions. Avoid spraying liquid cleaner into vents, seams, lamp shades, bottle mouths, battery compartments, or wire channels. Clean nearby surfaces gently with the lighting switched off.
Stop using the lighting system if the housing cracks, wires are exposed, a connector loosens, battery contacts corrode, the light flickers unexpectedly, or a new smell or unusual warmth develops. Damaged wiring and unfamiliar power systems call for an appropriately qualified repair approach, not forced access or improvised modification.
Pre-display and service checklist
Use this compact illuminated art doll safety checklist when assessing a new or existing piece:
- Correct power source and voltage compatibility are confirmed from component markings or instructions.
- The switch works and can be reached without stressing the artwork.
- The battery or power compartment opens without force.
- Battery type, polarity, and connector orientation are readable or recorded.
- Wires are not pinched, sharply bent, exposed, or routed through moving parts.
- Entry points and connections have strain relief or equivalent protection.
- LEDs are spaced from paper, fabric, plastic, adhesives, paint, loose fibers, and other sensitive materials.
- Diffusion softens the light without tightly burying the emitter in vulnerable material.
- The finished piece has passed a supervised test without unexpected warmth, odor, flicker, or structural stress.
- Storage, cleaning, and battery-removal instructions are documented.
Record the lighting system for repairs and future ownership
A lighting-service record is one of the most useful additions a maker can provide and a collector can maintain. It does not guarantee that a future replacement part will remain available, but it reduces guesswork and needless dismantling.
Create the record at the time of making or acquisition. Include the LED component type where known, operating voltage, power-source format, battery designation, switch location, access-opening method, and a simple wire-route diagram or photographs taken before final closure. Note the LED color or specification, diffuser material, connector type, and any compatible replacement parts.
Add handling instructions that identify where the object may safely be held, which areas must not be pulled, how the access panel opens, and whether batteries should be removed for storage. Update the record after battery changes, repairs, flickering incidents, corrosion, or alterations.
For miniature lamp LED battery access, the record should also clarify whether the lamp shade, glass vessel, or exterior shell is decorative only or part of the intended service route. That distinction can prevent a well-meaning owner from twisting, lifting, or pulling the wrong element.
The best illuminated work makes maintenance feel considered rather than intrusive. When a light can be switched off, inspected, powered correctly, and repaired without sacrificing the object around it, its glow is more likely to remain a lasting part of the piece rather than a short-lived sealed effect.