Process
Marking Fabric for Doll Embroidery Without Permanent Lines
Test the exact textile first, then use the smallest, least invasive guide that will keep miniature stitches accurately placed.

By Sophie Harrow
· 13 min read
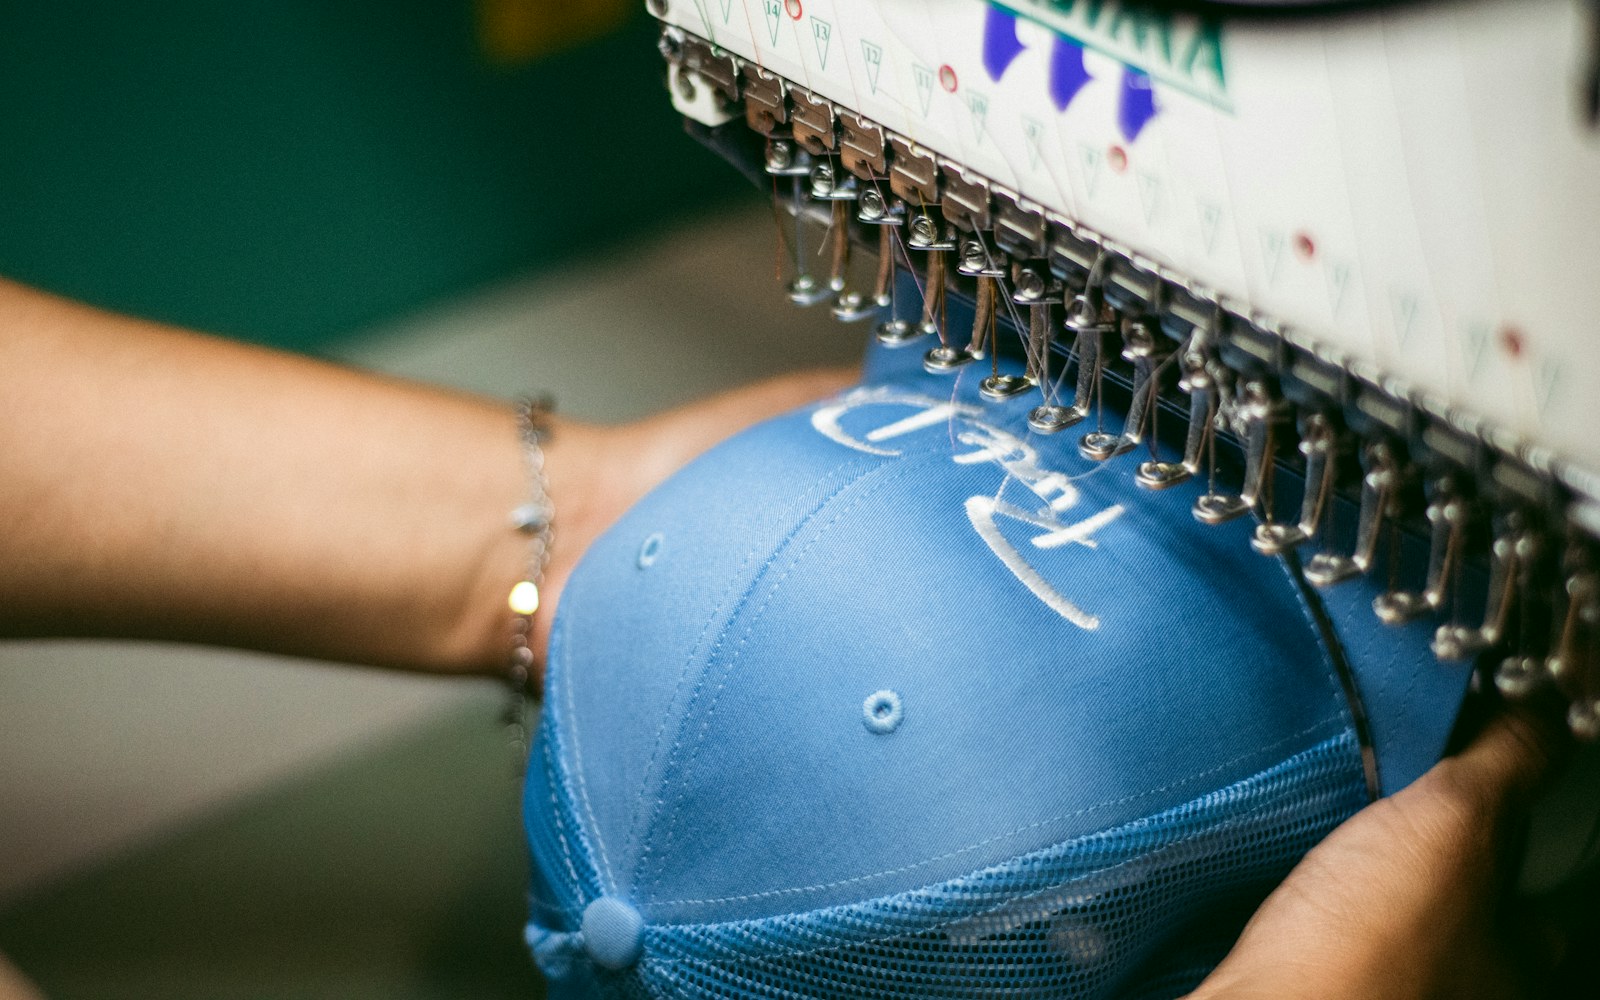
A maker needs to transfer an embroidery design onto small doll-scale fabric parts but worries that pencil, ink, or transfer marks will remain visible after stitching or cleaning. The practical answer is to test the intended marker and its removal process on a matching offcut before marking the real textile, then use the least invasive guide that still keeps stitch placement accurate.
For miniature embroidery art dolls, an “erasable” line is never a universal promise. Its behaviour can depend on the specific fabric, dye, finish, age of the mark, time left before removal, thread coverage, moisture, heat, handling, and the way the finished component is constructed. A faint line on a large sampler may be harmless; the same line can sit conspicuously beside a doll’s eye, at the edge of a satin-stitched leaf, or on a tiny cuff that cannot safely be washed once assembled.
Inspect the textile before choosing a marking method
Choose a marking method for the finished component, not simply for the design. First establish what the textile is and what it will need to endure after embroidery.
Consider:
- Fiber content: cotton and linen may tolerate a cautious rinse differently from silk, wool, synthetics, blends, or unidentified vintage fabric.
- Colour and dye treatment: pale cloth can reveal faint residue; dark cloth may require a contrasting guide; hand-dyed, painted, or poorly understood colour may react unpredictably to moisture or heat.
- Weave and surface: a close, smooth weave accepts a fine drawn line more clearly than pile, felt, brushed cloth, open weave, velvet, or heavily textured fabric.
- Finish and construction: note sheen, coatings, sizing, paint, backing, interfacing, stabilizer, wire, stuffing, and adhesive. These can change both marking and removal.
- Opacity: a lightbox can only help where the design is visible through the fabric or can be carried through another temporary guide.
- Stretch: knit and bias-cut pieces can distort while being traced or stitched, making a long outline less reliable than a few anchors.
- Post-stitch limits: decide whether the component can be rinsed, gently dampened, brushed, pressed, or heated before it becomes part of the doll.
A removable dress, apron, or cape may permit a tested water-based removal step before assembly. A permanently fixed costume, delicate face panel, painted textile, or wired stumpwork doll accessory may not. Treat unknown, fragile, non-washable, hand-dyed, painted, or already-assembled textiles as low-risk cases: thread guides and minimal placement marks are generally more cautious than broad inked outlines.
A decision guide to fabric marking tools
| Method | Best use | Benefits | Limits | Removal route | Miniature-doll cautions |
|---|---|---|---|---|---|
| Water-soluble fabric marker | Pale, smooth, washable fabric stitched soon after marking | Fine visible line; quick to trace through a lightbox | May leave a trace, ring, or colour change on some cloth; lines can fade or spread | Tested cool-water or moisture process | Do not assume dense stitches will hide a line at a stitch edge; avoid for components that cannot be safely dampened |
| Chalk pencil or mechanical chalk marker | Short marks on darker, textured, or matte cloth | No liquid ink; easy for dots and short dashes | Can rub off during handling; particles may lodge in pile or weave texture | Gentle brushing or tested light moisture where suitable | Broad chalk lines can muddy tiny work; avoid aggressive rubbing around fine stitches |
| Heat-erase pen | Fabric proven to tolerate the required heat | Clear line and convenient disappearance during planning | Heat response is not proof of complete removal; ghosting, residue, or later visibility remain possible | Tested heat method | Do not heat a completed miniature merely to erase a line, especially near synthetics, paint, adhesives, stuffing, or dimensional work |
| Thread tracing or fine running-stitch guide | Dark, delicate, uncertain, non-washable, or dimensional fabric | No drawn pigment on the display surface; remains accurate through handling | Takes time; guides can shift if loosely worked | Remove threads as permanent stitches replace them | Use fine, contrasting thread and avoid pulling it tightly enough to distort a tiny component |
| Lightbox or window transfer | Light-coloured, smooth, relatively translucent fabric | Helps position a scaled design accurately | It is a tracing setup, not a marking medium; opaque textiles will not transmit the image | Depends on the marker or guide used | Test the chosen marker separately, or use the lightbox only to place thread-tracing anchors |
What not to use by default
Permanent pens, ordinary graphite pencil, pressure-transfer paper, and iron-on transfer systems are poor default choices when every visible guide must disappear. A permanent line may wick along fibers, remain visible through pale thread, or show at the edge of stitch coverage. Pencil can lodge in a weave or show as a grey cast. Transfer residues may persist even when a design seems covered.
These methods can still have a place when a mark is intentionally part of the design, is on the reverse, or has been fully tested and will be structurally concealed. They should not be chosen on the assumption that embroidery will reliably hide them.
Run a miniature textile removal test
The test should reproduce the final component as closely as possible. A scrap from another white cotton, or an unbacked sample of a backed bodice, will not answer the same question.
Make a matching test card
Cut an offcut that includes the final fabric and, where relevant, interfacing, backing, paint, stabilizer, or adhesive treatment. On it:
- Draw several line weights, from a tiny dot to the heaviest line you are likely to make.
- Add a few marks in locations that will be exposed and a few that will be stitched over.
- Leave the marks for the likely working time. A line removed after five minutes may behave differently from one left through several stitching sessions.
- Stitch over some marks using the planned thread, stitch density, tension, and padding.
- Use only the removal method the finished object can safely receive: a cool-water rinse, controlled moisture, gentle brushing, or tested heat.
- Let the sample dry flat and supported.
- Inspect it under strong angled light, then from the normal viewing distance for the doll.
Look for ghost lines, pigment caught at stitch edges, water rings, dye movement, surface shine changes, distorted weave, raised fibers, and residue trapped under dense stitching. Inspect both front and reverse. If the result is uncertain, change the guide method rather than increasing cleaning force on the finished miniature.
Miniature Textile Marking Test Card
Record the fabric and backing; guide or marker; line weight; time left before stitching; thread and stitch coverage; planned removal method; dry inspection result; and whether the method is approved or rejected for that component.
Transfer only the information the stitches need
At doll scale, a full drawn outline often creates more risk than accuracy. Simplify the design after scaling it down. Most motifs can be placed with anchors and directional information rather than continuous contours.
Use:
- dots for stitch starts, eyes, seed stitches, and tiny flower centres;
- short dashes for a curve or edge;
- endpoints for long stitches and detached elements;
- registration points for matching a motif across a seam, cuff, collar, or paired sleeves;
- a centre line or grain reference where symmetry matters;
- one or two direction marks for satin stitch, long-and-short stitch, or padded forms.
A tiny leaf does not necessarily need its entire perimeter drawn. Mark its tip, base, central vein direction, and perhaps one widest point. A facial detail may only need the outer corners and centre axis. For doll clothing embroidery, place the motif in relation to seam allowance, hem, closure, and fold lines before marking decorative details.
Work in stages
Transfer the next small area, stitch it, remove or cover the guide, and then continue. This staged approach reduces the time any removable mark remains on the fabric and limits accidental smudging while the component is handled.
It also gives you opportunities to correct scale. A motif that looked clear on paper may become crowded once thread thickness, padding, and seam allowance enter the miniature field.
Mark from the reverse when possible
Reverse-side marking can protect a front-facing surface from visible lines. This is useful when placement can be carried to the front with a few temporary basting stitches, or when a seam, appliqué edge, or structural line provides a clear reference.
For example, a reversed dot grid can establish the placement of a front motif; fine basting can then carry those positions to the face of the cloth. This method is especially useful on dark fabric where a contrasting pen might remain visible, or on a smooth, lustrous textile where any surface mark is distracting.
Fabric-specific choices for miniature work
Pale, smooth, washable fabric
A water-soluble fabric marker may be practical where a test confirms that the exact fabric can tolerate the intended moisture-based removal without a ring, dye shift, or visible trace. Keep the line light, use dots and dashes instead of broad contours, and stitch promptly.
Do not rely on the term “washable” alone. The relevant question is whether that particular marked, embroidered, backed miniature can be safely treated after the amount of time it will actually remain marked.
Dark fabric
Thread tracing is often the most controlled option for dark doll clothing embroidery and dark miniature embroidery art dolls. Use a fine thread in a colour that is easy to see while working but unlikely to shed or stain. A short running stitch can indicate a contour, while single anchored stitches can act as endpoints.
If a removable high-contrast mark is necessary, keep it minimal and test it under the same handling and removal conditions. Broad pale outlines can remain conspicuous between stitches, particularly around curves.
Textured, piled, or brushed fabric
Chalk may be useful for sparse placement marks, but it can settle into pile, felted surfaces, or open texture. Ink can travel unpredictably along raised fibers. Thread guides, a few basting anchors, or reverse-side registration marks are usually easier to control.
Avoid rubbing a textured miniature surface to remove a mark. Rubbing may abrade pile, change the nap, or force particles deeper into the surface.
Delicate, painted, vintage, or non-washable fabric
Do not assume that water, heat, pressing, or friction is safe. Choose thread tracing, reverse-side placement, temporary basting, or a deliberately hidden construction reference. Keep the guide sparse and plan the stitch order so it can be removed before seams, stuffing, or mounted components block access.
Dimensional stumpwork doll accessories
For wired leaves, padded flowers, raised wings, embroidered animal forms, and other stumpwork doll accessories, transfer before wiring, stuffing, gluing, or shaping whenever possible. Once a component becomes dimensional, it may no longer be practical to rinse, press, or lay flat for inspection.
Use a thread-traced perimeter, a central direction line, and a small number of anchors rather than drawing a complete design. Remove tracing thread as the permanent stitches stabilize each section. Keep wires and stuffing away from untested moisture or heat steps.
Plan stitch order around the guide
Mark removal is easier when it is part of the embroidery sequence rather than a final rescue operation.
Start with structural lines and dense areas that can replace temporary guides early. Where a guide would remain exposed—such as a fine facial outline, a loose detached stitch, or an open fill—use dots, endpoints, or thread tracing instead of a continuous line.
A useful order is:
- establish central axes, seam references, and registration points;
- stitch major structural outlines or anchor stitches;
- remove thread guides as the permanent embroidery takes over;
- complete fills, padding, and exposed details with minimal remaining marks;
- inspect and remove approved temporary marks before final assembly.
This is particularly important around seams, folds, and wired forms. Once a miniature sleeve is closed, a collar is attached, or a stumpwork element is shaped, access to a lingering line may be lost.
Remove marks without escalating the risk
Use the tested removal method, not the strongest method available. A line that persists is a sign to pause, not an invitation to scrub, soak, or heat the finished object more aggressively.
Avoid:
- forceful rubbing around small stitches;
- soaking an untested, coloured, painted, backed, or dimensional component;
- applying heat to a completed textile simply to make a mark disappear;
- pressing over synthetic fibers, adhesives, paint, stuffing, or wire without confirming compatibility;
- assuming a mark is gone before the textile is fully dry.
After moisture-based removal, support the part flat while drying so it does not stretch or twist. Inspect the dry component in angled light as well as direct light. This can reveal faint residue, disturbed pile, or a water edge that was invisible while damp.
Troubleshooting common marking problems
A visible line remains after stitching
Stop before cleaning more aggressively. First inspect whether the line is exposed at stitch edges, trapped under a sparse fill, or extending beyond the planned motif. If it is minor and the component is not yet assembled, you may be able to add a considered stitch detail or adjust the motif. For future work, switch to dots, dashes, or thread tracing rather than a darker drawn outline.
Chalk disappears before the stitching is finished
Use more registration points and transfer in smaller stages. Thread-trace key paths, or place a few reverse-side anchors carried to the front with basting. Do not repeatedly redraw a large chalk outline; this can build particles into the weave and reduce precision.
A water mark appears on coloured fabric
Allow the piece to dry completely before judging it. If a ring or colour change remains, do not repeat wetting without another controlled test. For the next component, treat that textile as unsuitable for water-based marking and choose thread guides or a tested dry method.
Thread tracing shifts or distorts the fabric
Use shorter guide stitches, finer thread, and lighter tension. Secure endpoints but do not pull the guide taut across a curve. On very small pieces, a few isolated anchors may be more stable than a complete traced contour.
The fabric is too opaque for a lightbox
A lightbox is only one way to position a pattern. Use a paper template and registration points, prick marks through a template only where the fabric can tolerate them, trace from the reverse when feasible, or build the design with thread guides. The actual visible guide still needs its own compatibility test.
Pre-assembly checklist
Before sewing an embroidered textile into the doll or finishing a dimensional accessory, check:
- I identified the fabric, surface, colour treatment, backing, and likely cleaning limits.
- I chose what “removable” must mean for this specific component.
- I tested the guide and removal process on a matching offcut.
- I tested the planned thread coverage and allowed the sample to dry before inspection.
- I transferred only anchors, dots, dashes, endpoints, and essential boundaries.
- I used thread tracing or reverse-side placement where the fabric could not safely be rinsed or heated.
- I removed temporary guides while access was still possible.
- I inspected the front and reverse under angled light.
- I photographed the marked component before assembly and the finished surface after mark removal.
- I recorded the fabric, thread, guide method, test result, removal method, and any care limitation.
A brief process record is useful for later repair, cleaning decisions, or making a matching costume element. It does not need to be formal: a photograph, a sample card, and a few notes can prevent repeated trial and error.
The most reliable miniature marking method is usually not the one that makes the clearest complete drawing. It is the one that leaves the fewest unnecessary marks, remains accurate long enough to stitch, and can be removed—or physically taken away as thread—before the textile becomes a permanent part of the doll.