Process
Scaling Miniature Rooms for Unusual Doll Proportions
When a doll does not fit standard dollhouse scales, the doll's own measurements must set the scale. Here is a calculation-first workflow for rooms, furniture, and props.

By Sophie Harrow
· 7 min read
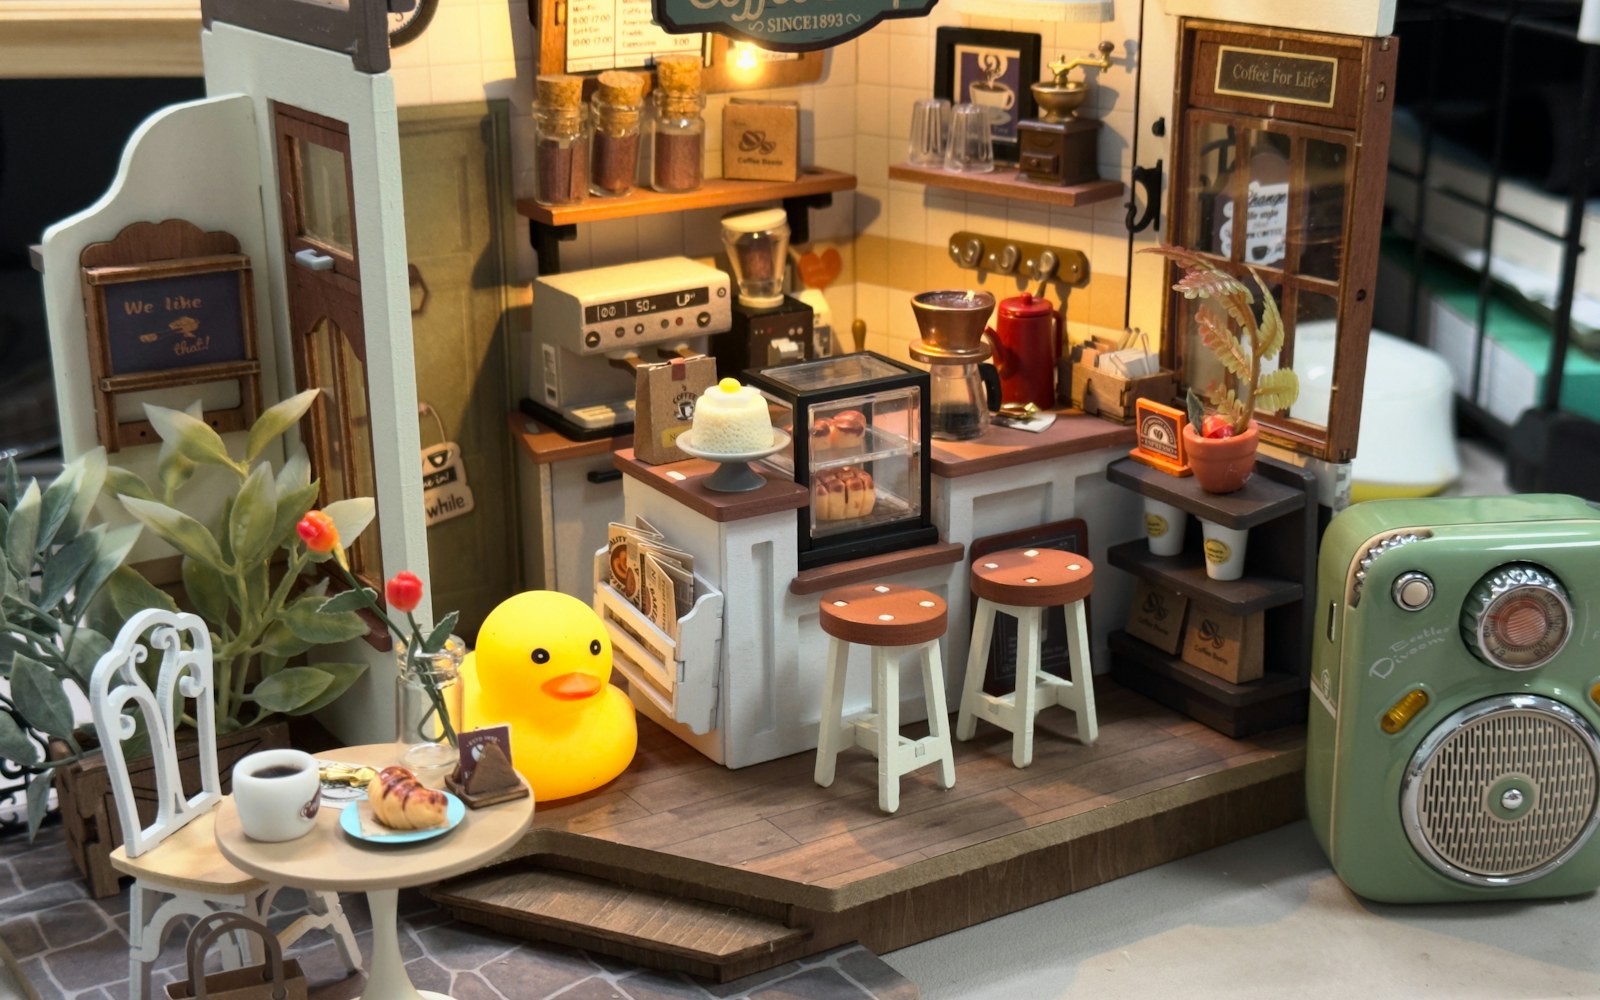
Your doll may be 9 inches tall, or 14 inches, or some other size that matches no pre-made room. The problem is not the doll; it is the assumption that a miniature room should be built from a standard dollhouse scale. If your figure is not 1:12, 1:24, or 1:48, commercial miniatures will fight you at every step. The only trustworthy source of proportion is the doll itself.
Measurement-first workflow for unusual doll proportions
Start with the doll’s own measurements as the only source of scale. Do not begin with a room plan, a furniture kit, or a commercial miniature. Decide what real-world size the doll represents, measure the doll in one unit, and divide the real size by the doll size to get the custom scale factor. Write the scale factor and every converted dimension on one reference card before cutting materials. That card becomes the authority for the project; if a measurement is not on the card, calculate it before reaching for a blade.
Establish the scale factor from the doll, not from the room
Measure the doll in one unit
Stand the doll upright, or support it in its usual display posture, and measure from the feet to the top of the head in the unit you plan to use. If the doll has shoes or a hat that are part of the character, decide before measuring whether those count as full height. For a room, floor-to-crown can be the easier control, but for seating and counters, body proportions matter more.
Choose a real-world reference height
Choose the full-size person the doll represents. For an adult humanoid figure, use an average standing height that matches the intended character. This number is not a universal standard; it is a reference choice. A 9-inch doll that represents a 72-inch person gives a different scale from the same doll representing a 66-inch person.
Calculate the scale denominator
Scale denominator = real reference height / doll height. For example, if a 9-inch doll represents a 72-inch person, 72 / 9 = 8, so the working scale is 1:8. If the same 9-inch doll represents a 66-inch person, the working scale is approximately 1:7.3. Use that denominator as the divisor for every full-size measurement in the project.
Check the result with body segments
Total height is not enough. Measure the doll’s shoulder width, hip width, knee height, elbow height, and sitting height. Compare each with the same real dimension divided by the scale factor. If the doll has stylized proportions, use the body part that matters for the scene as the control measurement. For a seated figure, sitting height and knee height control chair and table relationships; for a standing figure in a room, eye level and arm reach control windows, shelves, and counters.
Set one base unit and build a custom conversion card
Choose imperial or metric and use it for every measurement in the project. Mixing units is the fastest way to ruin a custom scale. Work in the base unit first; convert only at the end if the finished object needs a different display convention.
Make a small card listing common full-size dimensions divided by the scale factor: doorway heights, counter heights, chair seats, table heights, bed lengths, shelf depths. Label each entry with the finished model dimension, not the original full-size dimension. When labeling pattern pieces, use the model dimension too.
Sample conversion card for a custom scale
As a generic math example, suppose a 9-inch doll represents a 72-inch person. The scale factor is 8. If you divide common full-size dimensions by 8, you get:
| Full-size object | Full-size example | Model dimension |
|---|---|---|
| Doorway | 80 in | 10 in |
| Kitchen counter | 36 in | 4.5 in |
| Chair seat | 18 in | 2.25 in |
| Bed length | 78 in | 9.75 in |
These are example dimensions, not standards. The point of the card is to keep the arithmetic in front of you and to prevent re-measuring the same object from memory. If the same project uses metric, make the entire card in metric.
Convert full-size objects using the doll’s body as a proportion check
A scale factor is only as good as the function it produces. For a chair, test the seat height against the doll’s knee bend. For a table, test the underside against the doll’s knee or lap. For a room, use the doll’s standing height to set the ceiling height, and use the doll’s eye level to set window sills and wall-art placement. Use the doll’s arm reach and shoulder width to set counter depth and shelf spacing.
When a full-size object has no reliable standard dimension, use a clear photograph of a known object and scale it to match. Do not rely on a remembered average door width when you can measure the exact object that is supposed to be represented. The doll is the test fixture; if the doll cannot sit, reach, or see the way the character should, the room will feel wrong no matter how correct the math appears.
Use printed reference images sized by the scale factor
Find front or side view photographs of full-size objects with at least one known dimension. Scale the image so that the known dimension equals the converted model dimension, then print it. Use the printed image as a proportion guide for details such as paneling, door hardware, molding, and cabinet divisions. Before tracing, check at least two known dimensions in the printed image; an image may be distorted or cropped in a way that makes one dimension accurate and the rest unreliable.
Compensate for material thickness and joinery at the layout stage
Decide whether every measured dimension is a finished interior dimension or an exterior dimension before cutting. Wood, board, and foam have thickness; a shelf that is meant to be 4.5 inches between two side walls must be cut longer so the space between the walls stays 4.5 inches. Add the thickness of the board once for each join, corner, opening, shelf, drawer, or back panel.
For rooms, build from finished interior dimensions so the doll’s living space matches the planned proportions. For miniature furniture, make the mock-up with the final material thickness, or with a substitute of similar thickness, so the joint allowance is visible before you commit to the good material.
Remember that material thickness itself represents a scaled thickness. A 3-millimeter board in a 1:8 room reads as roughly 24 millimeters of full-size material; in a 1:48 room the same board would read as roughly 144 millimeters. Choose a board thickness that does not look out of proportion for the finished piece.
Test one hero prop in plain material before finalizing the scene
Choose the most important prop in the scene, usually a chair, table, bed, or desk. Build a quick rough version in cardstock or foam using the conversion card and the material thickness allowance. Place the doll with the mock-up and check sitting height, leg room, reach, and sight lines. Revise the mock-up until the fit is convincing, then use those corrected dimensions as the basis for the rest of the room.
If the hero prop works, the remaining props can follow the same conversion method with less risk of a complete rebuild. If it does not work, the mock-up has just saved you from cutting the same mistakes into a finished piece. The measurement-first workflow is not about avoiding revisions; it is about making the revision cheap.
Three common pitfalls cause most failures: mixing imperial and metric, trusting a commercial scale name instead of the doll’s actual height, and confusing interior dimensions with exterior dimensions. Keep the conversion card in one unit, derive the factor from the doll, and label every drawing as ‘interior’ or ’exterior’ before you cut.