Materials
Using Chameleon and Interference Pigments on Polymer Clay Art Dolls
Colour-shifting finishes can be striking on a sculpted doll, but the reliable route is to identify the material, test the full layer stack, and judge it under real display conditions.
By Mateo Ellis
· 12 min read
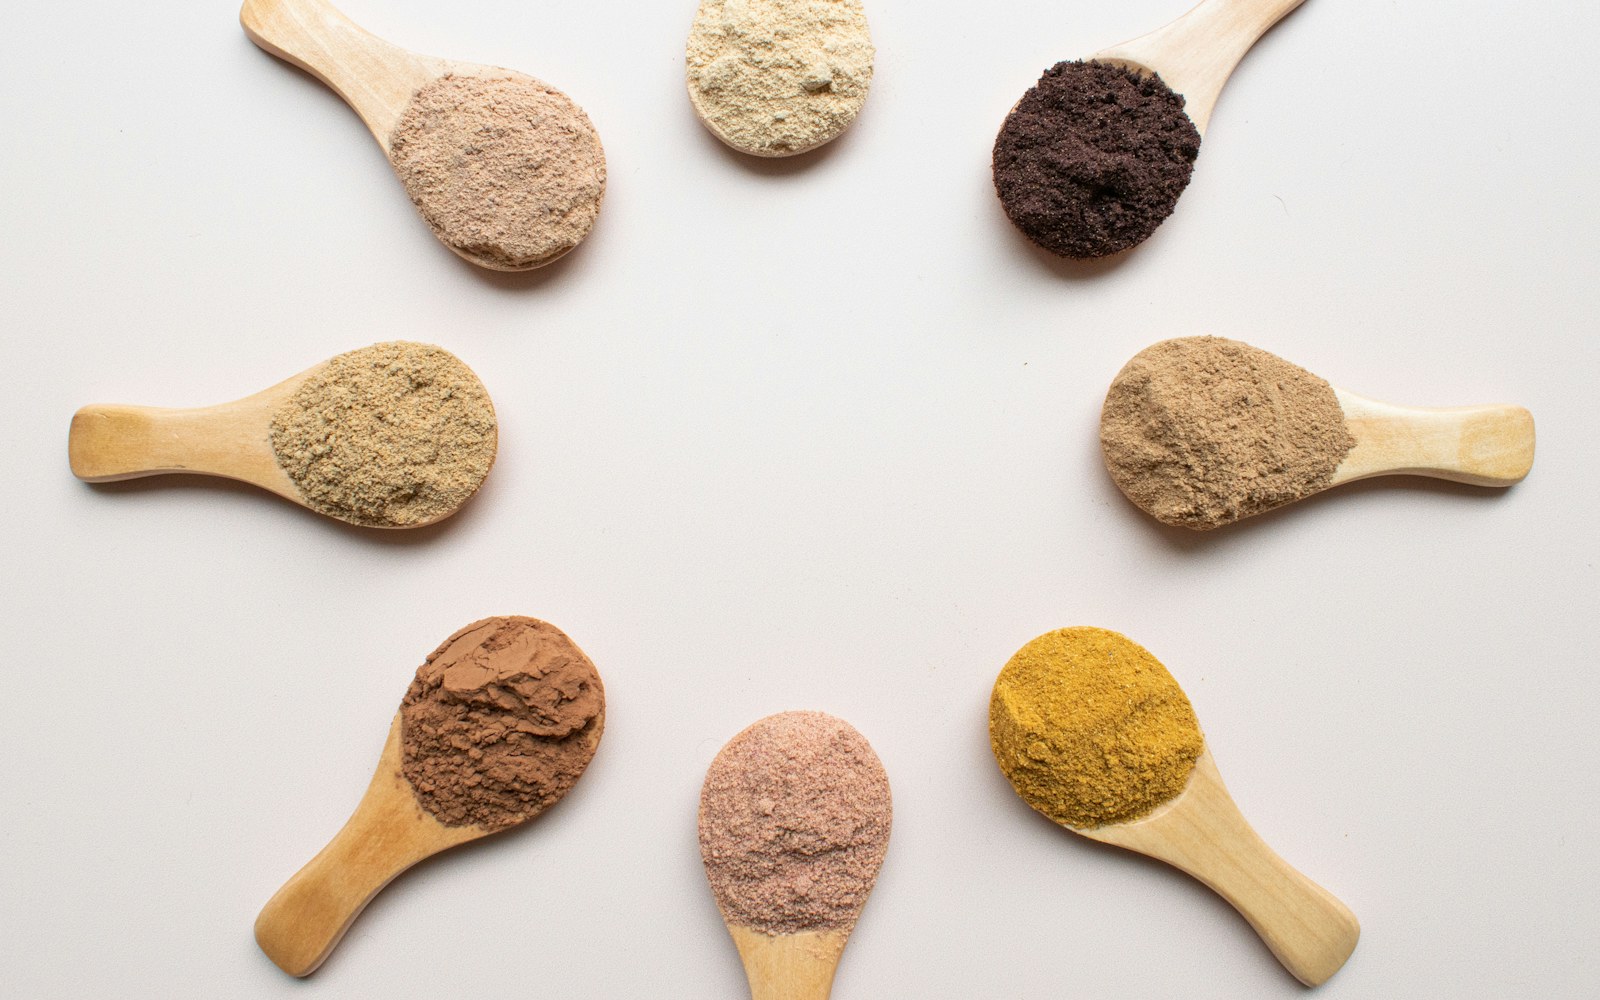
You have found a colour-shifting pigment you like, but it streaks, loses clarity, transfers to tools, or looks different after curing. The first answer is simple: establish whether it is a dry powder or a wet, binder-containing medium before you put it on the doll or in the oven.
A dry chameleon mica powder can often be dusted or gently burnished onto raw polymer clay. A wet colour-shifting paint, paste, ink, nail product, or resin-based medium is a different layer entirely. Its binder, intended substrate, drying behaviour, and heat tolerance may not suit polymer clay or a later cure cycle. A label that says “chameleon pigment” describes an effect, not a universal application method.
For sculpted collectible figures, the most useful habit is a test-first workflow. Make labelled tiles using the actual clay, underlayer, cure plan, tools, and proposed coating for the doll. Do this before committing a rare pigment to a face, scaled torso, wing membrane, or high-contact joint.
Identify the colour-shifting material before choosing a technique
Product names overlap. Read the product form and technical guidance, not only the colour shown on a listing or lid.
- Chameleon pigment describes an angle-dependent colour shift. The visible hue changes as the object, light source, or viewer moves. Some products use coated mica or synthetic-mica particles, but not every product sold under this name has the same composition.
- Interference pigment is often translucent or pale in the container and can become visible over a contrasting base at certain angles. It may read as a quiet sheen rather than a dramatic multi-colour shift.
- Mica powder is a dry reflective pigment. It may be pearlescent, metallic, interference, or colour-shifting. “Mica” describes a broad family of powder materials and effects rather than a single performance standard.
- Metallic pigment creates sparkle or a metal-like surface. It may be highly reflective without changing hue noticeably from one angle to another.
The delivery format matters as much as the pigment particles:
| What you have | Initial assumption | What must be tested |
|---|---|---|
| Loose dry powder | A surface effect that may adhere to raw clay through light burnishing | Rub resistance after cure, migration during handling, and whether a coating changes the effect |
| Premixed paint or paste | Pigment held in a binder | Substrate adhesion, drying, heat response, tackiness, and compatibility with any clear coat |
| Ink or airbrush medium | A thin wet layer designed for a particular delivery system | Spray behaviour, pooling, particle orientation, and cure response |
| Resin or nail colourant | A product formulated for another material system | Whether it should be kept out of the polymer-clay cure process unless documentation and testing support it |
| Cosmetic product | A product made for a different use case | Whether its intended contact, binder, and stability are appropriate for the object you are making |
Check the manufacturer’s documentation for intended substrates, maximum heat exposure, cure conditions, ventilation, and warnings related to skin contact or handled objects. Do not assume that a cosmetic, nail, resin, or craft product becomes suitable for a doll surface because its visual effect is similar to a dry mica powder.
If a wet product has no clear guidance for baking, treat it as unverified for baking. A beautiful swatch on paper, resin, or a nail tip does not answer what will happen over polymer clay after one or more cure cycles.
Build a labelled test set before working on the doll
A test tile is not a generic colour sample. It is a small model of the conditions your finish will actually face.
Use the exact clay brand and colour planned for the figure. Make several small tiles that include doll-relevant surfaces: a smooth plane, fine skin texture, a shallow crease, deep texture, a recessed detail, and a raised edge or frequently handled area. If the finished doll will have painted sections, include that paint layer in the test set as well.
Base colour can change the reading of the pigment dramatically. Dark clay is a common starting point for making some chameleon powders appear stronger, but it is not a guarantee. White, pale, translucent, coloured, metallic, or painted bases may produce a quieter, cloudier, more luminous, or unexpectedly different effect.
Label every tile before curing. A useful label records:
Test-tile label template
Clay brand and colour; base or underlayer; pigment product and form; application tool; number of passes; medium or thinner; cure temperature and duration; rebake count; clear coat; daylight result; directional-light result; display-light result; adhesion and rub notes.
Cure the tiles according to the polymer-clay manufacturer’s schedule and the schedule you realistically expect to use for the doll. Include later rebakes if the object will receive detail work, assembly, or additions after the first cure. Do not alter the clay cure schedule solely to accommodate an unverified wet medium.
Assess each tile after it has cooled. Then handle it gently and reassess after a short rest. Look for changes in colour shift, gloss, tackiness, cracking, peeling, loose-powder transfer, or a cloudy surface. Initial appearance, adhesion, and rub resistance are separate questions. A finish may look intact immediately after curing but fail under a fingernail, cloth contact, or ordinary assembly handling.
Keep successful and failed tiles. Both are useful records when you need to repair a doll, repeat an edition, or understand why a new batch of material behaves differently.
Match the application method to the material and the sculpt
Dry brushing and burnishing dry powder
For dry chameleon pigment on raw clay, use a soft dedicated brush, cosmetic applicator, or small sponge tool. Load very little product and build in thin passes. Light pressure is usually easier to control than trying to cover the surface in one application.
This method suits cheek planes, horns, wing edges, raised scales, armour details, and selective highlights. On very smooth areas, even application depends on a steady hand and minimal handling afterward. On raw clay, pressure can leave marks, so finish sculpting and smoothing first whenever possible.
Burnishing can create a more concentrated reflective surface, but it may also flatten delicate texture or push powder into places where it is not wanted. Use it selectively on firm clay rather than treating it as a universal finishing step.
Stippling dry powder
Stippling is often better than brushing where the sculpt has scales, pores, creases, feathers, stipple texture, or miniature textile detail. Tap the pigment on with a small brush rather than dragging it across the form.
The advantage is control: particles settle on chosen high points or into selected recesses without forming long sweep marks. The limitation is density. Too much powder can obscure the distinction between texture planes and make a carefully modelled area read as a single glittering field.
Brush application of wet media
Wet colour-shifting products need thin, even coats. Avoid repeatedly brushing a layer that has begun to dry. Dragging a partly drying coat can pull pigment particles into streaks and produce dull areas where the particles lie unevenly.
Use a clean, suitable brush and make a limited number of deliberate passes. If the material appears patchy, resist correcting it immediately on the doll. Test whether a second fully dried coat, a different brush, a smoother underlayer, or a different application method gives a more reliable result.
Wet layers are particularly prone to pooling in sculpted creases, around eyelids, between scales, and at the base of horns or fingers. A pooled layer can hide detail, alter gloss, and create a different optical effect from the high points.
Airbrushing a compatible premixed medium
Airbrushing can give an even colour-shifting veil across a large smooth area, but only use products explicitly intended for spraying or tested for that use. The particle size and binder can affect clogging, pooling, and how the reflective particles orient on the surface.
Test the exact nozzle, pressure, thinner if any, and distance from the surface. Include curved tiles or scraps with sculpted relief. A finish that looks even on a flat card may collect at the underside of a chin, wing fold, or joint seam.
Mixing pigment into clay or another medium
Mixing dry pigment into polymer clay or a compatible medium creates a more integrated effect, but it is not automatically the most stable or vivid approach. Start with a very small proportion. Excess powder may muddy translucent clay, reduce clarity, disperse unevenly, or alter the surface feel.
For a doll with translucent skin effects, test the pigment both mixed into the clay and applied as a surface accent. The same colour-shifting powder can look very different when embedded in a translucent mass rather than lying close to the surface where light can reflect from it.
Prevent streaking, contamination, and transfer
Fine pigment travels. It clings to brushes, gloves, fingerprints, sanding dust, and nearby raw clay. On a pale face or uncoated torso, one accidental particle can be more visible than expected.
Use these controls during the finishing stage:
- Dedicate brushes, applicators, gloves, and a work area to each pigment family.
- Apply colour-shifting accents after major sculpting and smoothing, so later handling does not rub pigment into surrounding clay.
- Work from clean, uncoated areas toward pigmented details rather than repeatedly crossing finished accents.
- Protect completed areas during assembly, rebaking, or later detail work.
- Keep product load low on high points and avoid thick wet layers in recesses.
- Remove loose powder, fingerprints, plasticizer residue, and sanding dust before applying a clear finish.
- Avoid testing a pigment only on a flat, untouched tile. Include a zone that receives the amount of contact expected during assembly and display.
If pigment still transfers to fingers or tools after the tested cure and handling period, regard that as a failed condition. Do not rely on a last-minute coating to conceal an unresolved layer problem.
Treat curing, sealing, and handling as separate decisions
Curing polymer clay is one decision. Adding a wet pigment medium is another. Applying a clear coat is a third. Each layer can influence the others.
Follow the clay manufacturer’s cure guidance. For a wet colour-shifting product, test whether it belongs before baking, after baking, or between cure cycles according to its own documentation and the results of your tiles. If the colour changes after baking, becomes cloudy, or develops tackiness, stop using that product on the doll until a controlled test produces repeatable results.
A clear coat can deepen colour, alter gloss, reduce the apparent shift, collect in texture, or react poorly with a binder. It can also make a surface look more finished while leaving an underlying adhesion issue unresolved. Apply a coating only when it addresses a documented need, such as reducing observed rub-off in a specific tested layer stack.
Test coated and uncoated tiles side by side. Handle both after their full drying or curing period. Compare not only appearance but scratch response, edge lifting, tackiness, and transfer. No coating should be assumed to provide permanent protection.
Plan handling around the finish. Hold the doll by uncoated structural areas where possible, allow layers adequate drying or cure time, and avoid packing finished surfaces so they rub together. For articulated or assembled figures, consider where hands, tools, elastic, stands, and clothing will contact the pigment during construction and use.
Judge the iridescent doll finish in real lighting
Colour shift is view-dependent. A pigment can appear dramatic under a phone light and nearly disappear under diffuse room lighting. Assess every test tile and finished area in at least three conditions:
- diffuse daylight;
- directional light, which can reveal the shift and texture response;
- the actual display lighting planned for the doll.
Rotate the piece rather than judging it from one fixed angle. Check whether the finish supports the sculptural form. A dense reflective layer may enhance a horn or beetle-like carapace while flattening facial planes or making fine textile texture unreadable.
Photograph the work under more than one lighting setup when the colour shift is central to its presentation. Process notes can include the approximate viewing angle and lighting character that best reveal the intended effect. This is useful reference material, not a guarantee that every future display environment will produce the same appearance.
Troubleshooting: retest the symptom, not the whole doll
Streaks in wet pigment
Reduce coat thickness and avoid overworking a drying pass. Test stippling, a smoother underlayer, or spraying only if the product is suited to spraying. Compare brush types and number of passes on fresh tiles.
The shift looks weak or cloudy
Test a darker or more contrast-rich base, a thinner application, and several lighting conditions before adding more pigment. A heavier layer can sometimes make the finish look less clear rather than more vivid.
Pigment rubs off after curing
Confirm whether the product was intended for raw clay, baked clay, or a particular binder. Compare unsealed and test-sealed tiles after full cure or drying and gentle handling. Review the entire layer stack rather than assuming the pigment alone is at fault.
Colour changes after baking
Stop using the product on the doll until tiles show a repeatable result under the intended schedule. Record clay, base, pigment, temperature, duration, and rebake count so that the cause can be isolated one variable at a time.
The finish becomes tacky, cracks, or peels
Map the layers: clay, underlayer, pigment, binder, cure cycle, and clear coat. Retest by changing only one variable per tile. A tacky or peeling surface can arise from interactions within the system, and adding another layer may make diagnosis harder.
The effect vanishes under display lights
Test the doll under the actual display setup before finishing all matching parts. You may need to revise the lighting, reduce the density of the effect, use it only on focal details, or choose an effect that reads more clearly in that environment.
Keep the layer stack with the doll’s records
For a material-led practice, documentation is part of finishing. Store successful test tiles with process notes, pigment labels or batch details where available, and photographs made under the lighting that best represents the work.
That record will not eliminate uncertainty about future ageing or environmental change. It will, however, give you a practical reference for repairs, repeat work, future editions, and decisions about handling. With chameleon pigment on polymer clay, the most dependable finish is not the one that looks strongest in the jar or on a first swatch. It is the one that remains visually coherent after the exact application, cure, handling, and display conditions your doll will receive.