Process
How to Build Wire Armatures for Textile Art Dolls Without Bulky Limbs
A narrow internal skeleton, planned around load and protected before covering, gives textile figures presence without turning delicate limbs into padded tubes.

By Sophie Harrow
· 12 min read
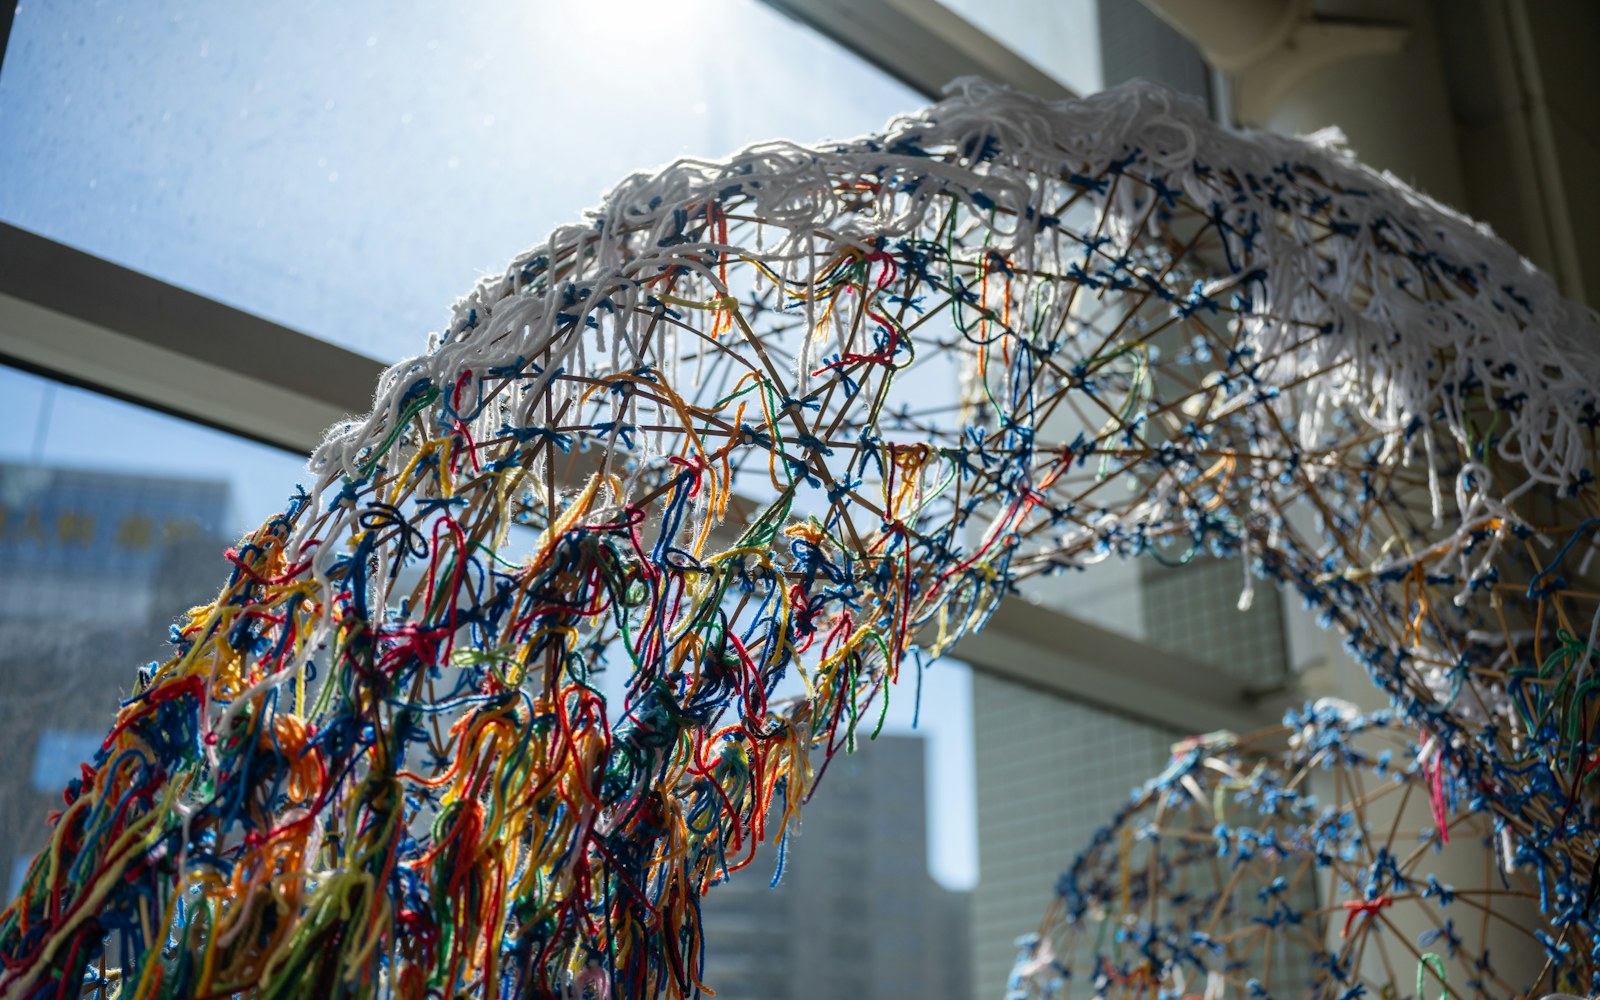
Makers using silk, embroidery, beads, leather, and thread need an internal structure that supports poses and dimensional details without showing through delicate fabric. The practical answer is to build a slim, load-matched wire armature for textile art dolls first, then soften, bind, and isolate it before it meets the textile skin. Use stronger wire only where the figure carries weight, keep fine wire for fingers and extensions, and solve instability in the frame rather than disguising it with thick padding.
A successful armature is less about finding one correct wire than assigning each part of the structure a job. A standing ankle, a lifted hand, a bead-heavy collar, and a fine embroidered branch do not ask the same thing of the material. Plan for those differences before the body is embroidered, beaded, or closed.
Define pose, scale, and load before choosing wire
Draw the proposed figure at full size. Mark the spine, shoulder line, hips, knees, ankles, feet, head angle, and the path of any tail, wing, branch, antenna, or raised arm. This drawing need not be anatomically formal. Its purpose is to reveal where the wire must travel and where the finished silhouette needs to remain especially narrow.
Then identify the loads. A compact seated figure may need little more than a stable spine and anchored limbs. A standing figure must manage its centre of gravity through its feet or a display mount. Long arms, projecting heads, dense beadwork, layered leather, and attached objects can all exert leverage that is easy to underestimate while working flat on the table.
Decide, early, which of these descriptions applies:
- Fixed pose: The armature needs to hold one intended position, often with the help of a base, mount, or carefully distributed contact points.
- Gently poseable: The maker can make limited adjustments before or after dressing the figure, but movement is not its main function.
- Frequently repositioned: This is the most demanding use. Repeated bends can fatigue wire and strain joins, fabric, stitches, beads, and surface coatings. A textile doll should not be assumed to tolerate continual re-posing simply because it contains wire.
- Suspended or mounted: The relevant load may be at the hanging or attachment point rather than at the feet.
Also map the material thickness. A silk-covered wrist, a narrow ankle, a neck, and a facial profile leave little room for wire, wraps, seam allowance, padding, and an outer skin. The torso, footwear, head, or a deliberately padded shoulder can hide a join more easily. Build that logic into the design rather than forcing every area to accept the same construction.
Plan access before beginning dense surface work. An embroidered tube, bead-covered sleeve, or leather torso can become difficult to fit over a projecting foot or hand. Leave an opening, seam, or closure strategy that permits controlled insertion and adjustment.
Choose wire by structural job, not by one universal gauge
Wire gauge is a decision about scale, alloy, temper, span, added weight, and intended movement. A wire that works well in one small fabric figure may sag in a taller doll, feel bulky in a narrow limb, or become unsuitable once embroidery and embellishment are added. Test short samples with the actual materials of the project before committing to a full skeleton.
In practical terms, thicker wire generally resists load more effectively, but it occupies more visual and physical space and takes more effort to shape. Finer wire can create graceful fingers and tendrils, but it may kink, droop, or weaken when asked to carry a long unsupported section. Consider wire roles rather than treating every part of the body as identical.
| Wire type | Useful roles | Practical limitations to test |
|---|---|---|
| Aluminum | Light-to-medium cores, limbs, and forms that need easy shaping | Properties vary; repeated adjustments may leave bends or reduce the crispness of a pose |
| Steel | Stiffer structural spans, narrow load-bearing elements, and some mounted forms | Harder to shape; cut ends and bends need especially careful finishing; repeated bending may be unforgiving |
| Copper | Fine details, wrapping, decorative line, and small secondary structures | Workable but not automatically strong enough for a load-bearing limb or body frame |
| Floral wire | Light appendages, bundled details, and wrapping tasks | Often too slight for the primary structure of a standing or weighted figure; coatings and stiffness vary |
For a small, delicate figure, the body core may need only enough strength to maintain its designed gesture while lighter wire forms fingers or small botanical details. For a larger or weighted figure, the spine, legs, and mount connection may require more substantial structural planning, while the visible extremities remain fine. Combining wire types can keep the silhouette lighter than building the whole figure from the same heavy stock.
Make a sample bend test. Shape a short length into the approximate curve of an elbow, ankle, or neck. Hold the expected weight against it, then make a few gentle adjustments. Notice whether it springs back, kinks, twists, or feels disproportionately thick once wrapped. This small test is more useful than a universal gauge chart because it reflects the actual alloy, temper, textile stack, and pose in hand.
Build a narrow core with deliberate joints and anchors
Start with the central structure: usually the spine and legs, then the shoulders and arms. Continuous wire runs reduce the number of vulnerable joins. A single run can often travel from one leg, through the pelvis and spine, and down the other leg; another can form the shoulder bar and arms. The precise route depends on the pose, but uninterrupted sections usually provide clearer load paths than a collection of short pieces joined at every joint.
Where separate pieces are necessary, overlap them for a meaningful distance and bind the overlap securely. A single tight twist is compact, but it can concentrate stress and create a hard lump that later prints through fabric. Binding with thread, narrow fabric strips, or another suitable wrapping material helps the joined wires behave as one unit and reduces independent rubbing.
Shape joints as curves, loops, or planned bends
Elbows, knees, shoulders, hips, and necks benefit from considered curves rather than dense knots of wire. A small loop or smooth bend can establish the intended angle while preserving room for padding and fabric. Put twists and heavier overlaps in places that can accept them: inside the torso, head, footwear, or a deliberately fuller section of the design.
Do not create a prominent twist at a wrist, ankle, or narrow neck merely because it is convenient. These areas are where wire lumps are most likely to show as ridges and where a tight outer covering can be stressed.
Make feet support the pose
Feet are structural, even when they will be hidden by shoes, fabric, or a base. Form broad, rounded supports rather than narrow wire points that focus pressure into a small section of textile. For a mounted figure, shape the feet or lower-leg wire to key into the base connection in a way that resists rolling and rotation.
Test the figure upright before adding any padding. If the ankles roll, the torso twists, or the head pulls the body forward, revise the wire path or display support. Extra stuffing can add mass and conceal the issue temporarily, but it rarely corrects the balance of a weak armature.
Anchor fine extensions back into the body
Hands, fingers, antennae, branches, tails, and wings usually call for lighter wire. Attach them back into the main structure over an adequate overlap instead of merely stitching them onto the outer textile layer. A finger can be fine; its root at the hand needs enough anchoring to tolerate covering and gentle handling.
For a stumpwork doll construction approach, this principle is particularly useful: an elegant raised embroidered form may look light, but its wire support should return into a stronger underlying zone rather than ending at a single surface stitch. The same applies to beaded stems, wire-wrapped branches, and dimensional textile petals.
Pad, wrap, and isolate the armature from the textile surface
Wrapping is not an optional cosmetic step. It reduces the chance that wire ends, joins, and moving components will abrade textile layers over time. It cannot guarantee that every material combination will remain unaffected, especially where a figure is bent, handled, or exposed to changing conditions, so test the intended stack before final assembly.
First, trim cut ends cleanly. Turn an end inward or back on itself where the design permits. Cover any point that could press into the skin. A cap, thread binding, tape appropriate to the project, narrow fabric strip, or layered wrap can all create a buffer; the suitable choice depends on the materials, bulk tolerance, and whether the area may move.
Bind joins so wires cannot rub against each other inside the form. A wrapped overlap is often gentler beneath silk, fine cotton, lightweight linen, or a thin embroidery ground than bare metal edges. Be mindful that some wraps add diameter quickly. In a narrow limb, several bulky layers can defeat the purpose of a slim armature.
Add padding selectively, not uniformly
Padding should create anatomy, soften transitions, and separate the metal from the outer layer. It should not turn every arm and leg into the same padded cylinder.
Build gradual volume around shoulders, hips, calves, or a torso when the design calls for it. At wrists, ankles, knees, and elbows, use the minimum material needed for protection and a convincing transition. Check the profile frequently against the full-size sketch. If the limb is becoming thick, the solution may be to alter the wire route, reduce the wrap, revise the seam allowance, or choose a different outer construction—not simply compress more material into the same space.
Fine textile skins should fit closely over the prepared form without being stretched hard against it. A tightly strained silk or embroidered covering can reveal wire contours, emphasize joint ridges, and place unnecessary tension on stitches. For leather and stiffened textiles, trial-fit early: their resistance may restrict a pose that the bare armature can achieve easily.
Protect beads and surface stitching at stress points
At a moving joint or attachment point, place a buffer between metal and fragile stitches, beads, sequins, or leather. Distribute the weight of dimensional embroidery across the fabric and underlying padding. Do not rely on one fine wire extension or one stitch to carry a heavy embellishment when a broader internal anchor can share the load.
This is an important distinction in wired textile sculpture: the visible line can be delicate while the hidden attachment is deliberately generous. The viewer sees the fine branch, hand, or tail; the structure supporting it is placed back in a fuller, stronger section of the form.
Assemble textile components without trapping problems inside
A useful assembly order is: test the bare skeleton, bind and pad it, fit body and limb coverings, then complete the most vulnerable embroidery, beadwork, and surface additions. The order can vary with the design, but it should preserve access to important joins for as long as possible.
Use planned seams, openings, or closures rather than forcing an entirely finished tube over a complex wire shape. Feet, hands, and bent limbs can catch on seam allowances or damage an already-finished surface. Insert carefully, working one section at a time and checking that wraps have not shifted.
Anchor wrapped limbs into the torso structure, not just to an outer fabric layer. A fabric figure armature works best when the textile covering participates in shaping and finish, while the internal core carries the structural work. If a limb is attached only to the skin, handling and gravity can pull at the seam regardless of how neat the surface stitching appears.
Before final stitching, place any leather panels, stiff collars, layered garments, or sculptural textile elements around the padded figure. Confirm that they allow the intended head turn, seated angle, or arm position. A fixed pose may be perfectly stable, but an added layer can still shift the visual balance or make the design appear strained.
Test poses, correct failure points, and set handling limits
Before the final closure, test the figure exactly as it will be displayed. Stand it, mount it, suspend it, or place it in its intended seated position. Hold planned gestures and inspect it from all sides. A front view can hide a twisting spine or a head that projects too far forward.
Look for these common warning signs:
- Ankles rolling or feet lifting from the intended support.
- A torso rotating around the spine.
- Arms drooping below the planned gesture.
- A head that shifts the centre of gravity beyond the feet or mount.
- Sharp ends or hard joins becoming visible beneath the textile.
- Ridges at narrow limbs, necks, or facial edges.
- Loose wrapping around an overlap or joint.
- Beadwork, leather, or embroidery restricting a planned bend.
Correct the wire path, overlap, anchor, or base support before closure. Adding more padding may conceal a ridge, but it will not stop an unstable ankle from rolling or a weak shoulder join from slipping. Structural revision is usually less disruptive before the outer skin is permanently finished.
Once textile finishing is complete, define the handling limit for the object. A figure designed for a fixed pose should be treated as fixed. A gently poseable doll may tolerate occasional careful adjustment, but repeated bending in the same location can stress the wire and its surrounding materials. Support the torso and base when moving the work rather than lifting it by an arm, leg, tail, finger, embroidered element, or other extension.
Armature decision checklist
Before covering the frame, confirm the following:
- Does the skeleton hold the intended pose without its textile skin?
- Are the feet, base, mount, or suspension point adequate for the figure’s centre of gravity?
- Have core wire and fine-detail wire been assigned different roles where needed?
- Are all cut ends trimmed, turned, capped, or wrapped?
- Are wire overlaps bound, with bulk kept away from narrow and visible contours?
- Is padding thin where delicacy matters and fuller only where volume or protection is useful?
- Are fingers, branches, tails, wings, and other fine appendages anchored into the main frame rather than merely stitched to the surface?
- Has the complete material stack been tested for bulk, abrasion, and restricted movement?
- Can the textile components be fitted without forcing finished embroidery or beadwork over wire projections?
Record the construction for future care
Make a simple construction note before the work leaves the table. Record the wire types used, approximate gauge categories, the location of major joins, padding and wrapping materials, base or mount arrangement, and the intended display pose. A quick sketch is often enough.
This documentation can make later repair, remounting, or careful adjustment more informed. It also helps distinguish a surface issue from an internal structural one if a limb begins to sag or a join becomes visible. For a finished textile art doll, the armature is hidden, but it remains part of the object’s material history—and planning it with restraint is what allows the visible work to stay fine.